In the Summer of 2019, plans were made for a 14th century deed of arms to be held in the late Spring of 2020. My friend Casey asked if I would be interested in helping prepare hospitality for the knights captured during the day. We planned to try our hand at not only producing documented recipes with proper presentation but hoped to run our camp kitchen using 14th century procedures and technology.
As part of that effort, I resolved to create some furniture to enhance the period appearance of our kitchen encampment. I started on designing three pieces in September of 2019 after discussing plans with Casey at Pennsic. The requirements were to build pieces with period appearance that could also be broken down for transport to this and other, future, events.
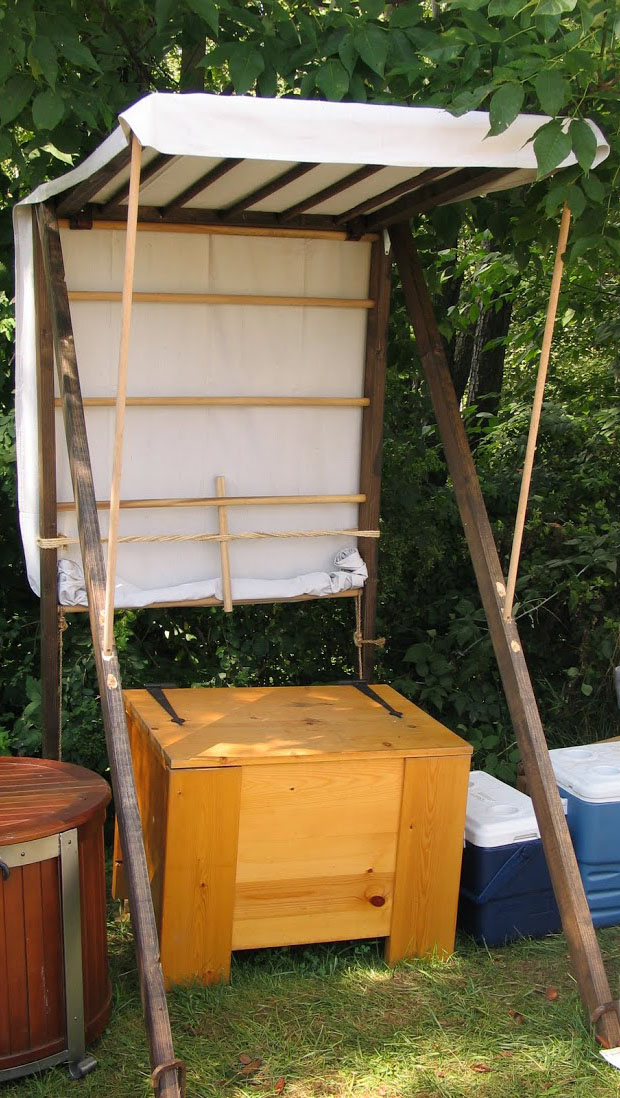
The first piece would be a chest to conceal a modern plastic cooler. I’d built a cooler chest many years ago based on this article at bloodandsawdust.com. That initial chest has served me at Pennsic and other events for many years. It is not really based on any particular period example, and was sized for a 60 qt Coleman cooler, with very little extra space once the cooler was placed inside. The lid, front and back were dimensional lumber pine boards, with plywood sides and floor. I used the panel brackets from Lee Valley that were shown in the Blood and Sawdust post. Unfortunately, they are no longer available.
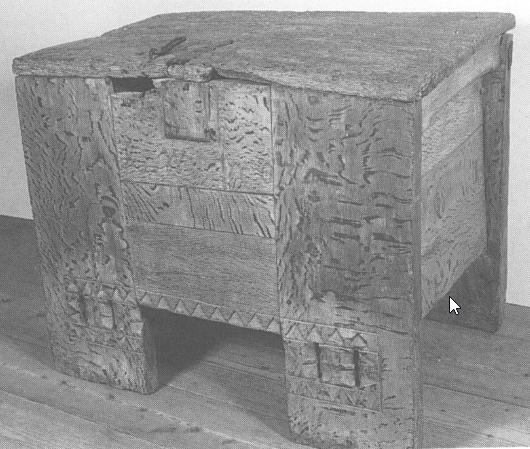
For the medieval kitchen project, I thought I’d build a chest that was more closely based on a period example. I turned to Die gotischen Truhen der Lüneburger Heideklöster, a book describing the chests (Truhen) of the six con-
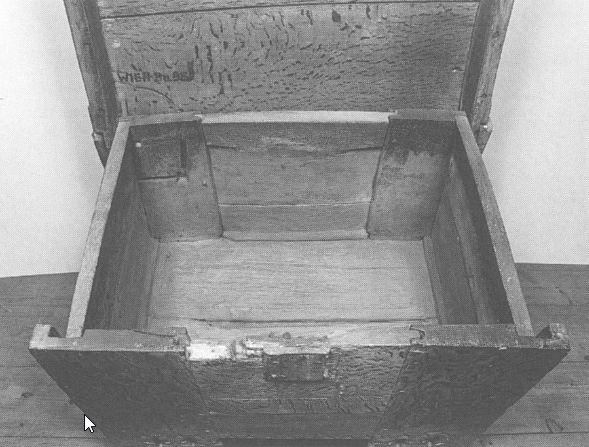
vents of the Lüneburg Heath – Walsrode, Ebstorf, Lüne, Isenhagen, Medingen, and Wienhaus. The particular chest I chose to base my version on was chest number 212 from Kloster Wienhausen dated to about 1300. Here are images from the book of the front and interior of the chest:
Here is an article about chests from Isenhagen from the St. Thomasguild blog:
Article about similar chests from St. Thomas Guild: https://thomasguild.blogspot.com/2012/12/medieval-chests-from-kloster-isenhagen.html
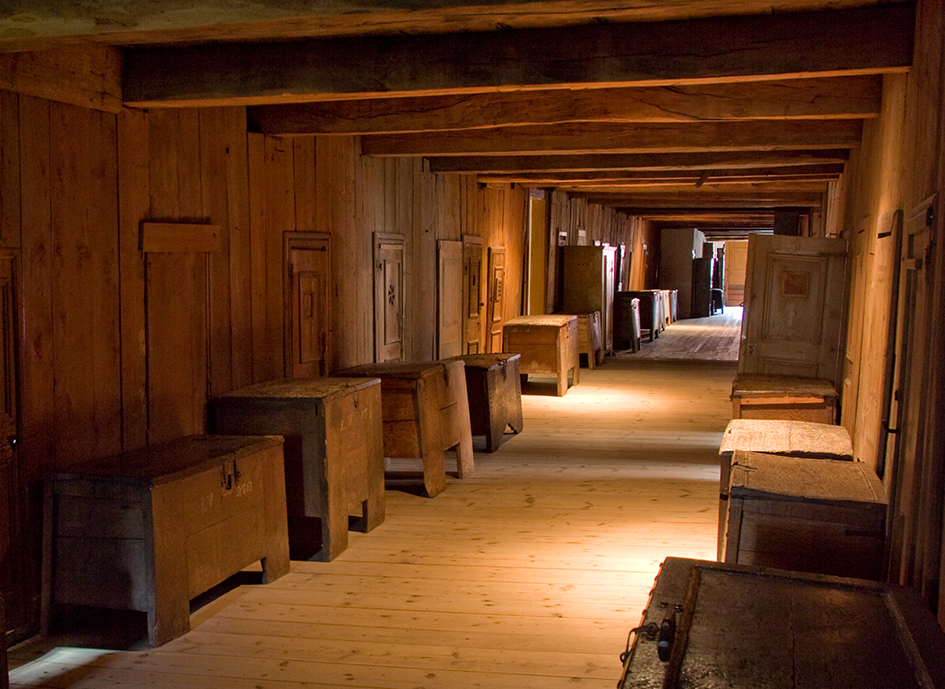
Finally, an image from the Kloster Wienhausen web page showing the variety of chest at the convent:
My approach was to copy the construction details of the original to the greatest extent possible while designing the chest to be dis-assemblable for transport. I also chose to make the chest out of tulip poplar. Poplar is much lighter than oak (the material for the original chest), readily available in central Pennsylvania from my preferred hardwood dealer (Alderfer Lumber, Mt. Pleasant Mills, PA) in a variety of thicknesses.
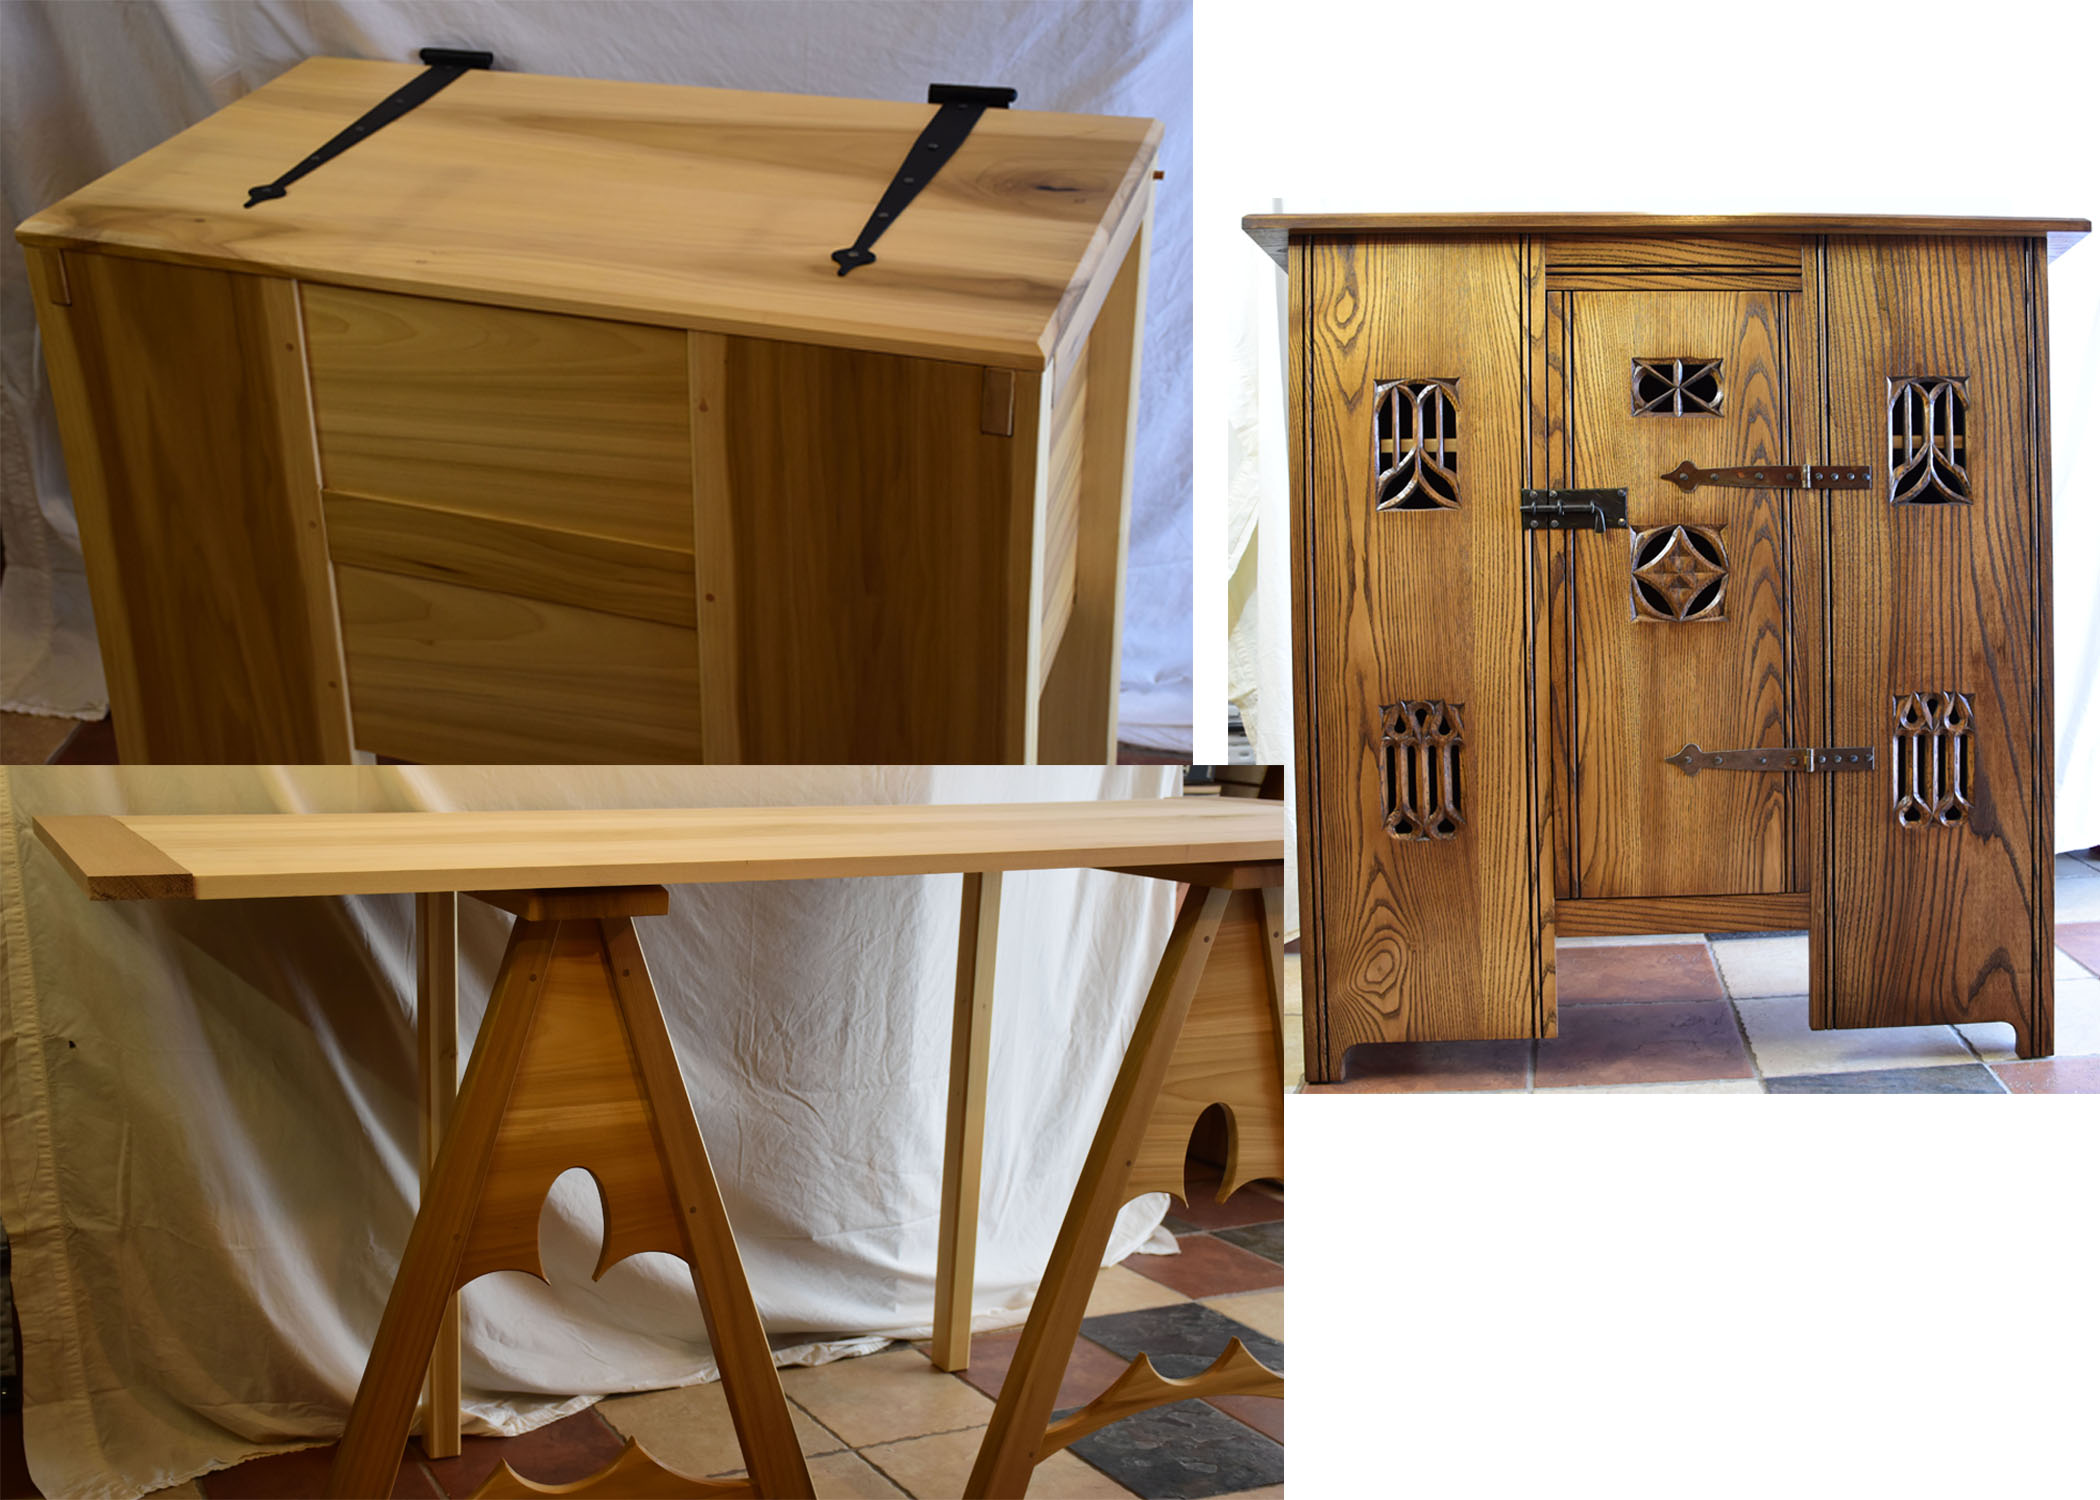
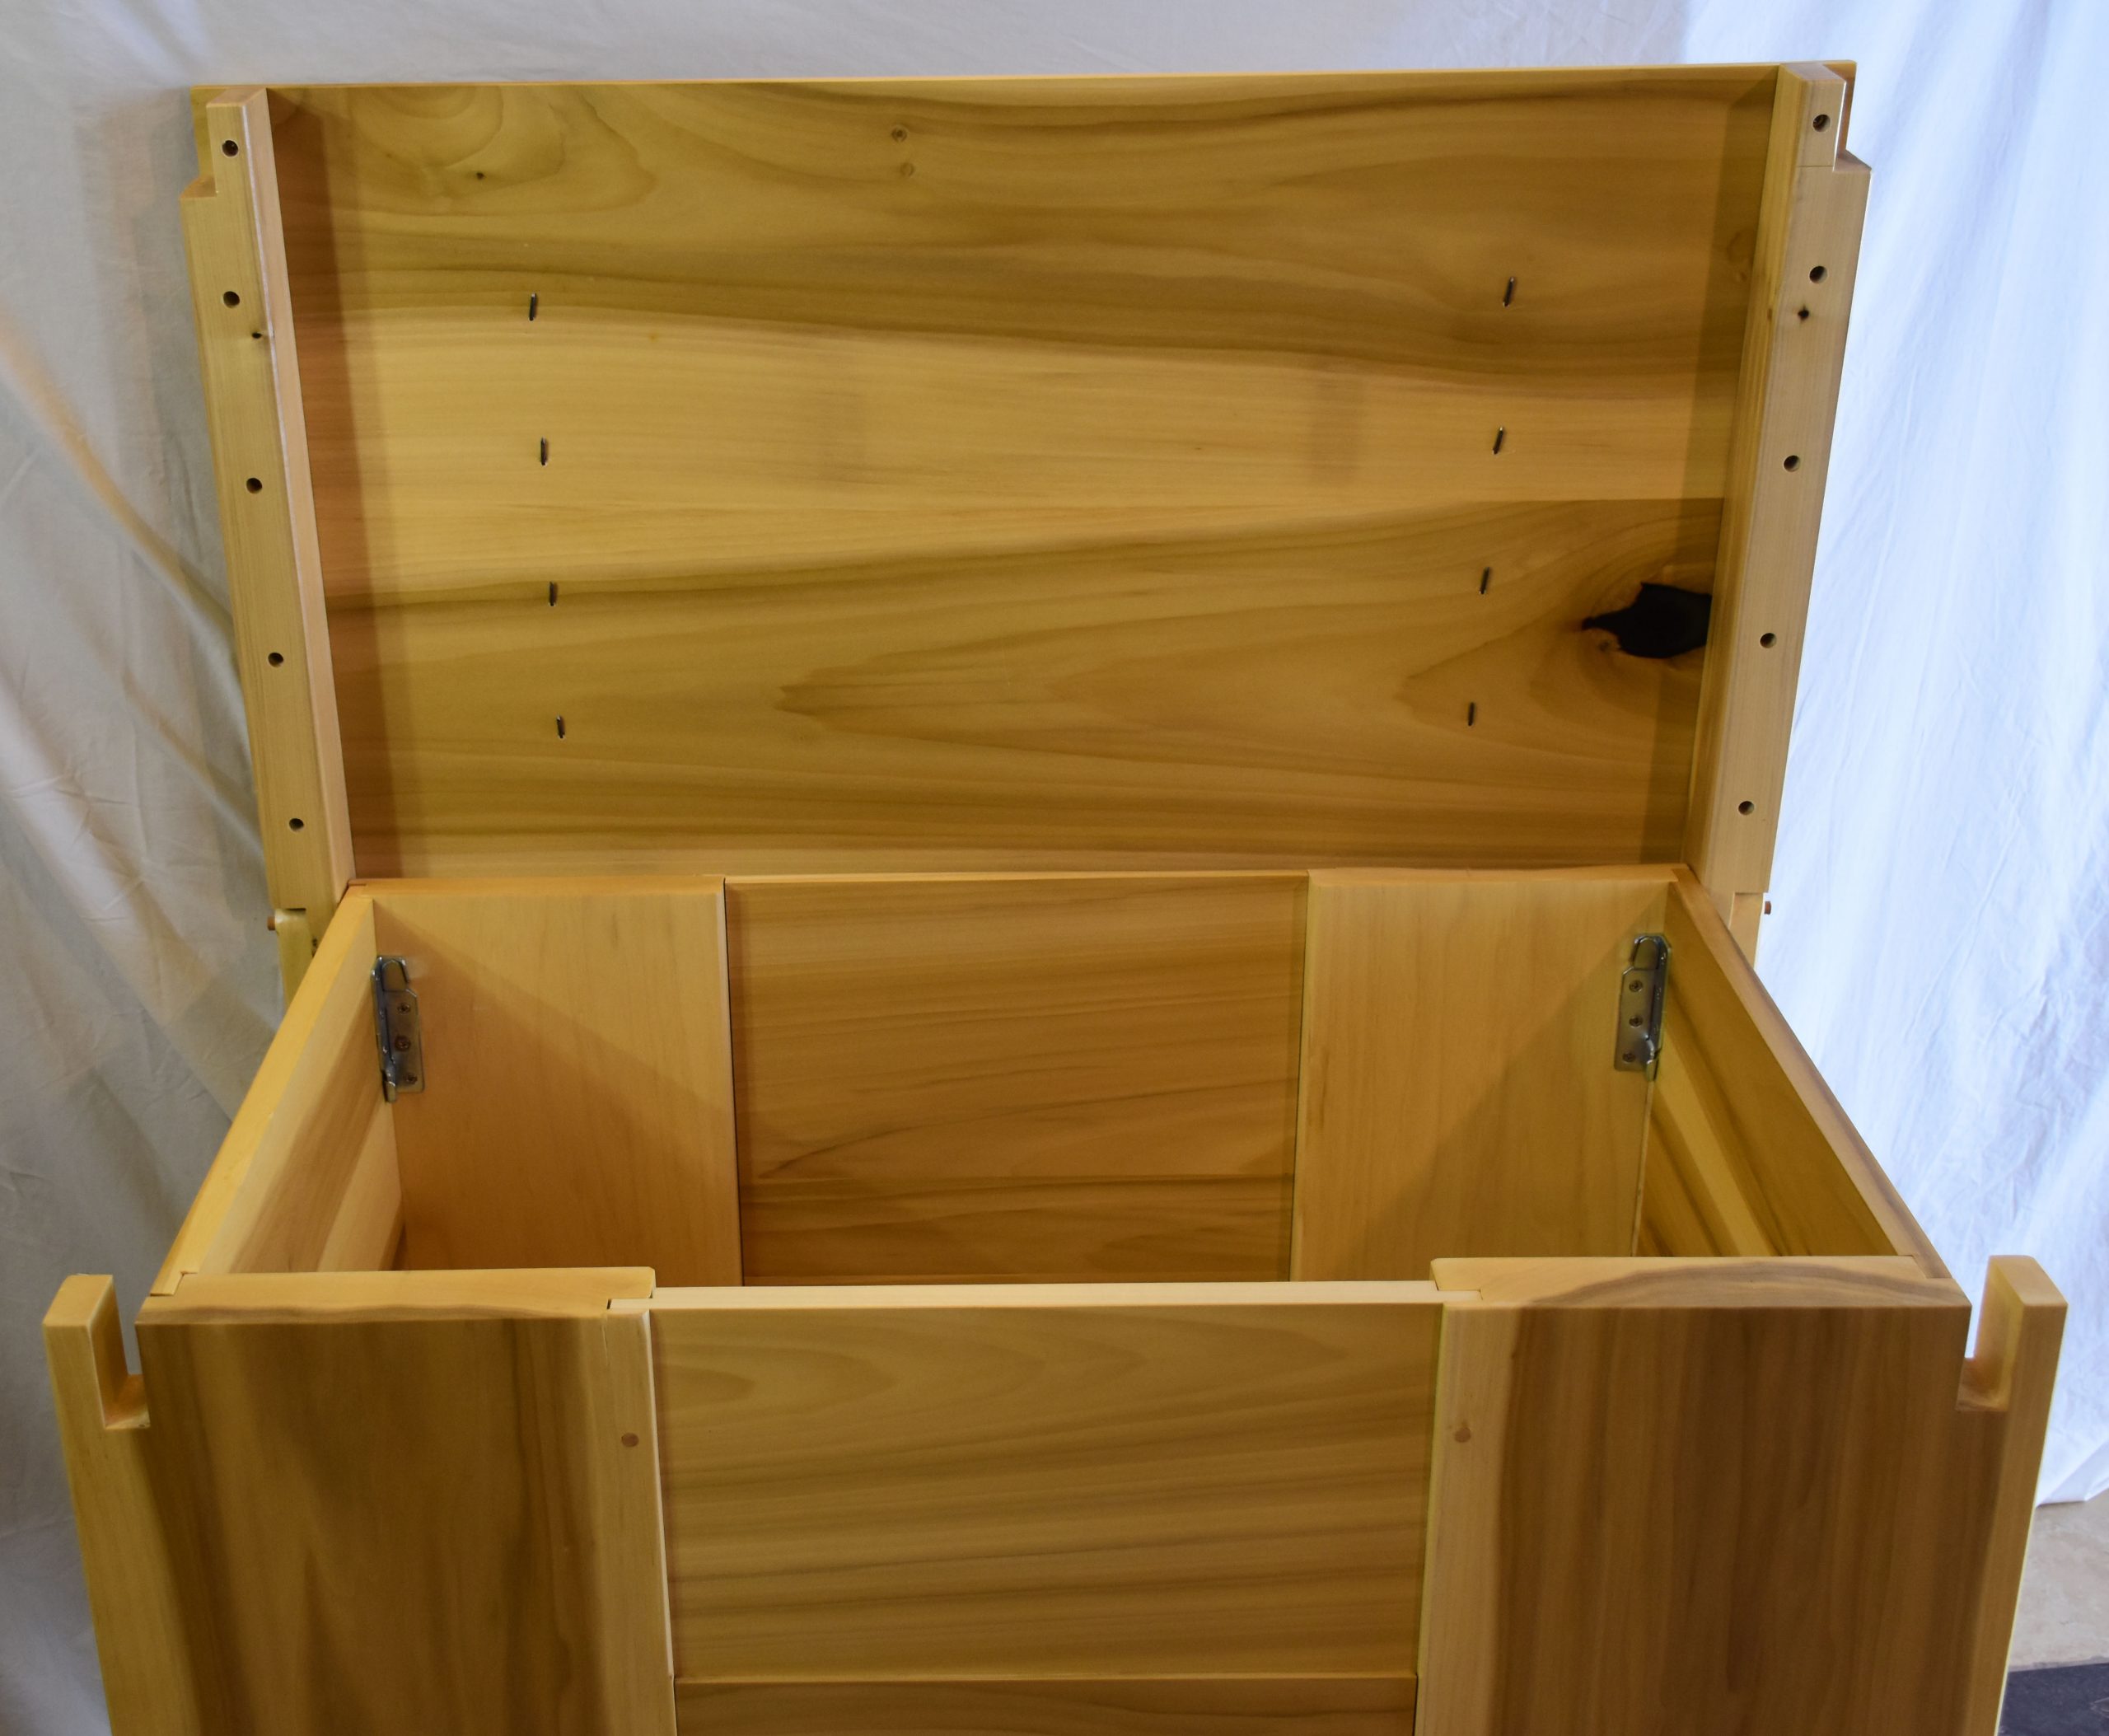
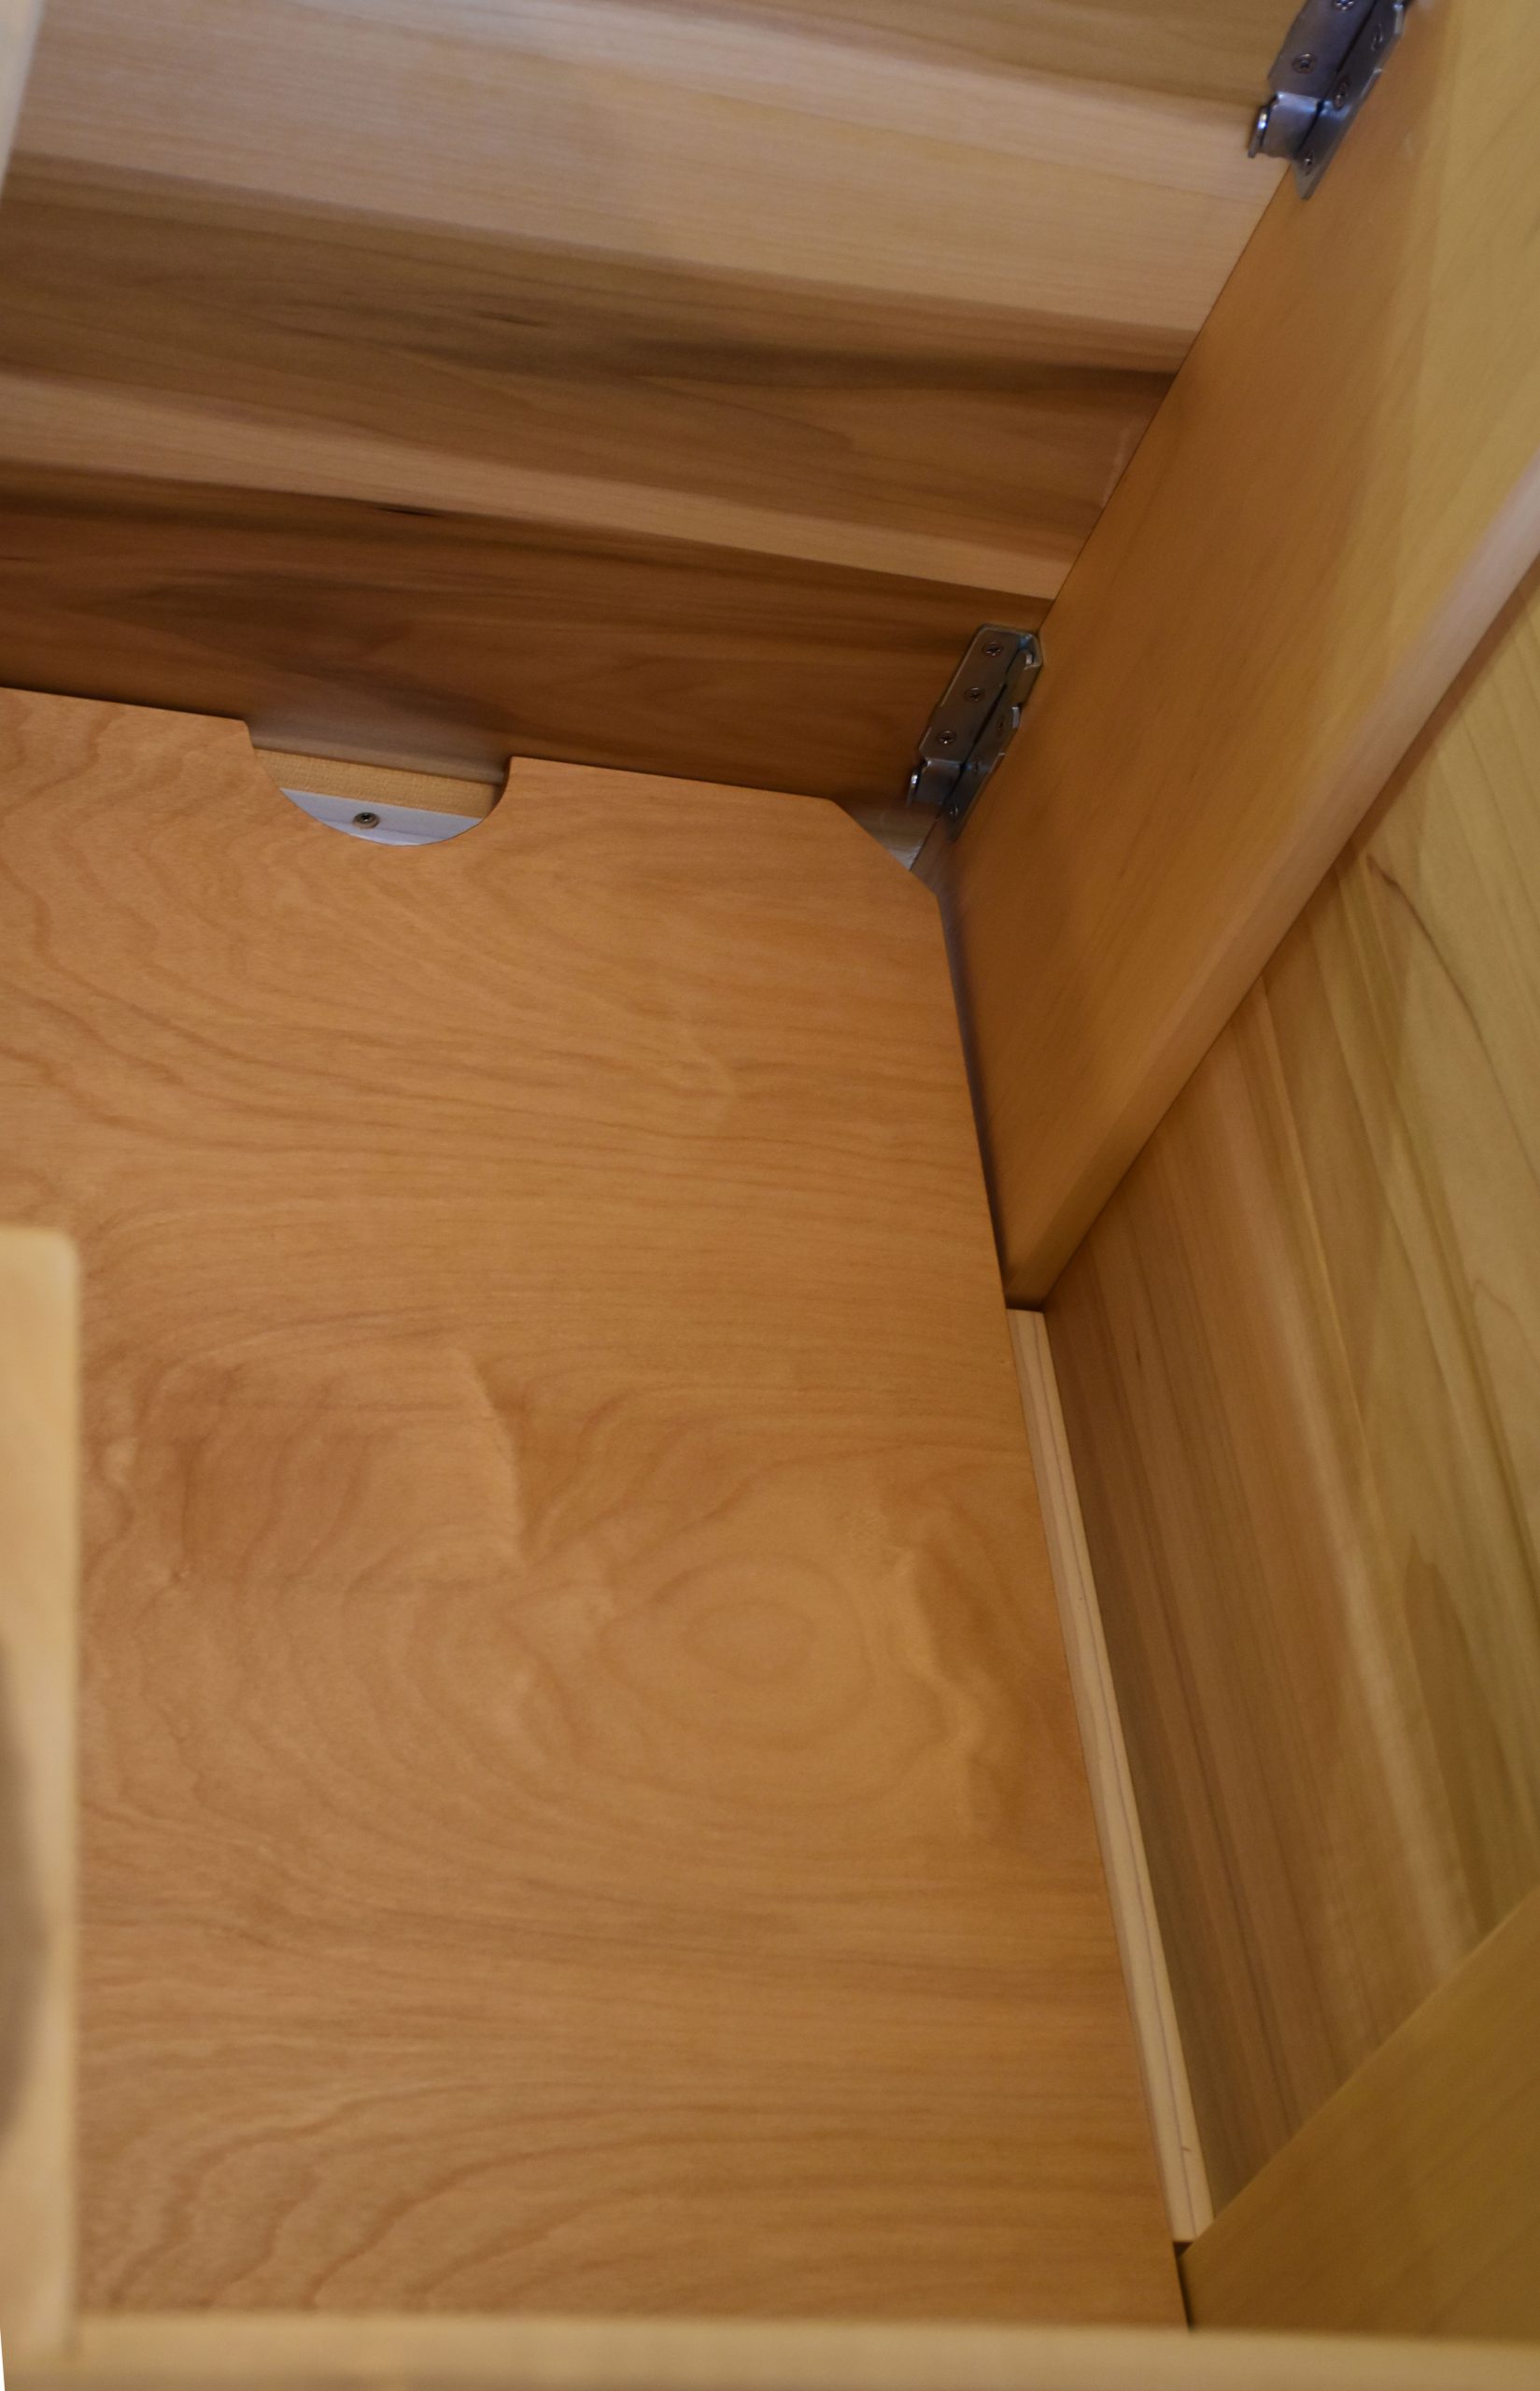
I’m not going to do a full construction journal here, but the gist of the design is that the front and back are one assembly, the sides are panels with narrower rabbet that fits into grooves in the front and back legs. The lid is removable, with wooden cross-beams (or cleats) that form an integral hinge with the back legs. The floor of the chest is removable and made from plywood. The floor of these cooler chests is subject to the most abuse – there’s always some leakage or condensation from the cooler, and the floor is kept enclosed and covered, so there’s a possibility of mold and mildew buildup. This means it should be as replaceable as possible, thus plywood construction with a heavy coat of varnish for protection.
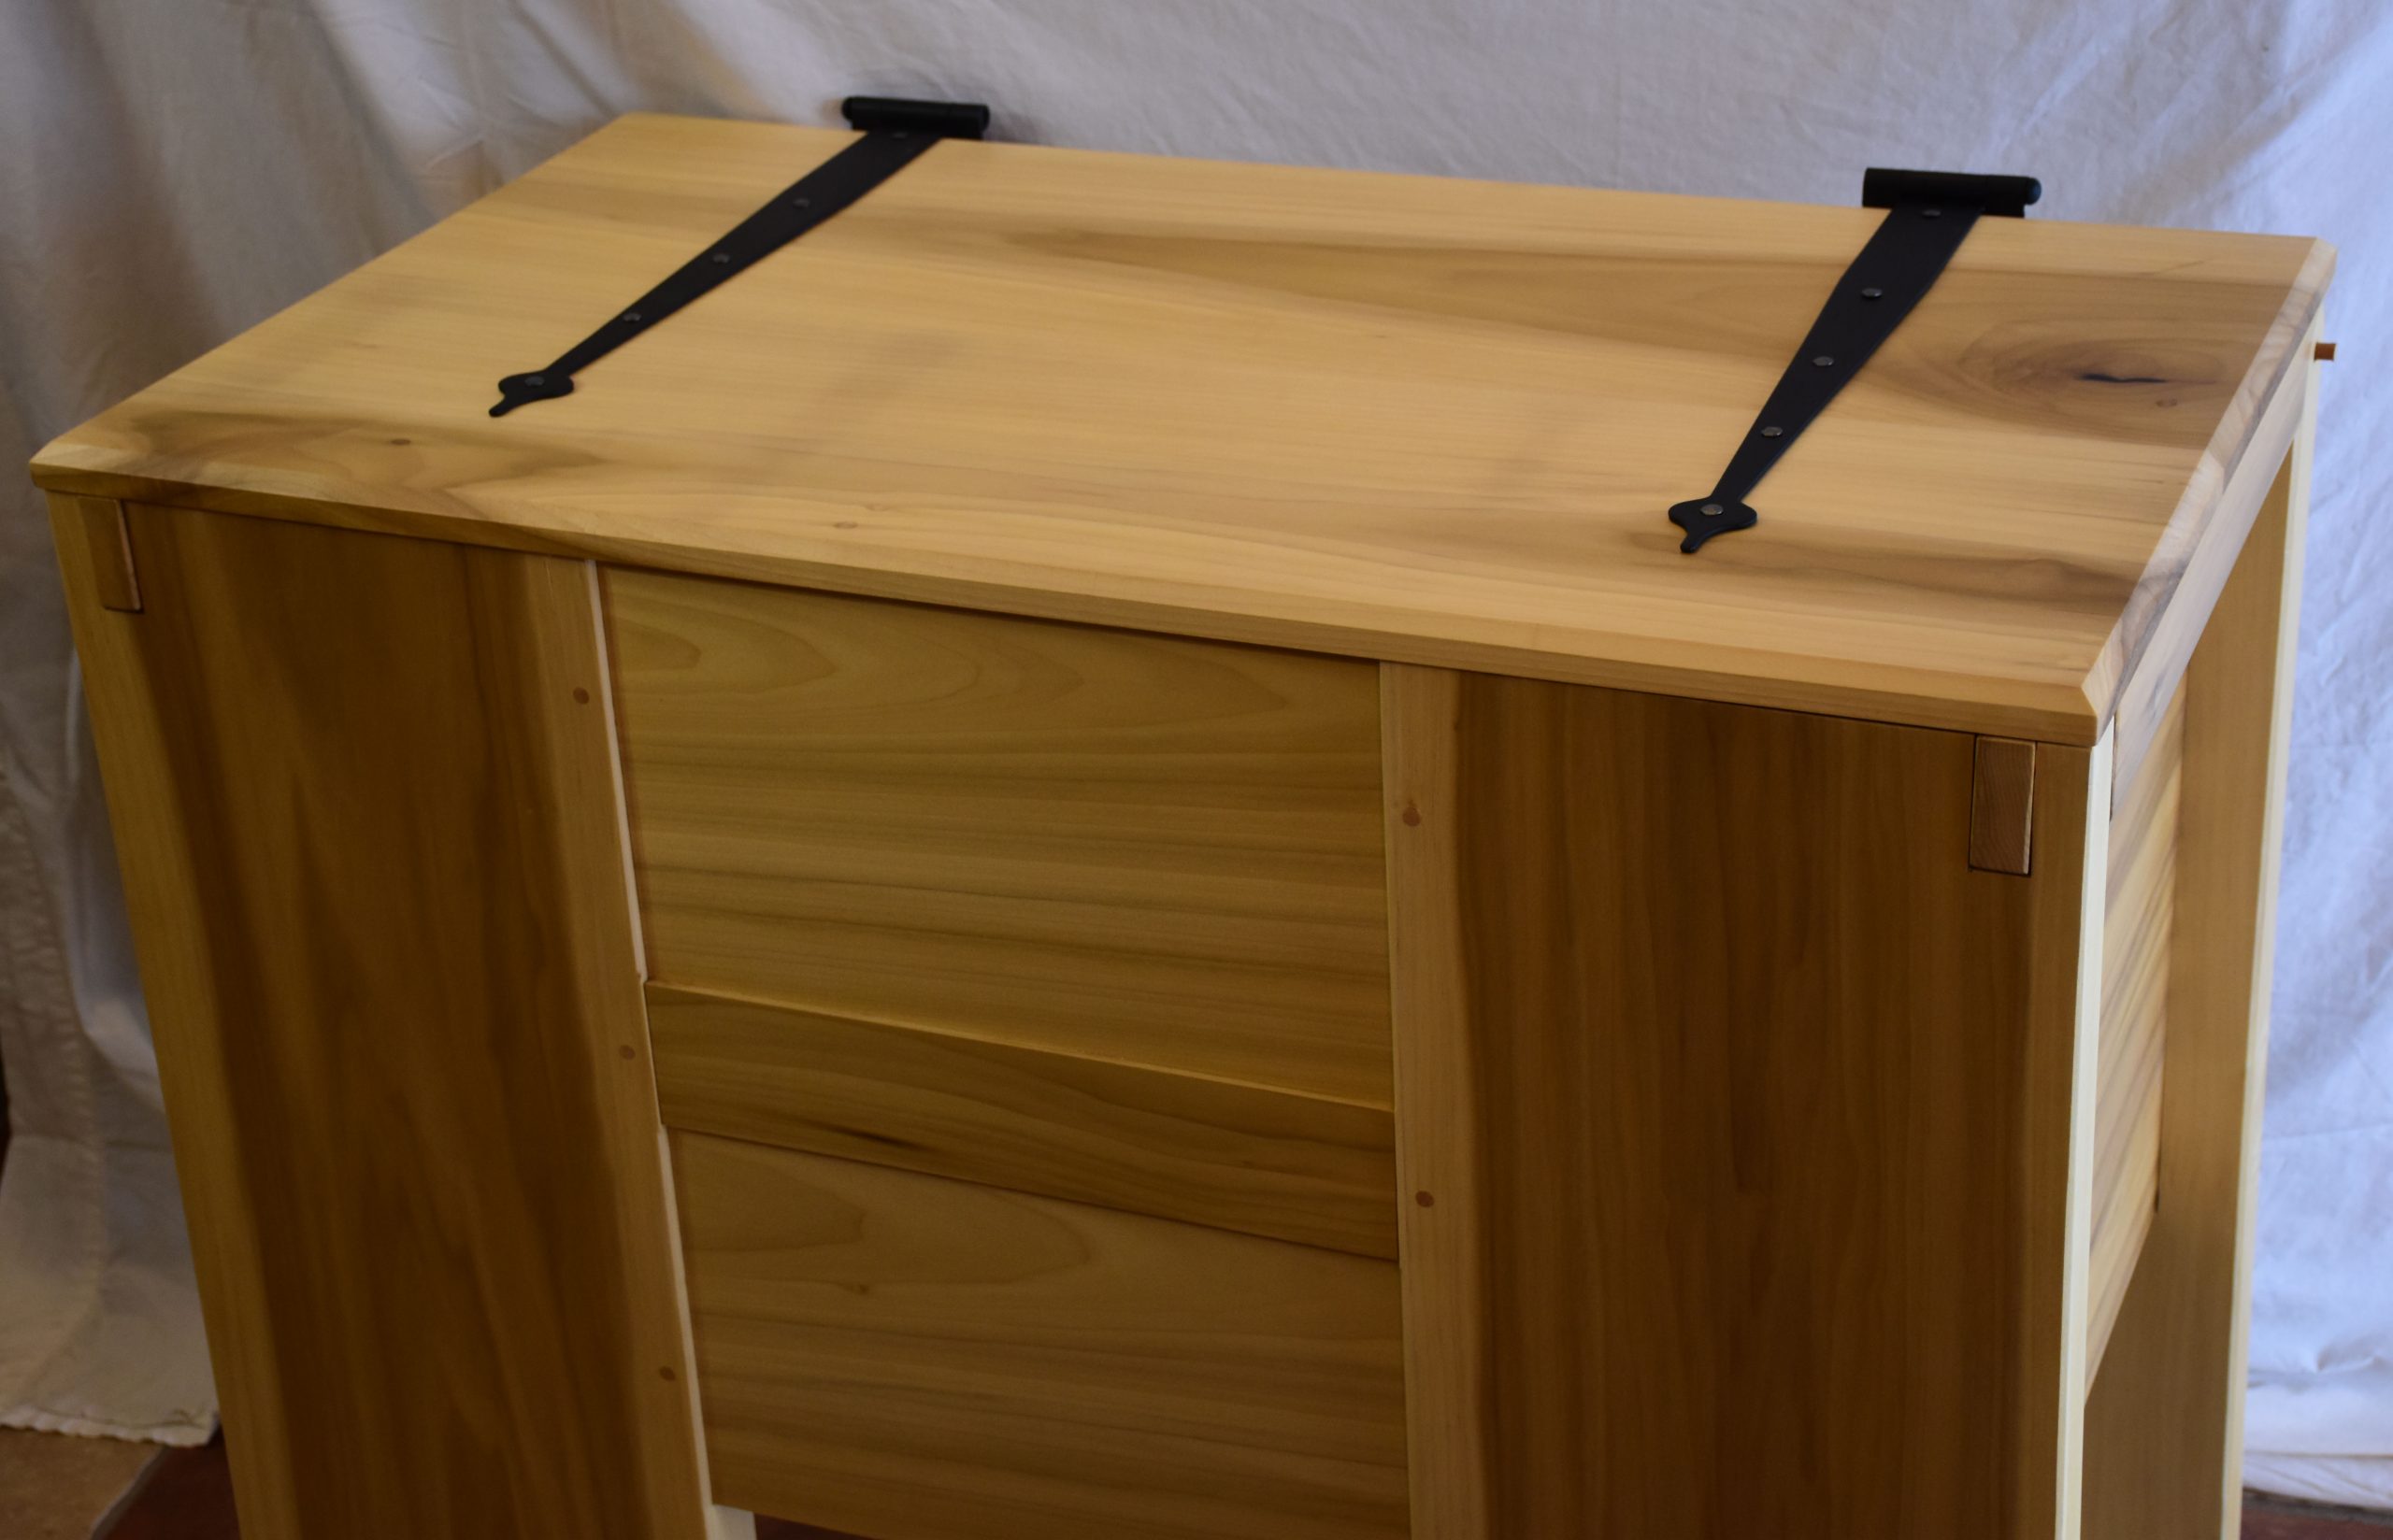
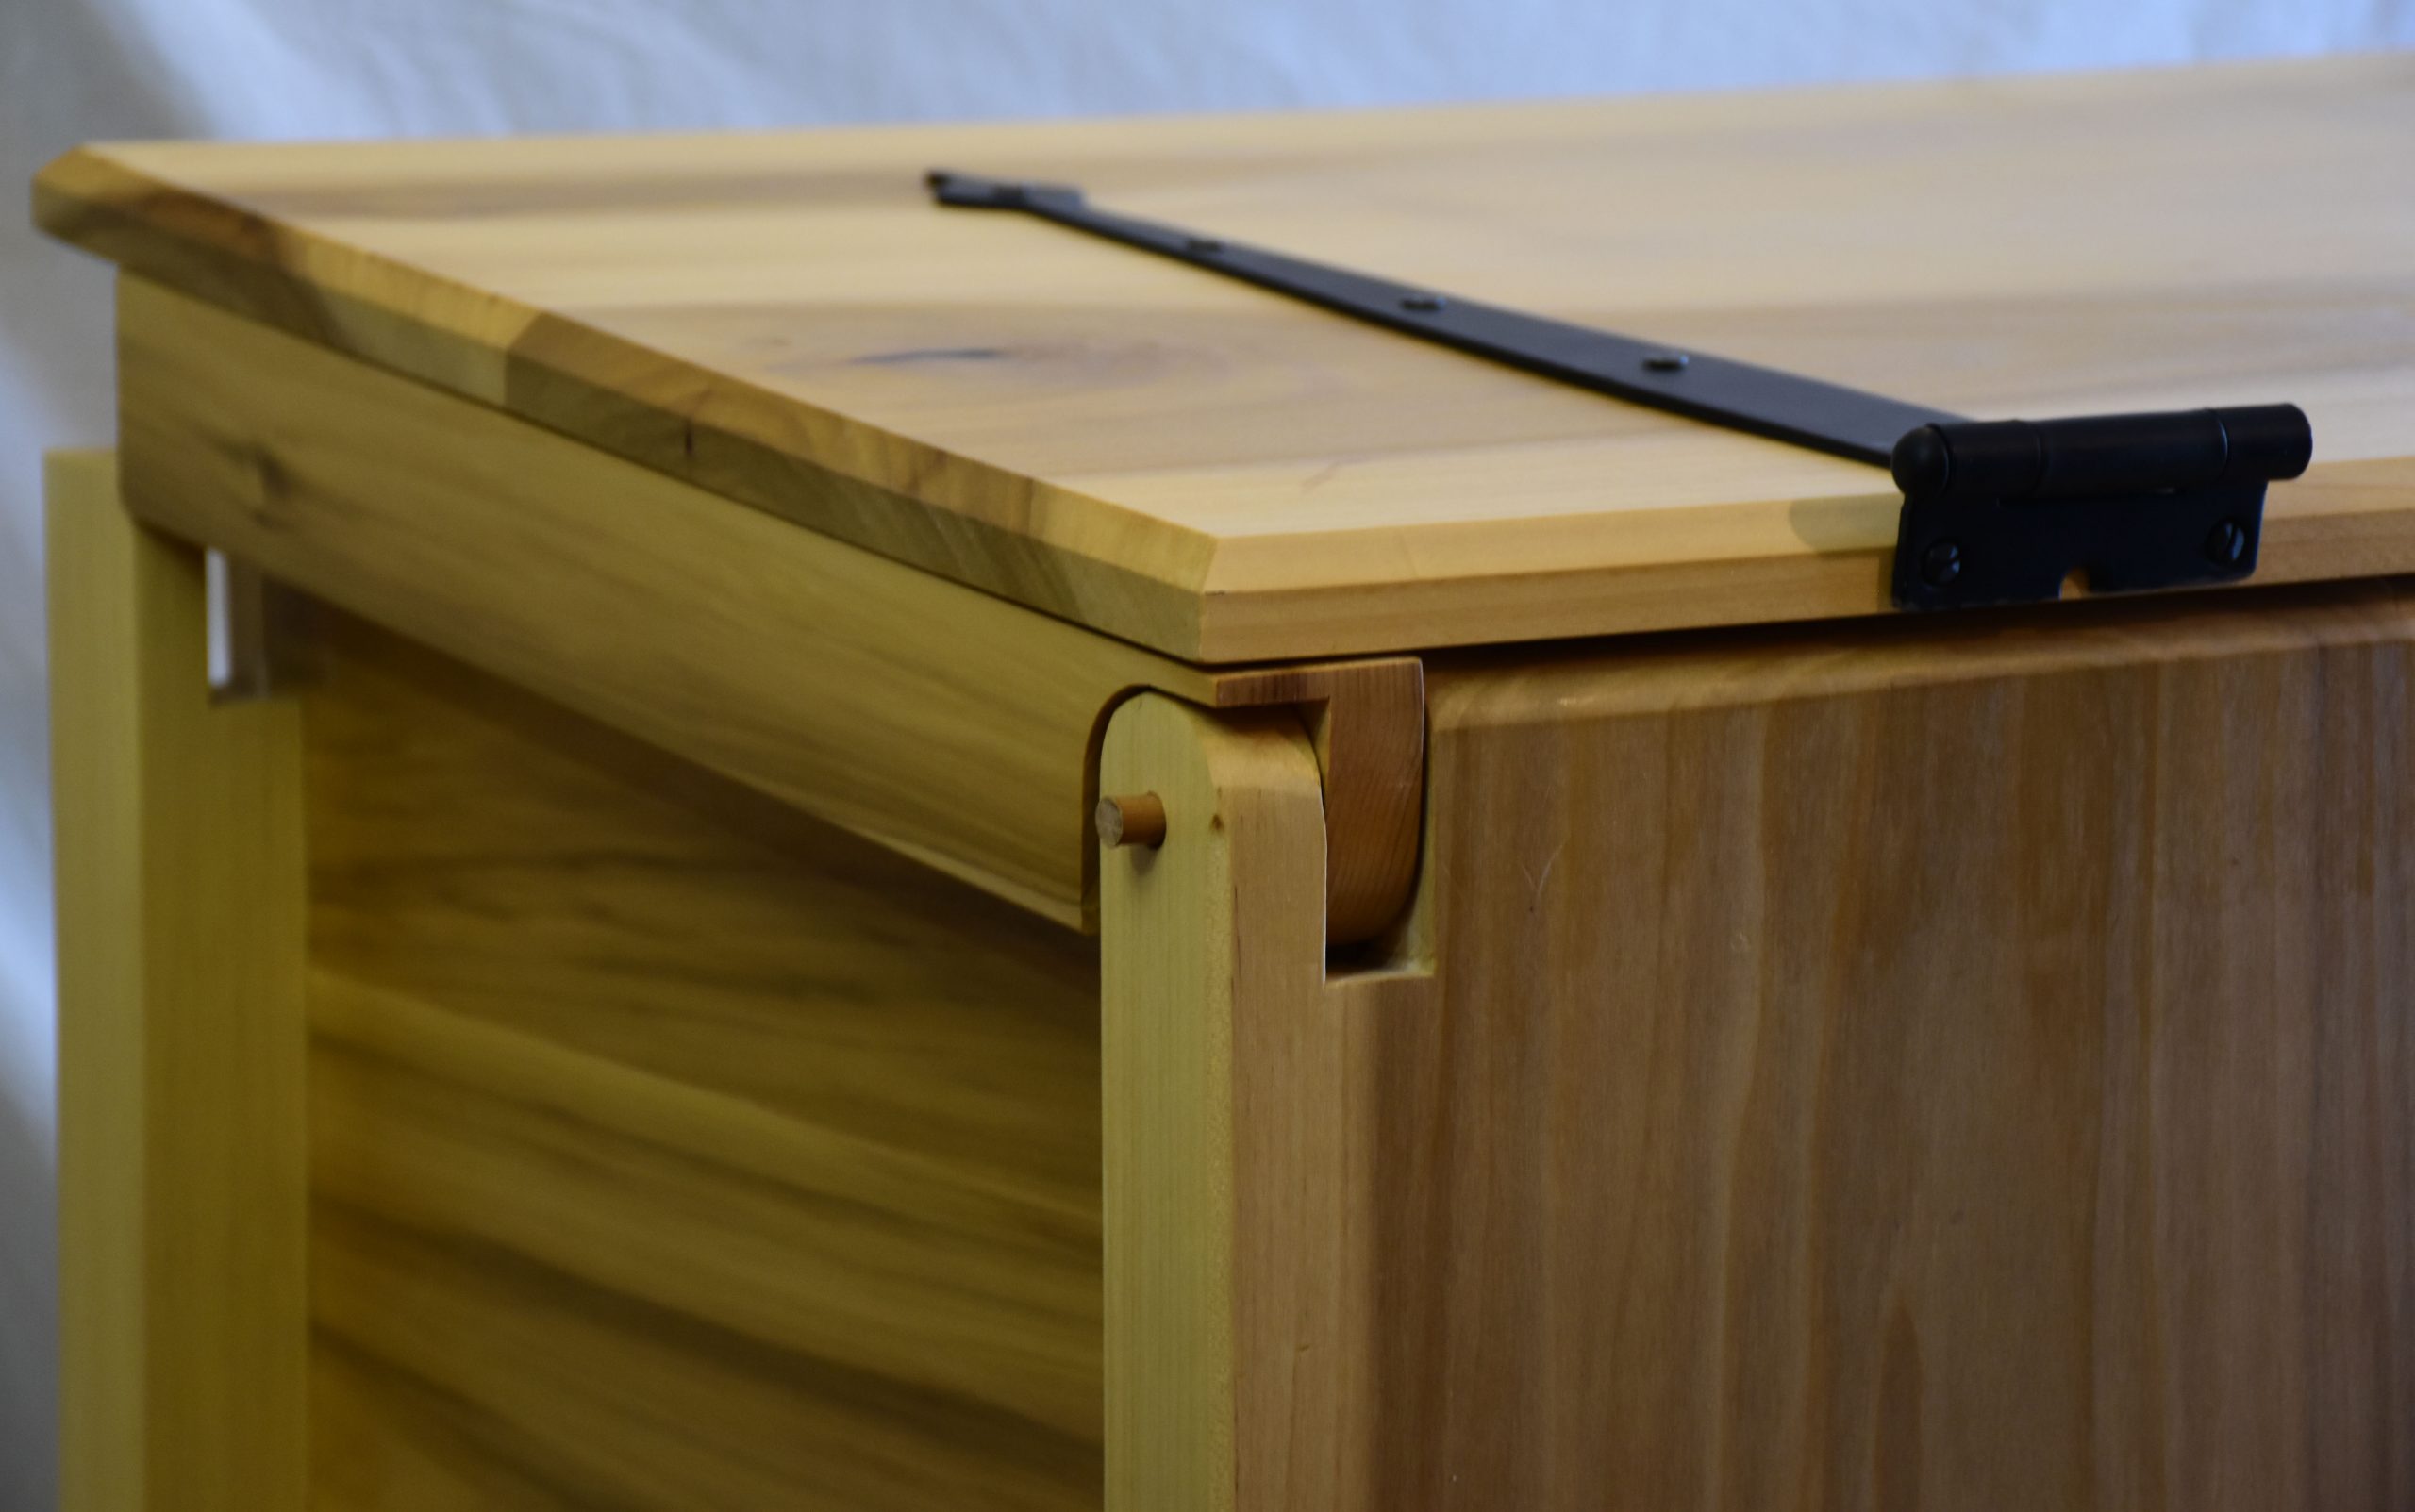
I did not include the carving decoration or the piercing of the front legs in my design, but those could be done/added at any time in the future. There’s also no lock set on the chest, as I’m not planning on putting anything of real value into it. Strap hinges were added to the top for decoration – some of the other chests from Lüneburg had strap hinges in addition to the wooden hinges. Having seen this style of wooden hinge fail on other chests (both modern and period) the strap hinges were mounted such that they can be used as the real lid hinges in the future by adding another strap down the back leg.
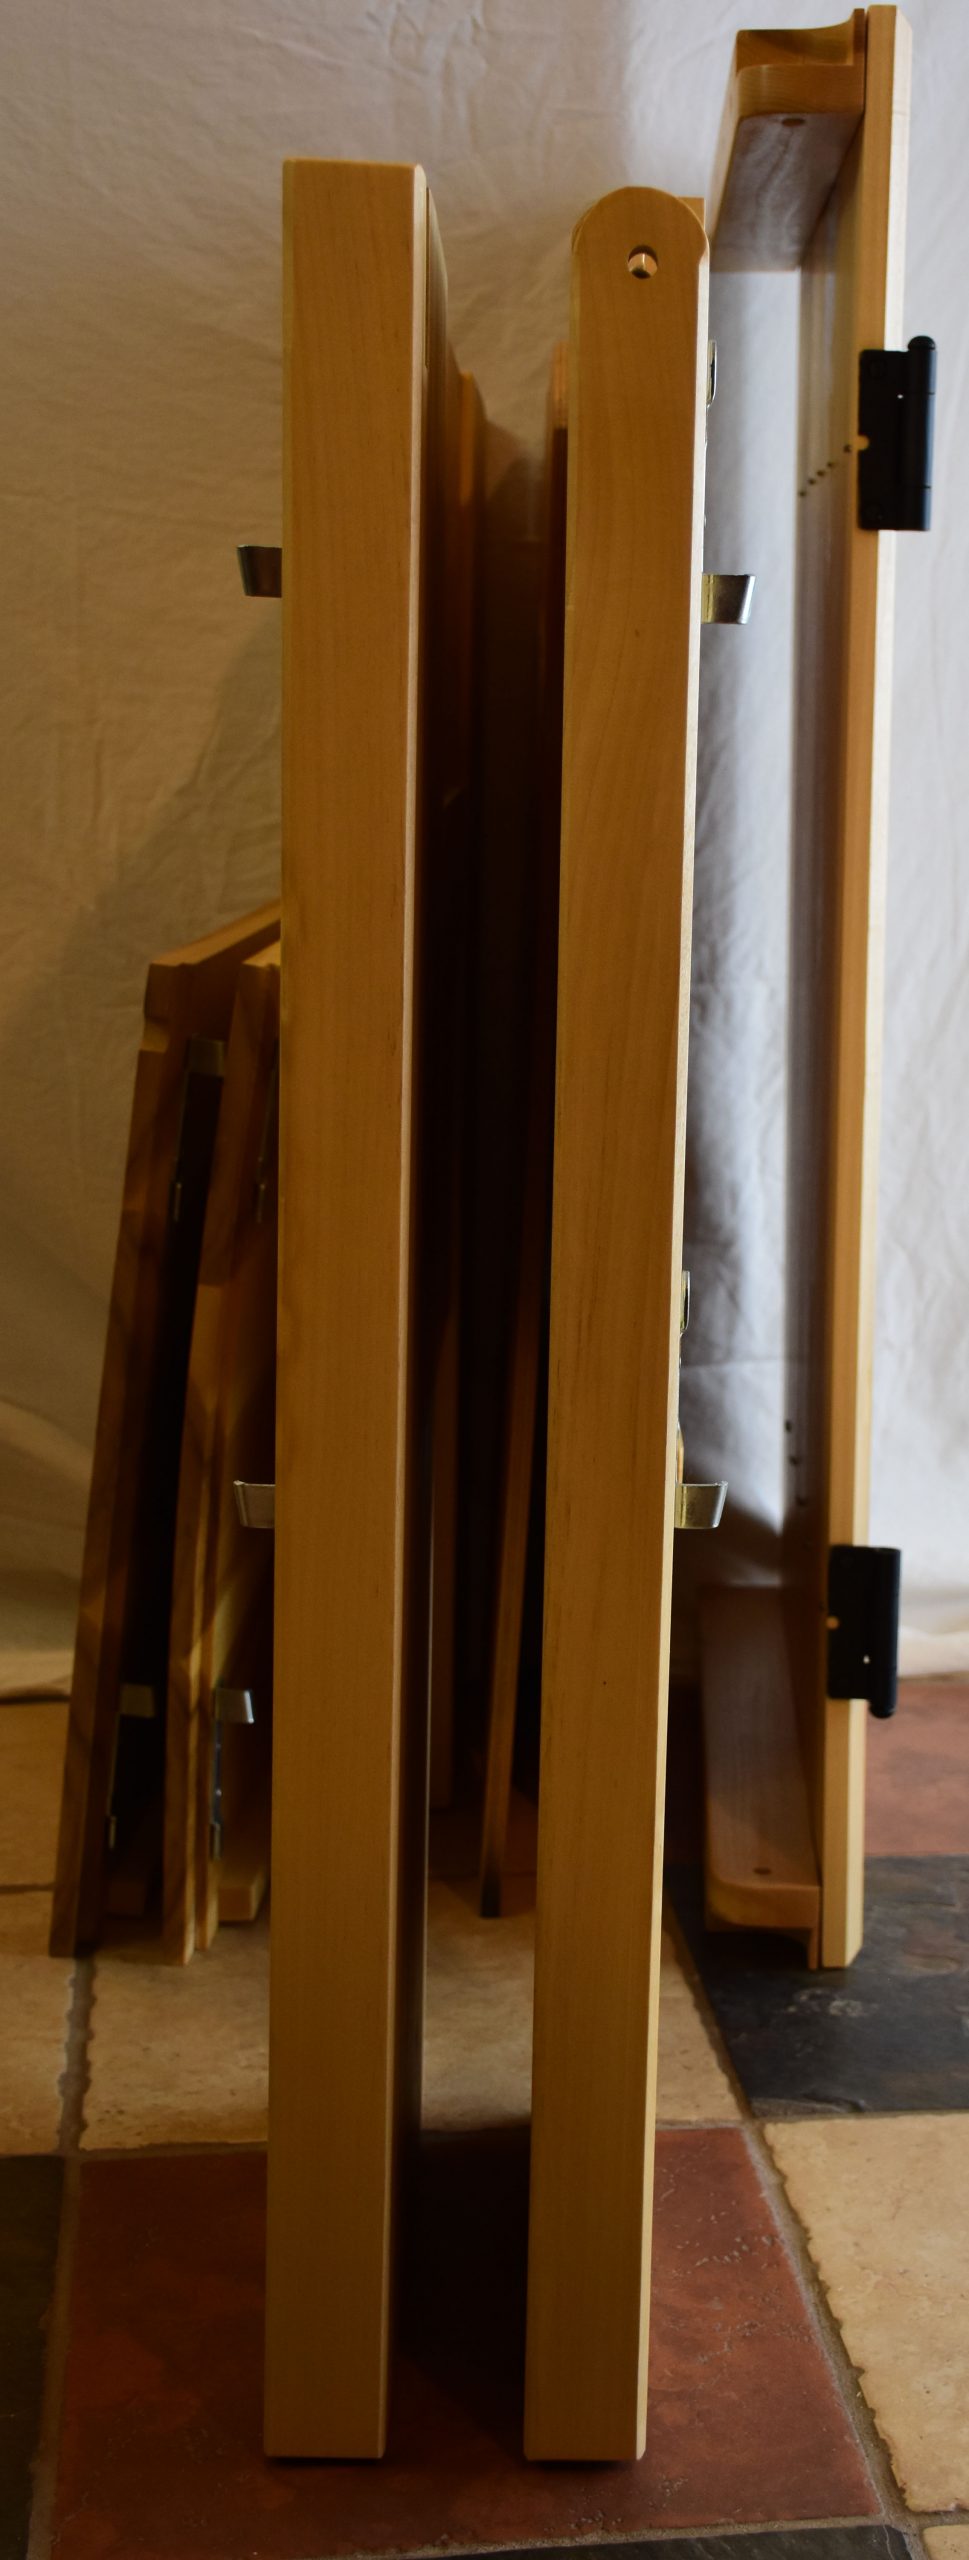
Here’s my cooler chest broken down for transport:
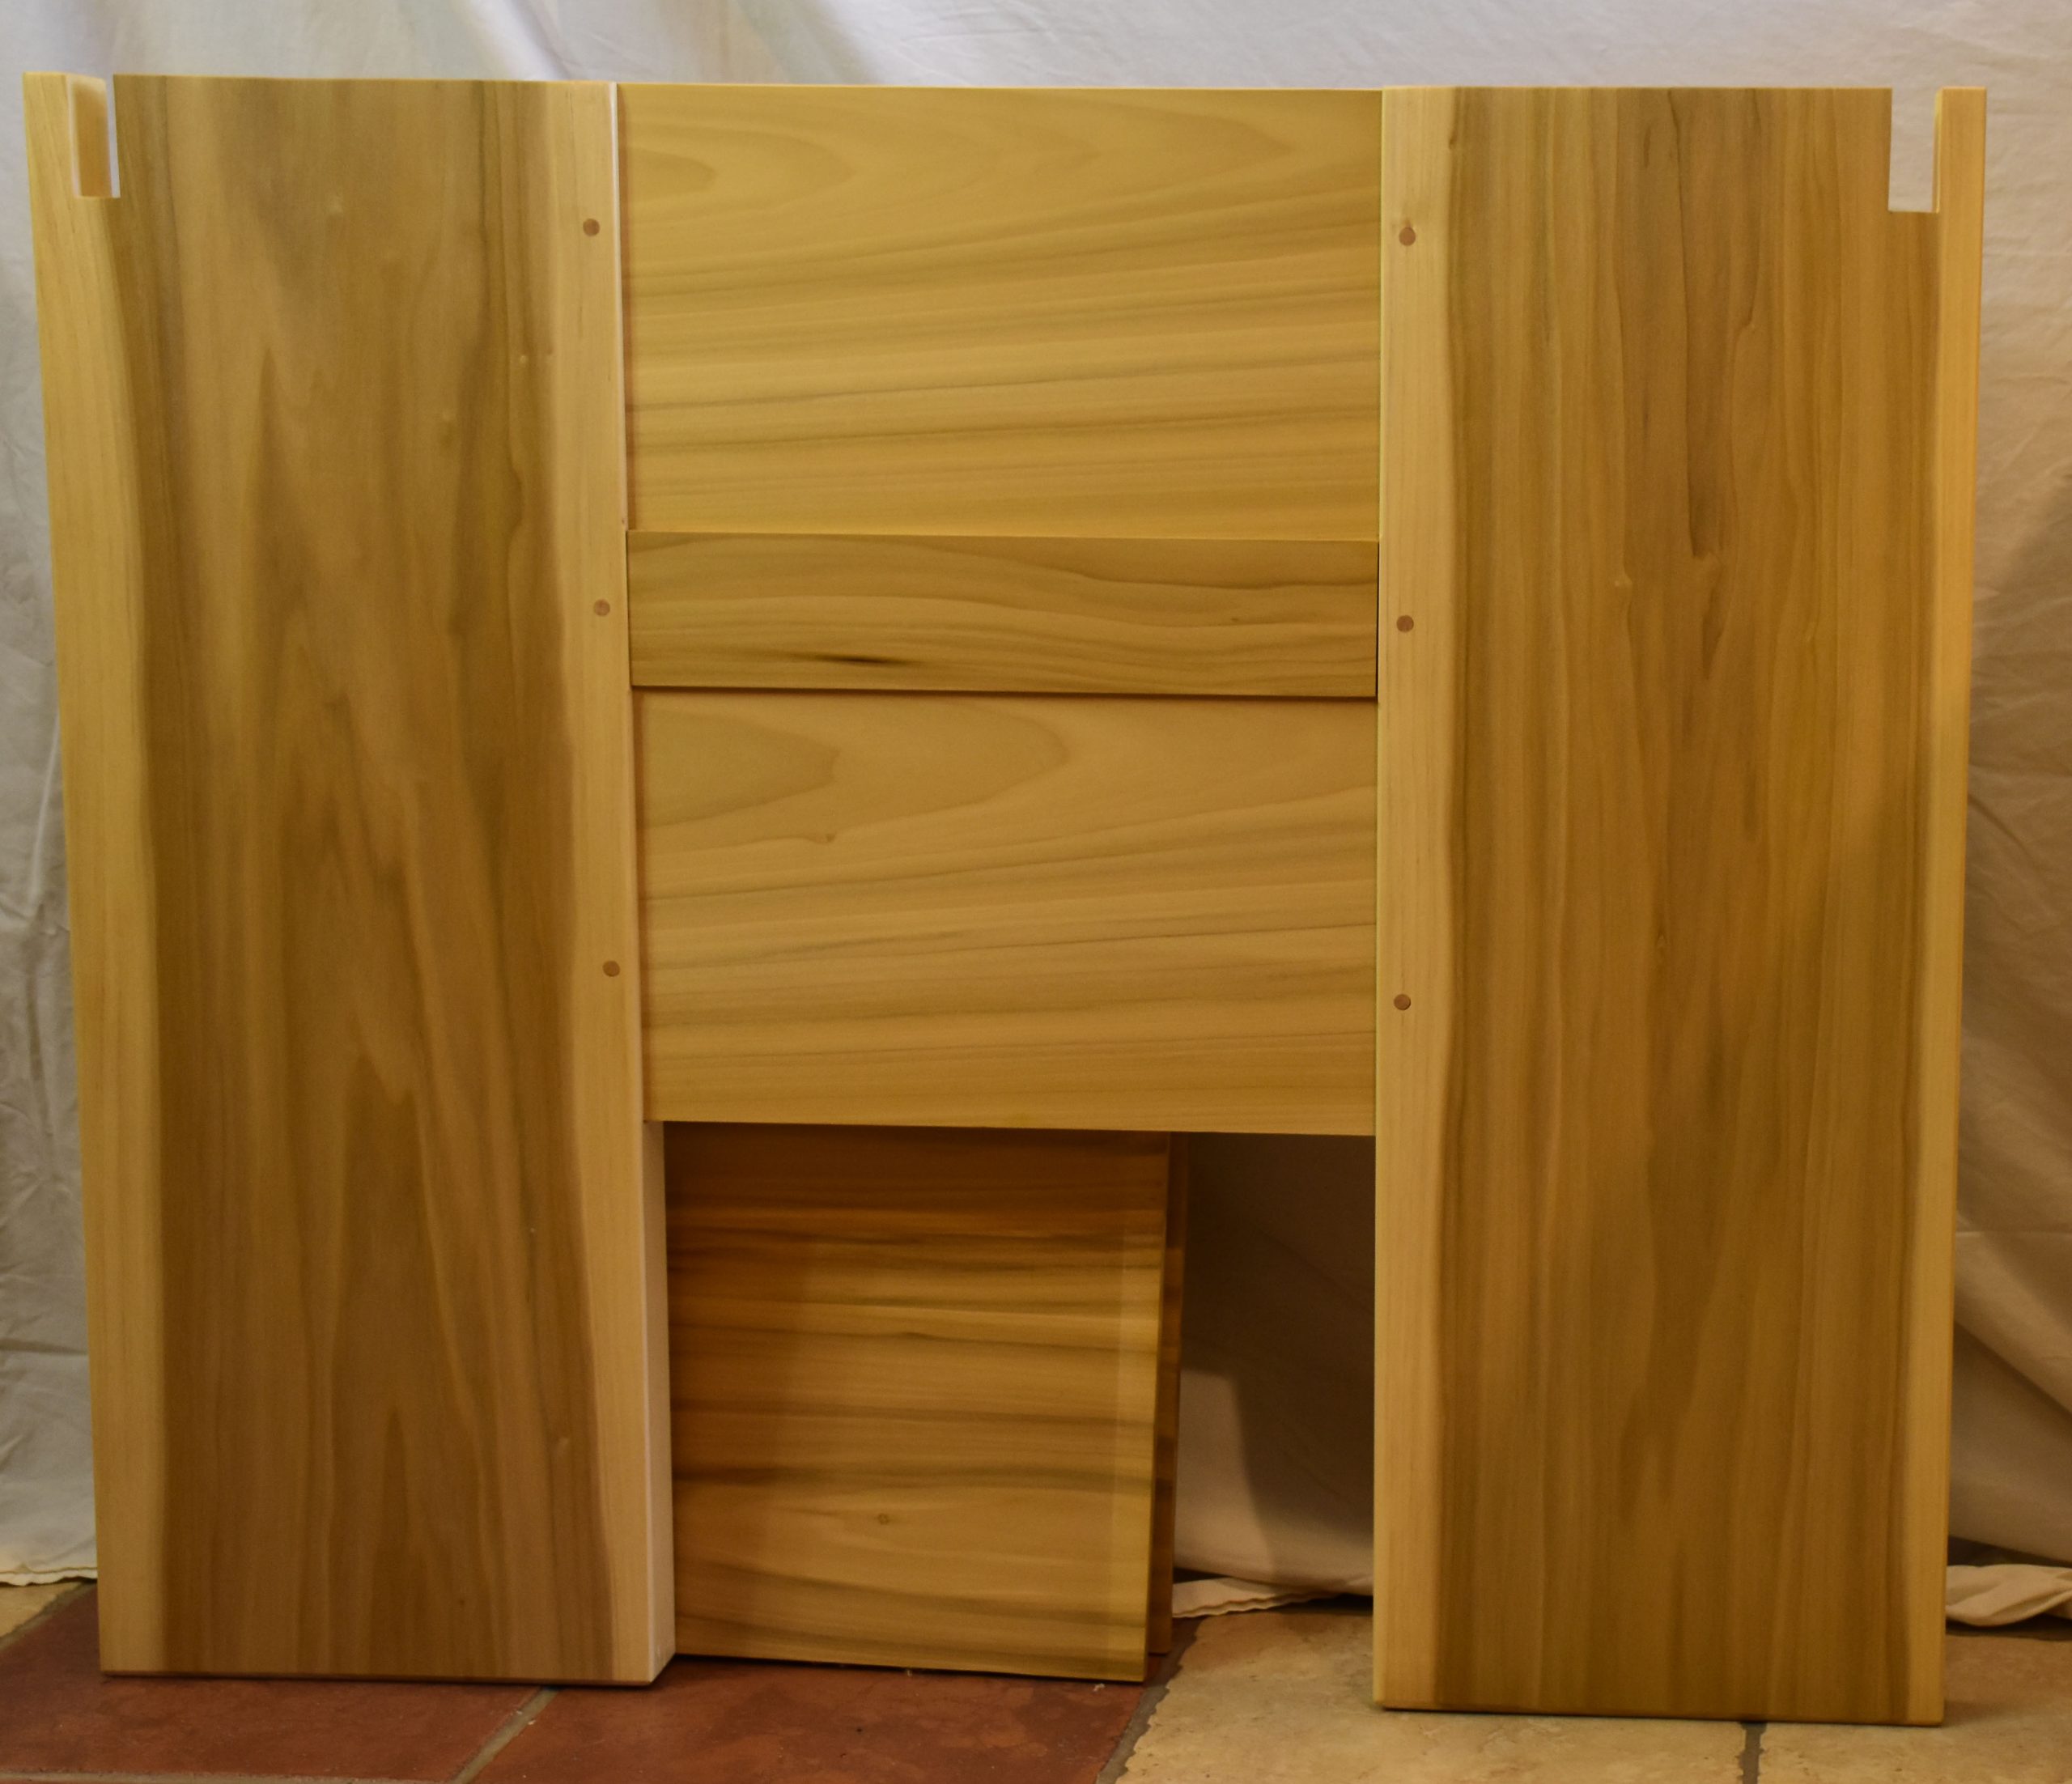
Here’s the front panel:
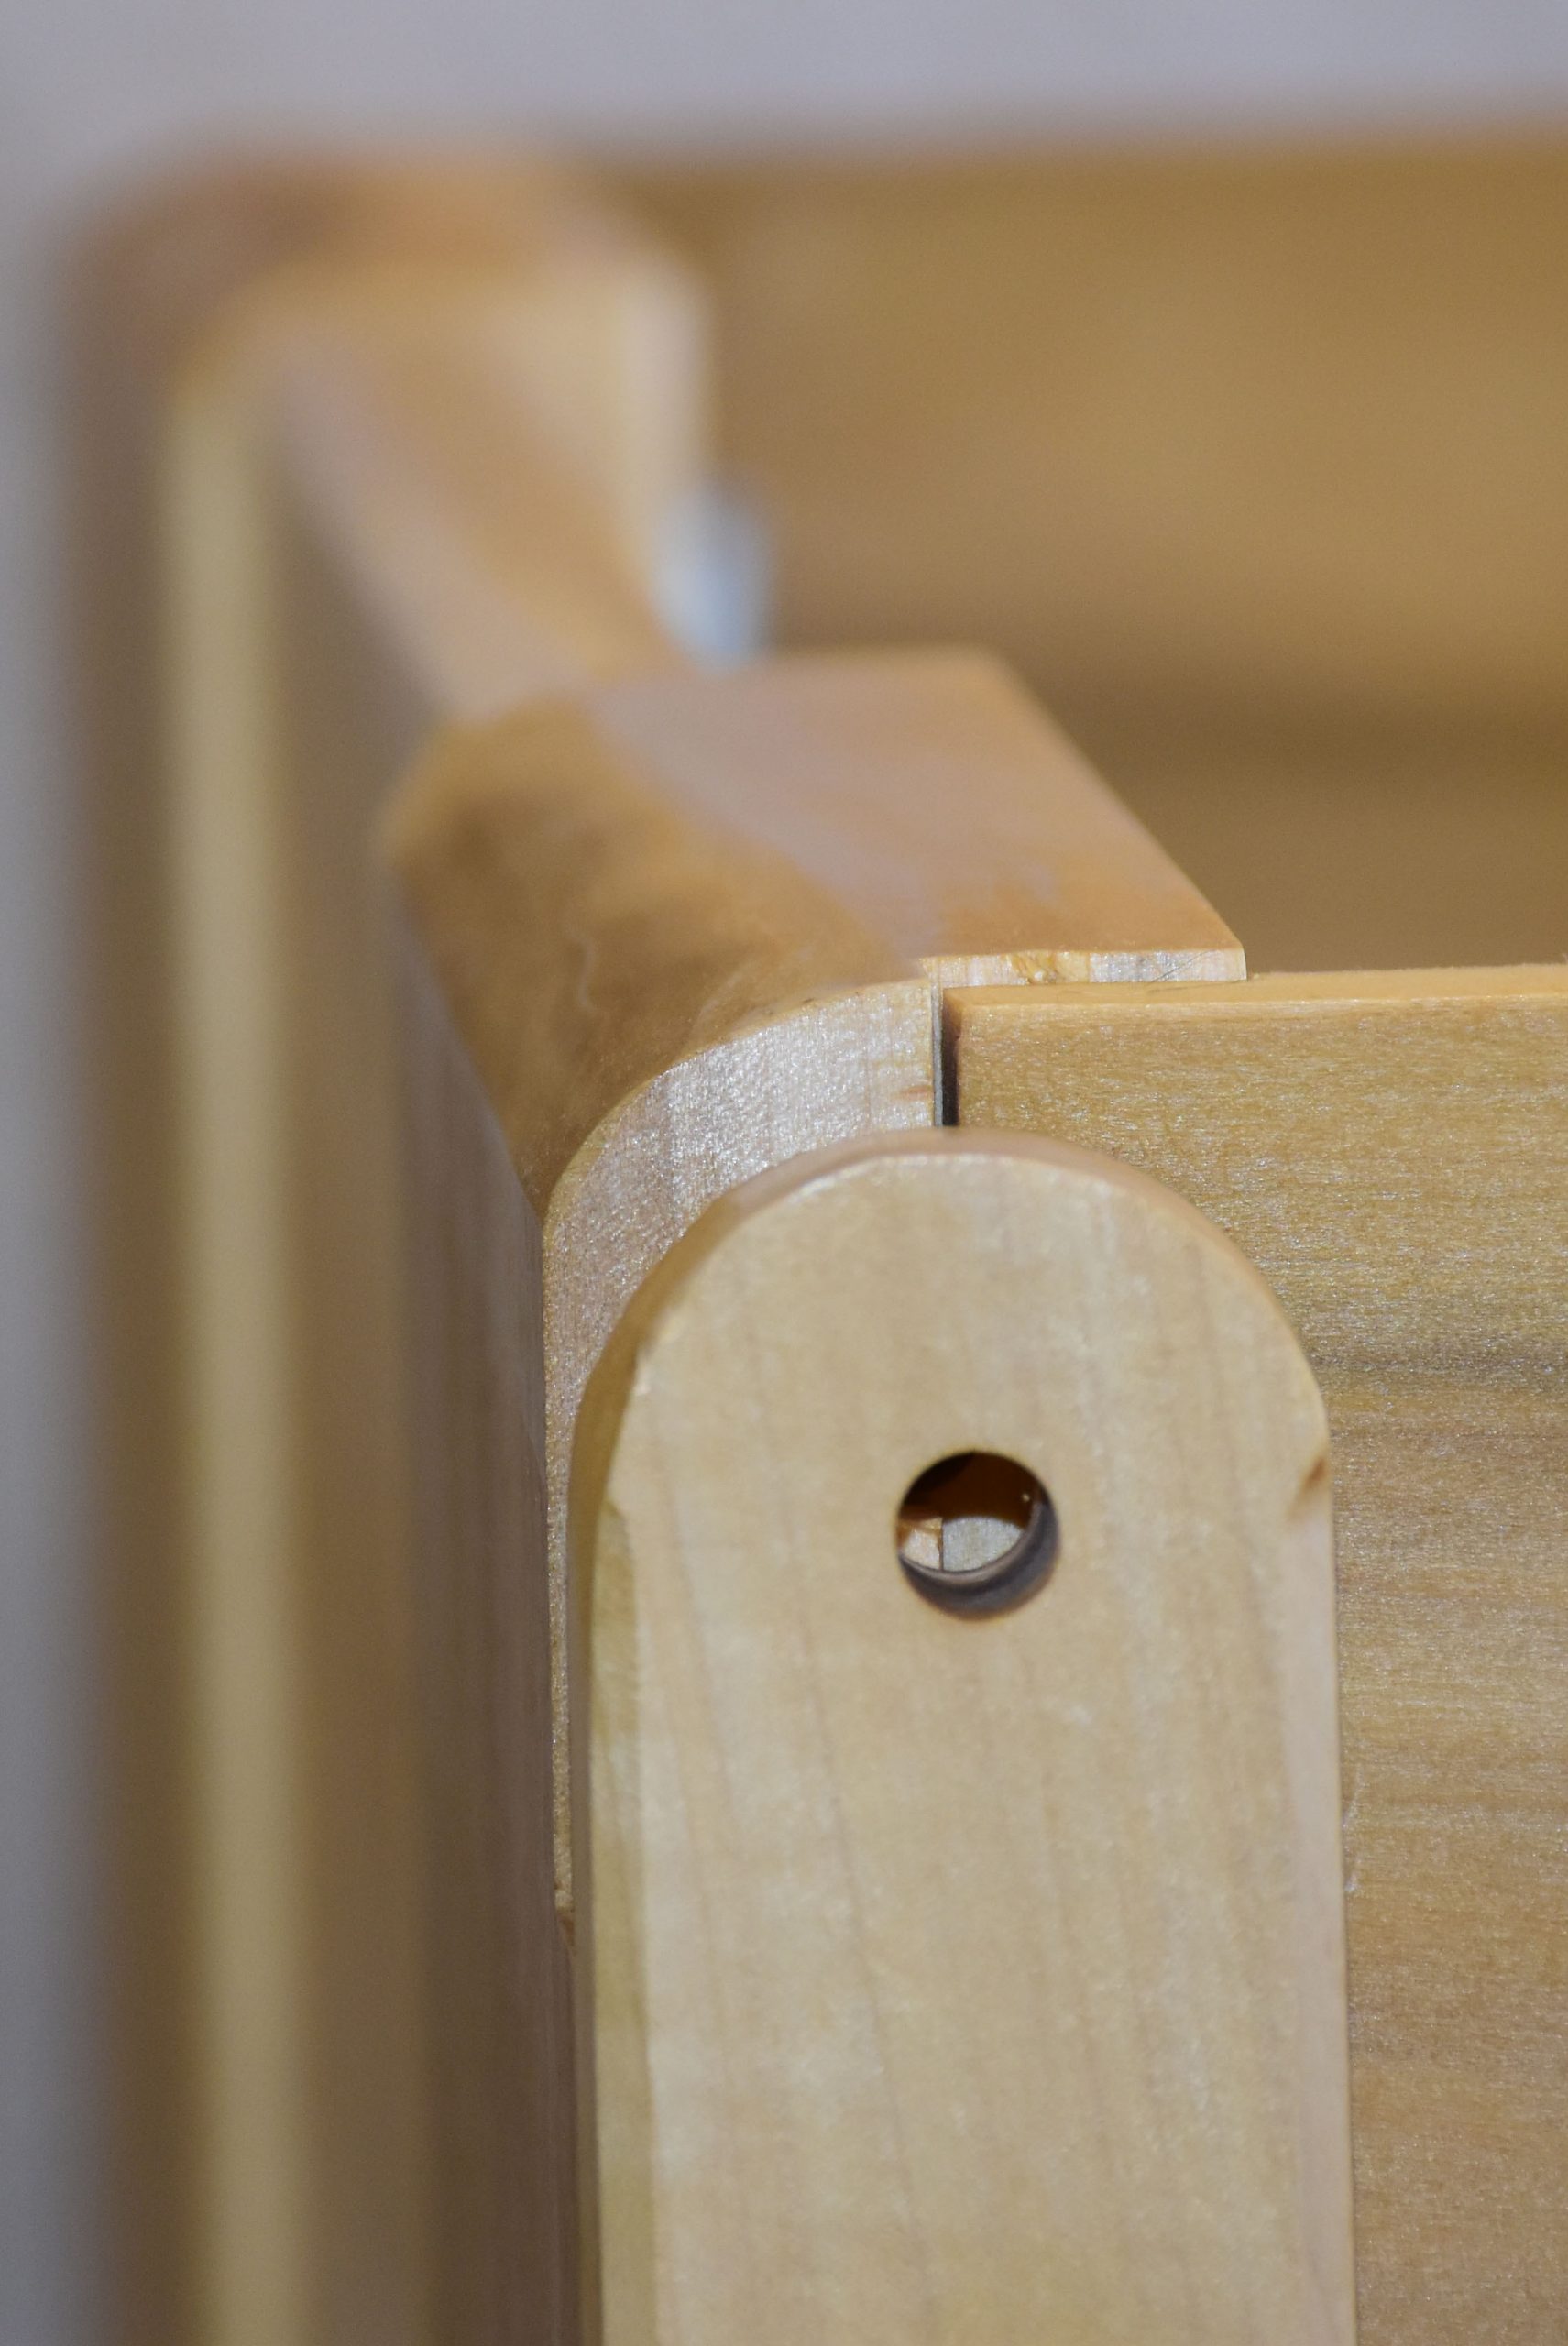
Here’s a view of the wooden hinge joint:

The next blog post will detail the work table and trestles.