A place to share projects and information

Month: January 2021

Three furniture projects for an outdoor kitchen: aubry cabinet

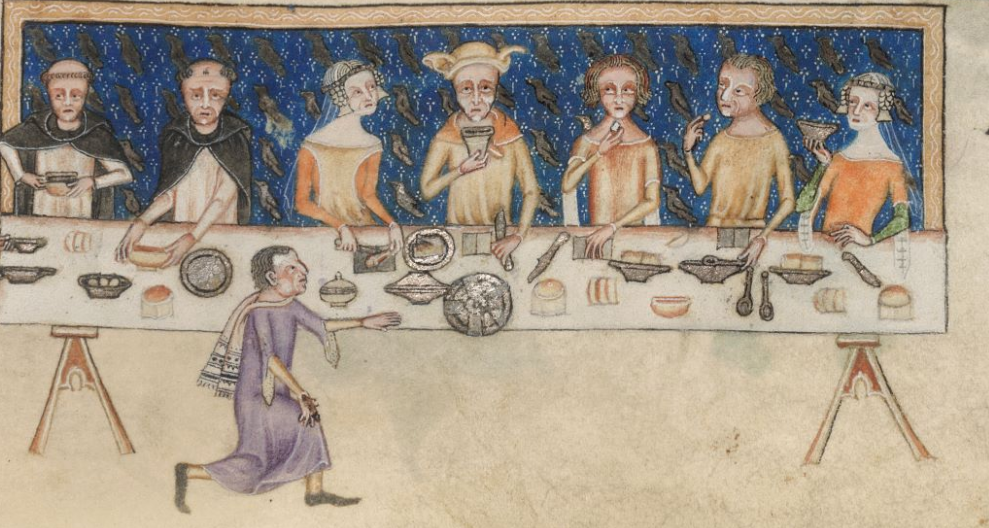
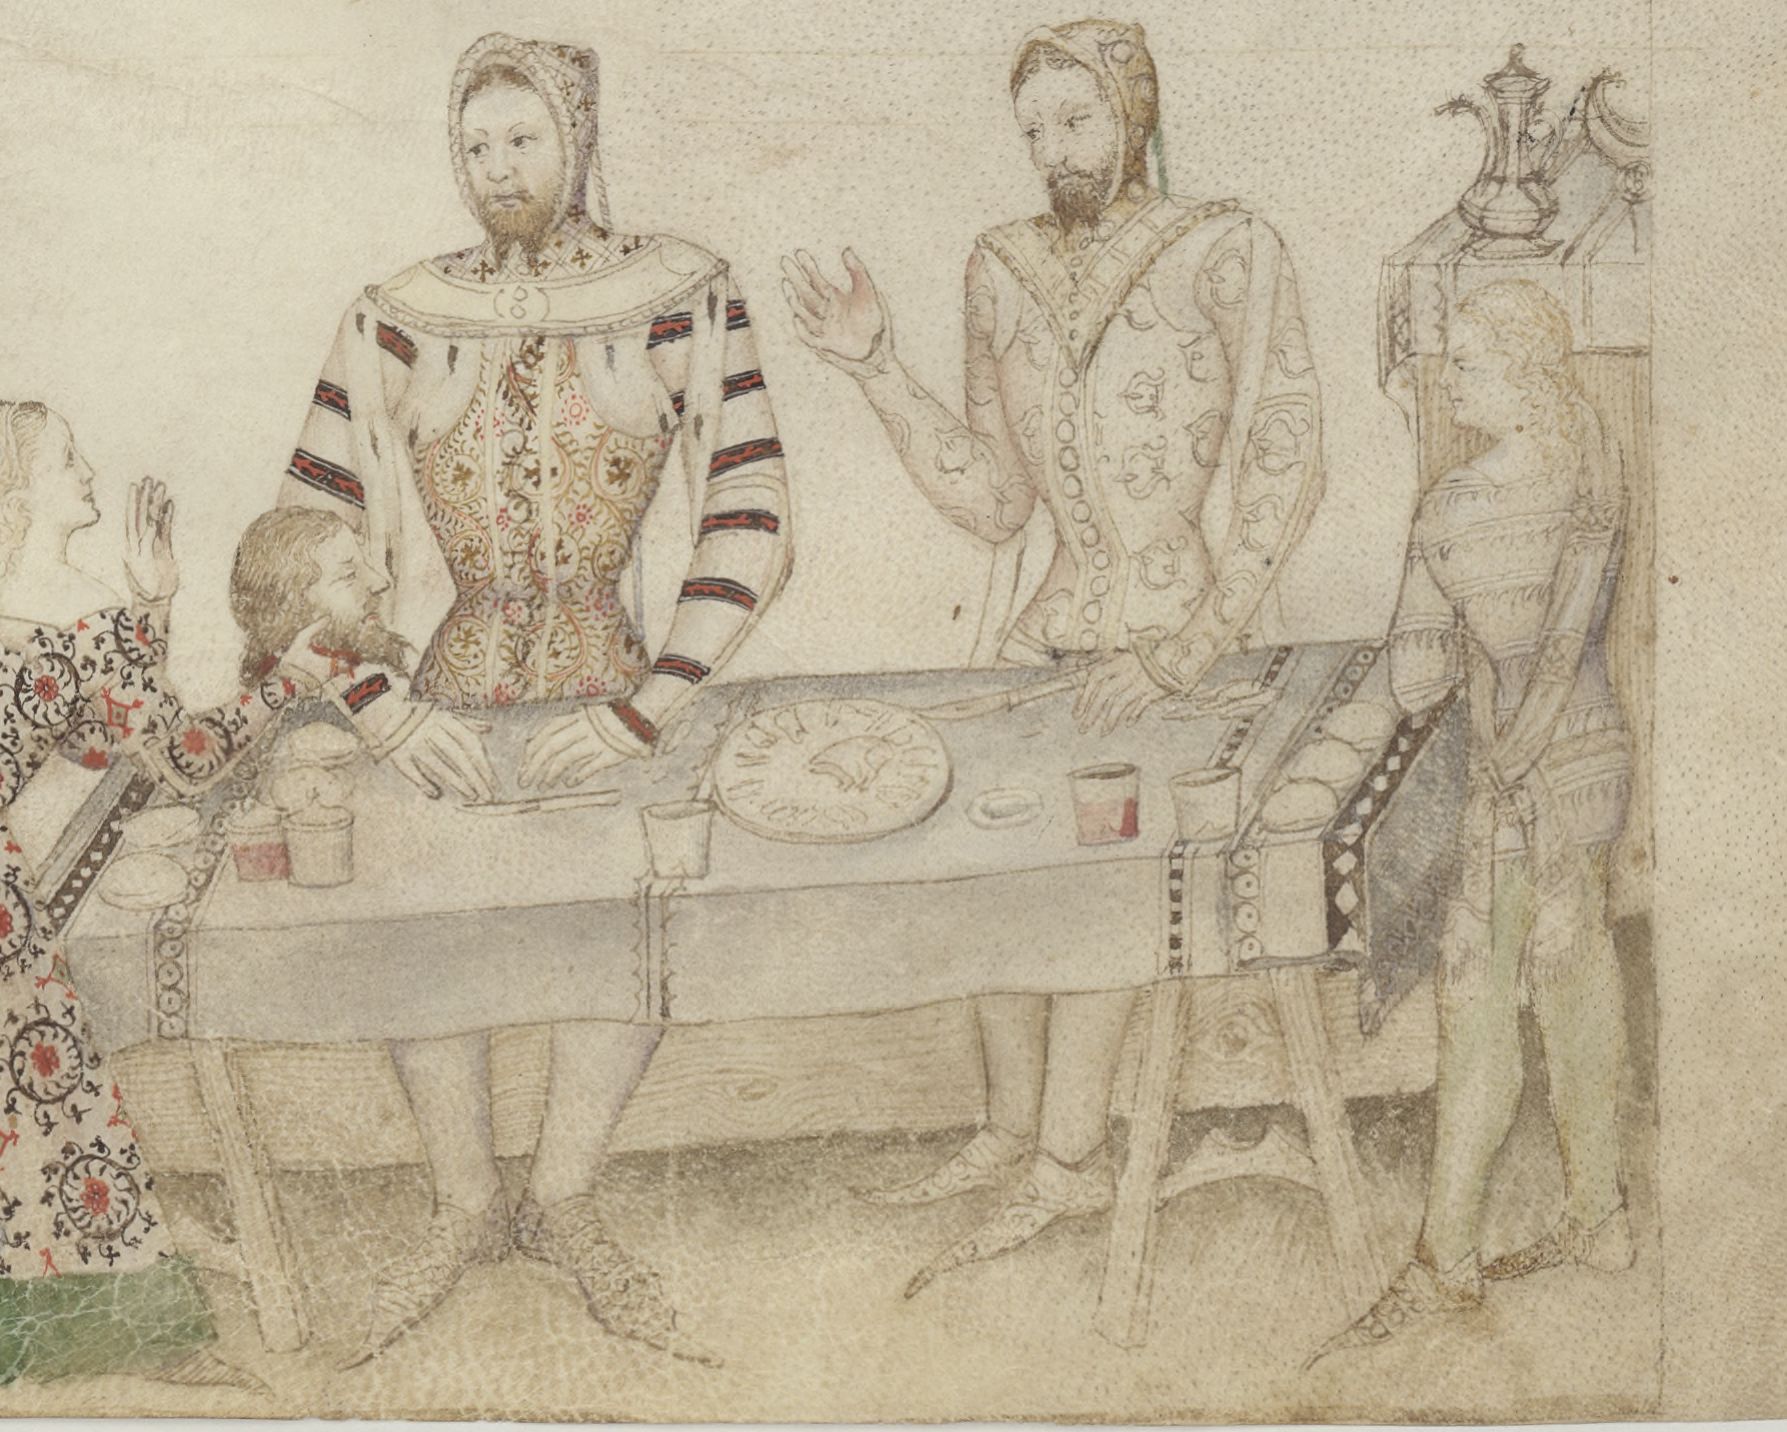
The least historically plausible piece of furniture is the aumbry cabinet – a 15th century form, usually used to store church vestments.

My aumbry cabinet assembled

Here are some historical examples.

a circa-1490 piece that was part of the Clive Sherwood collection sold at a Sotheby’s auction in 2002. (link from https://www.core77.com/posts/87776/Be-Honest-About-Your-Inspiration-or-Else) This was the historical exemplar that Chris Schwarz used to design the aumbry in the “The Anarchist’s Design Book” which provided some construction hints and templates for the tracery.
English aumbry c. 1490 from https://www.periodoakantiques.co.uk/antique-sales-archive/a-very-rare-english-oak-aumbry-circa-1490-27-stockno-1074/. I traced and modified the teardrop tracery design from this aumbry for mine.

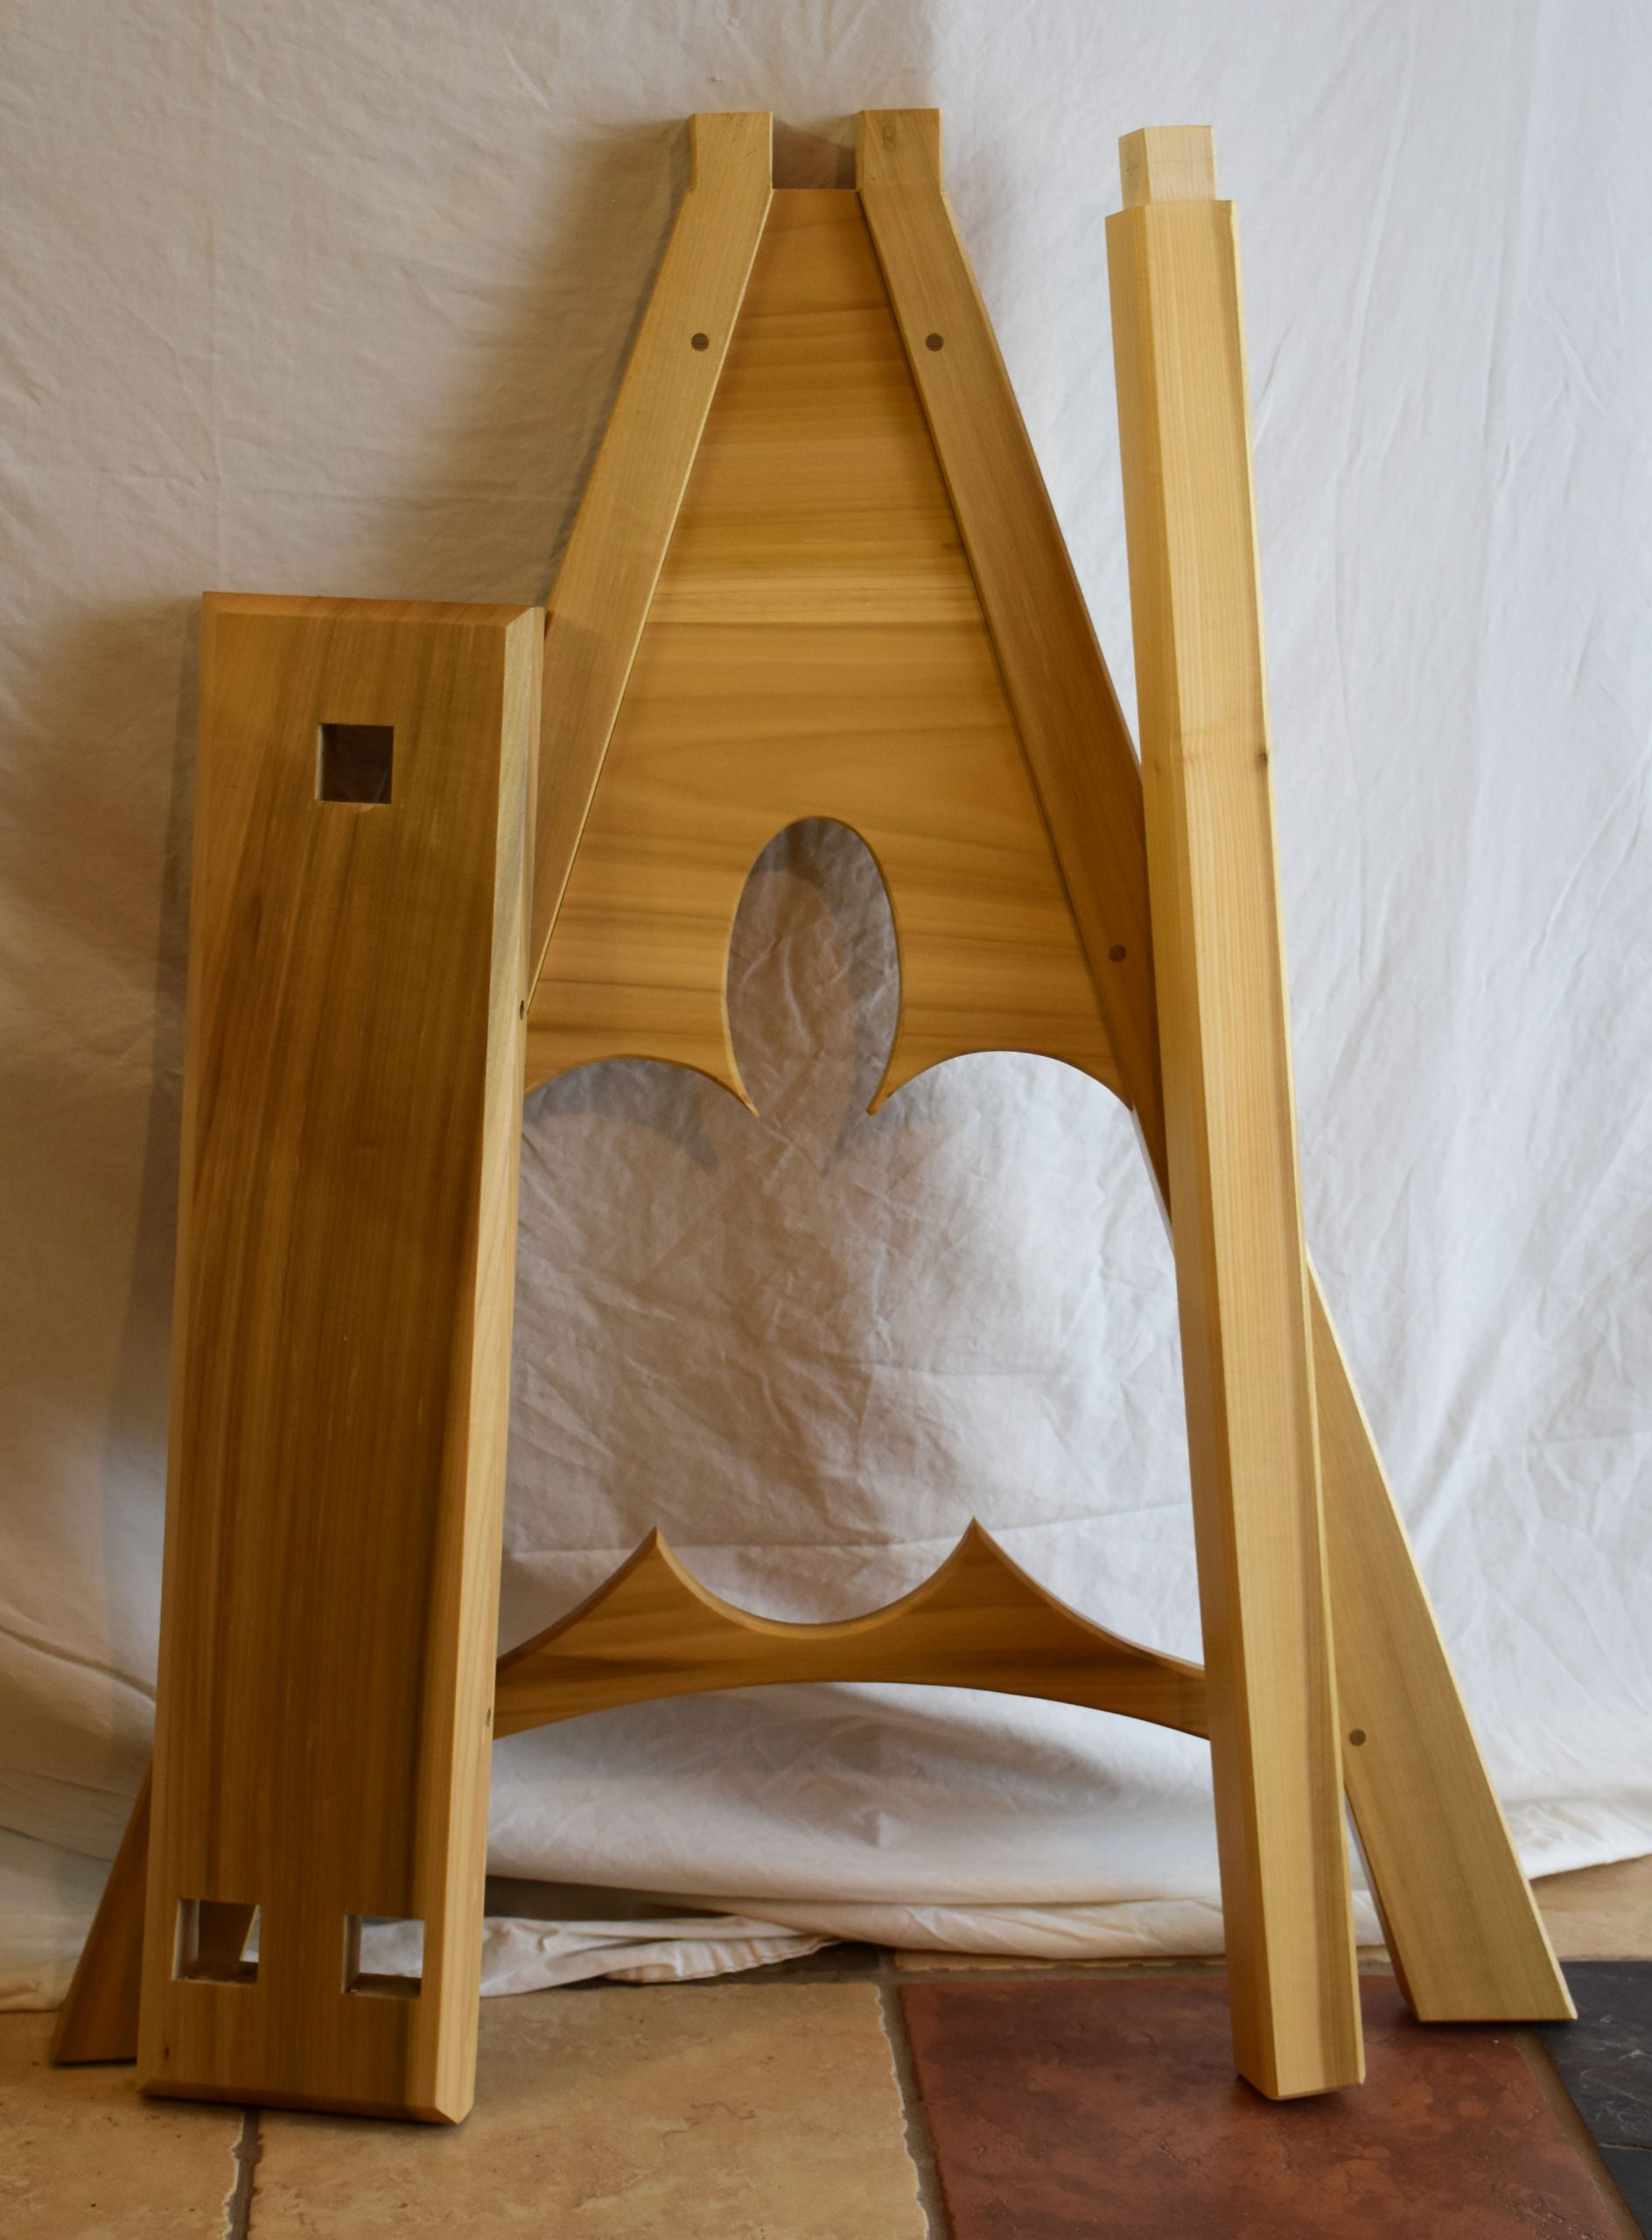
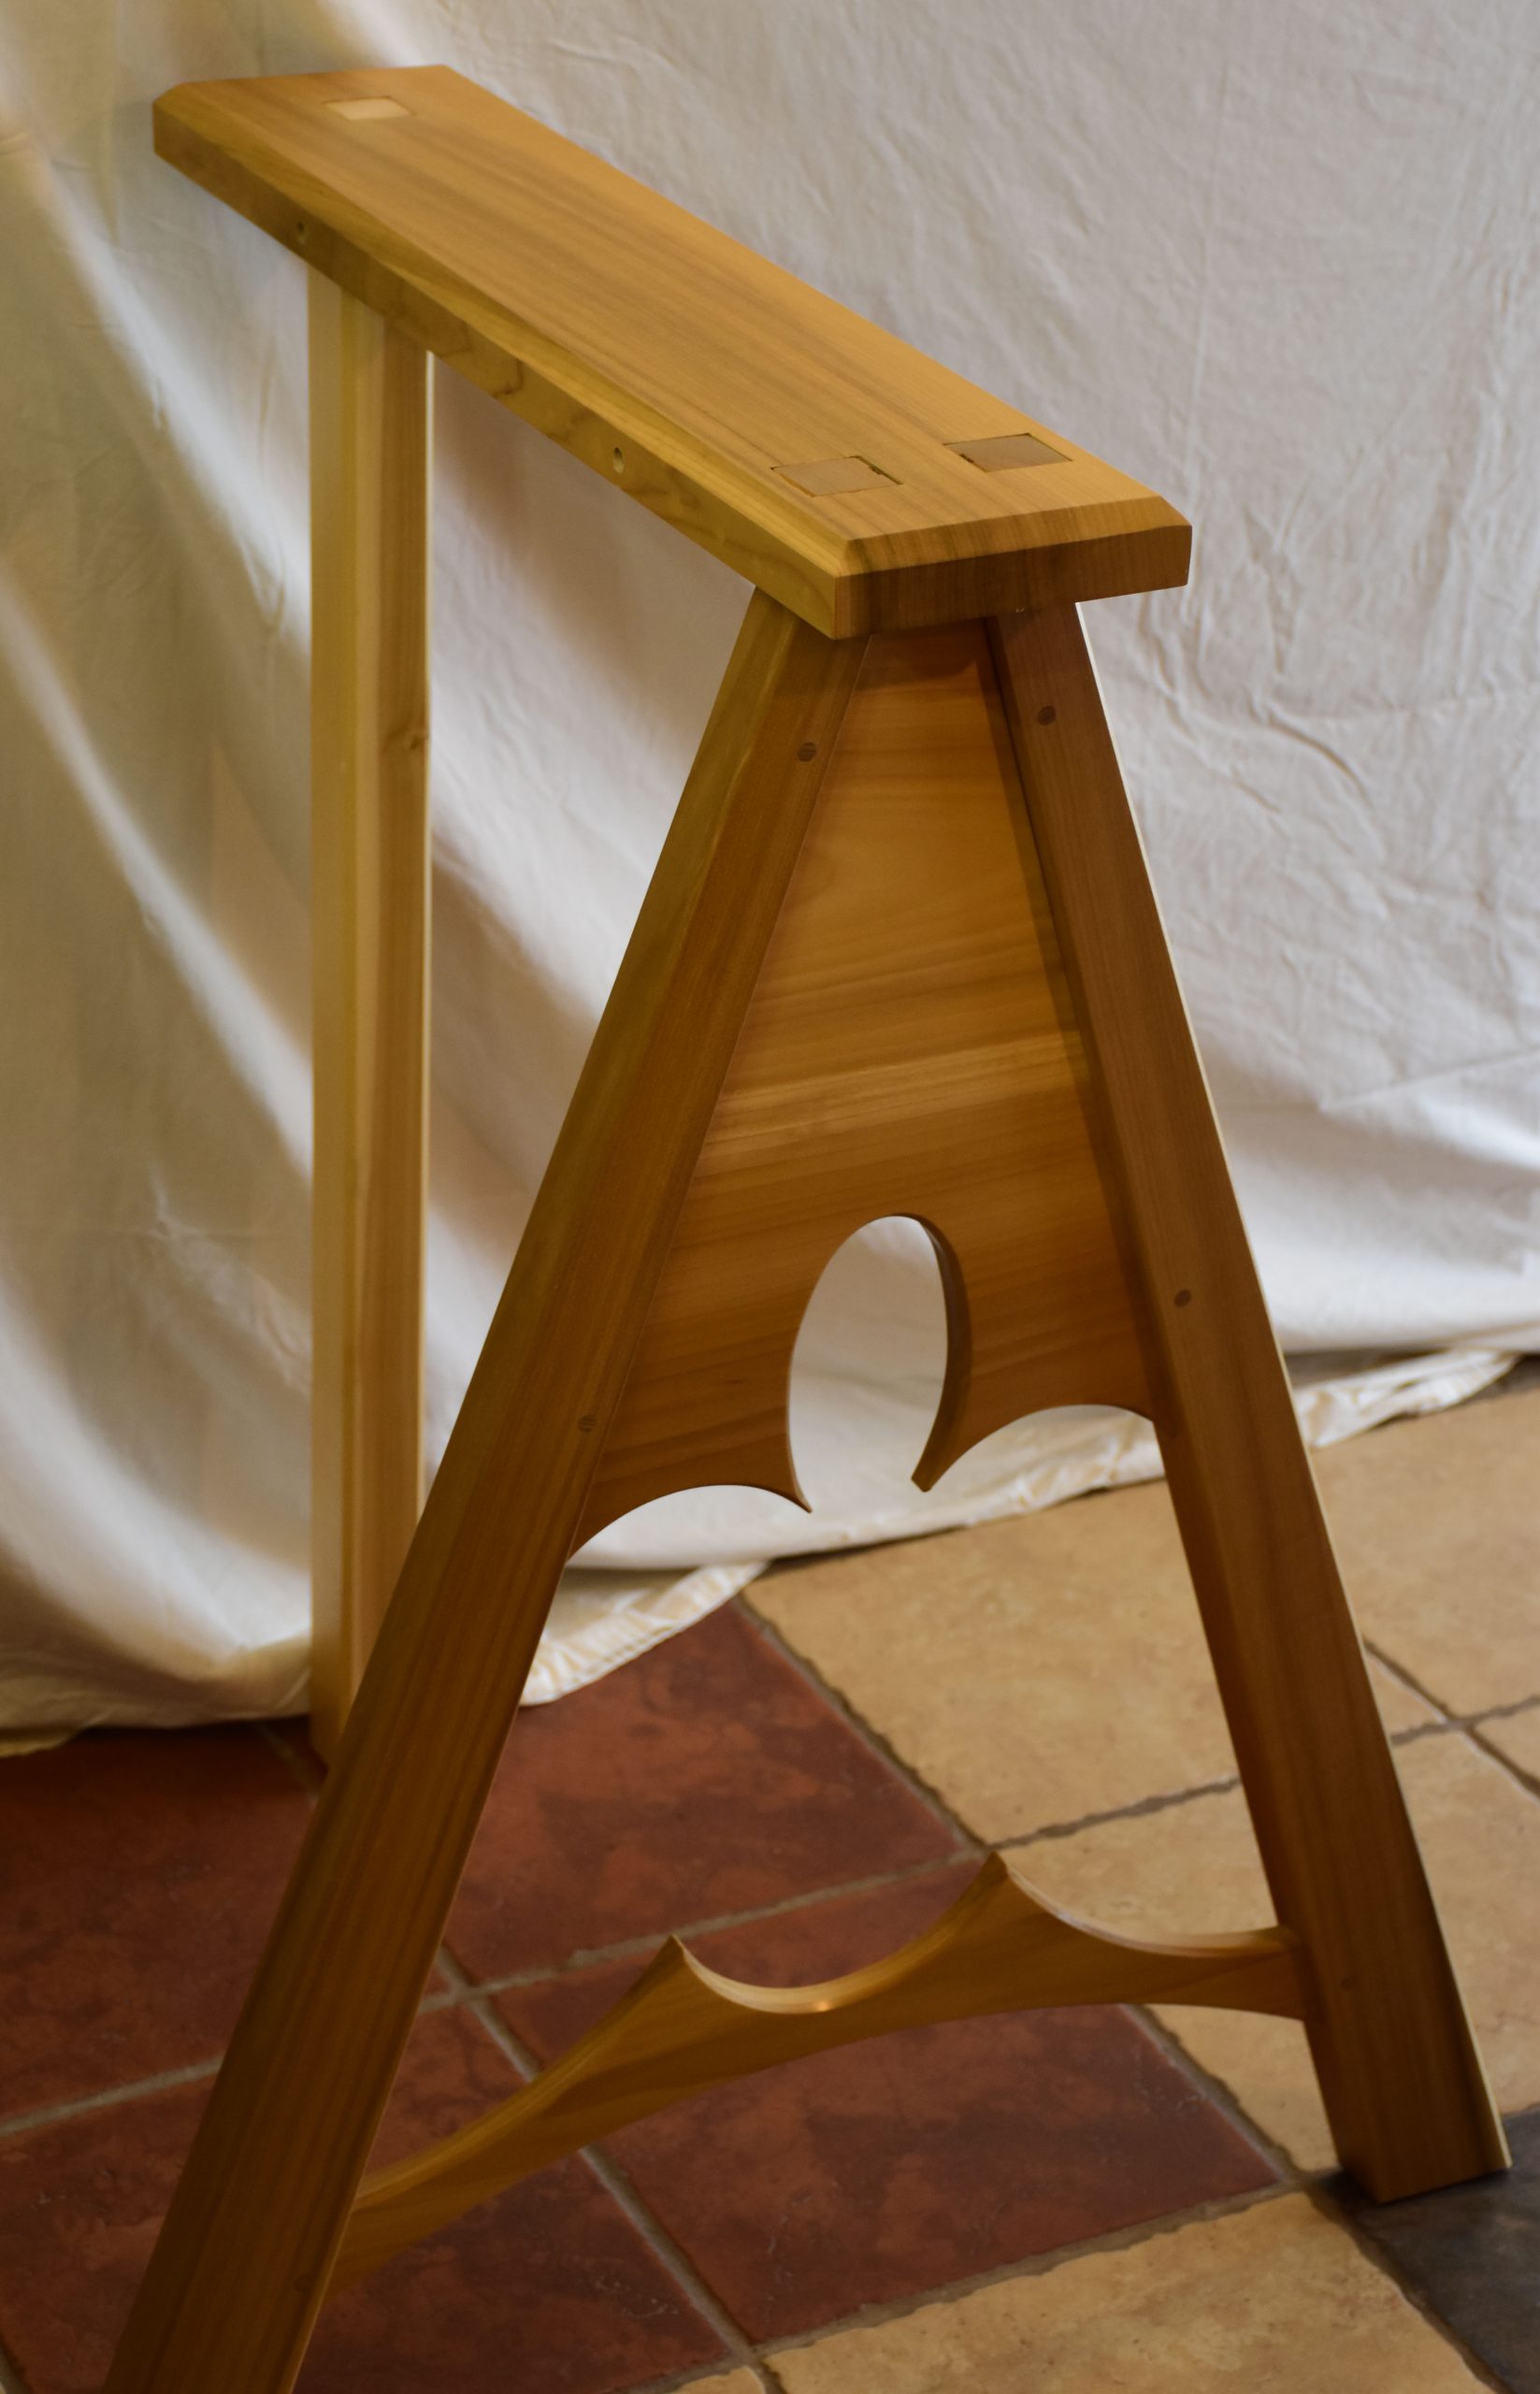
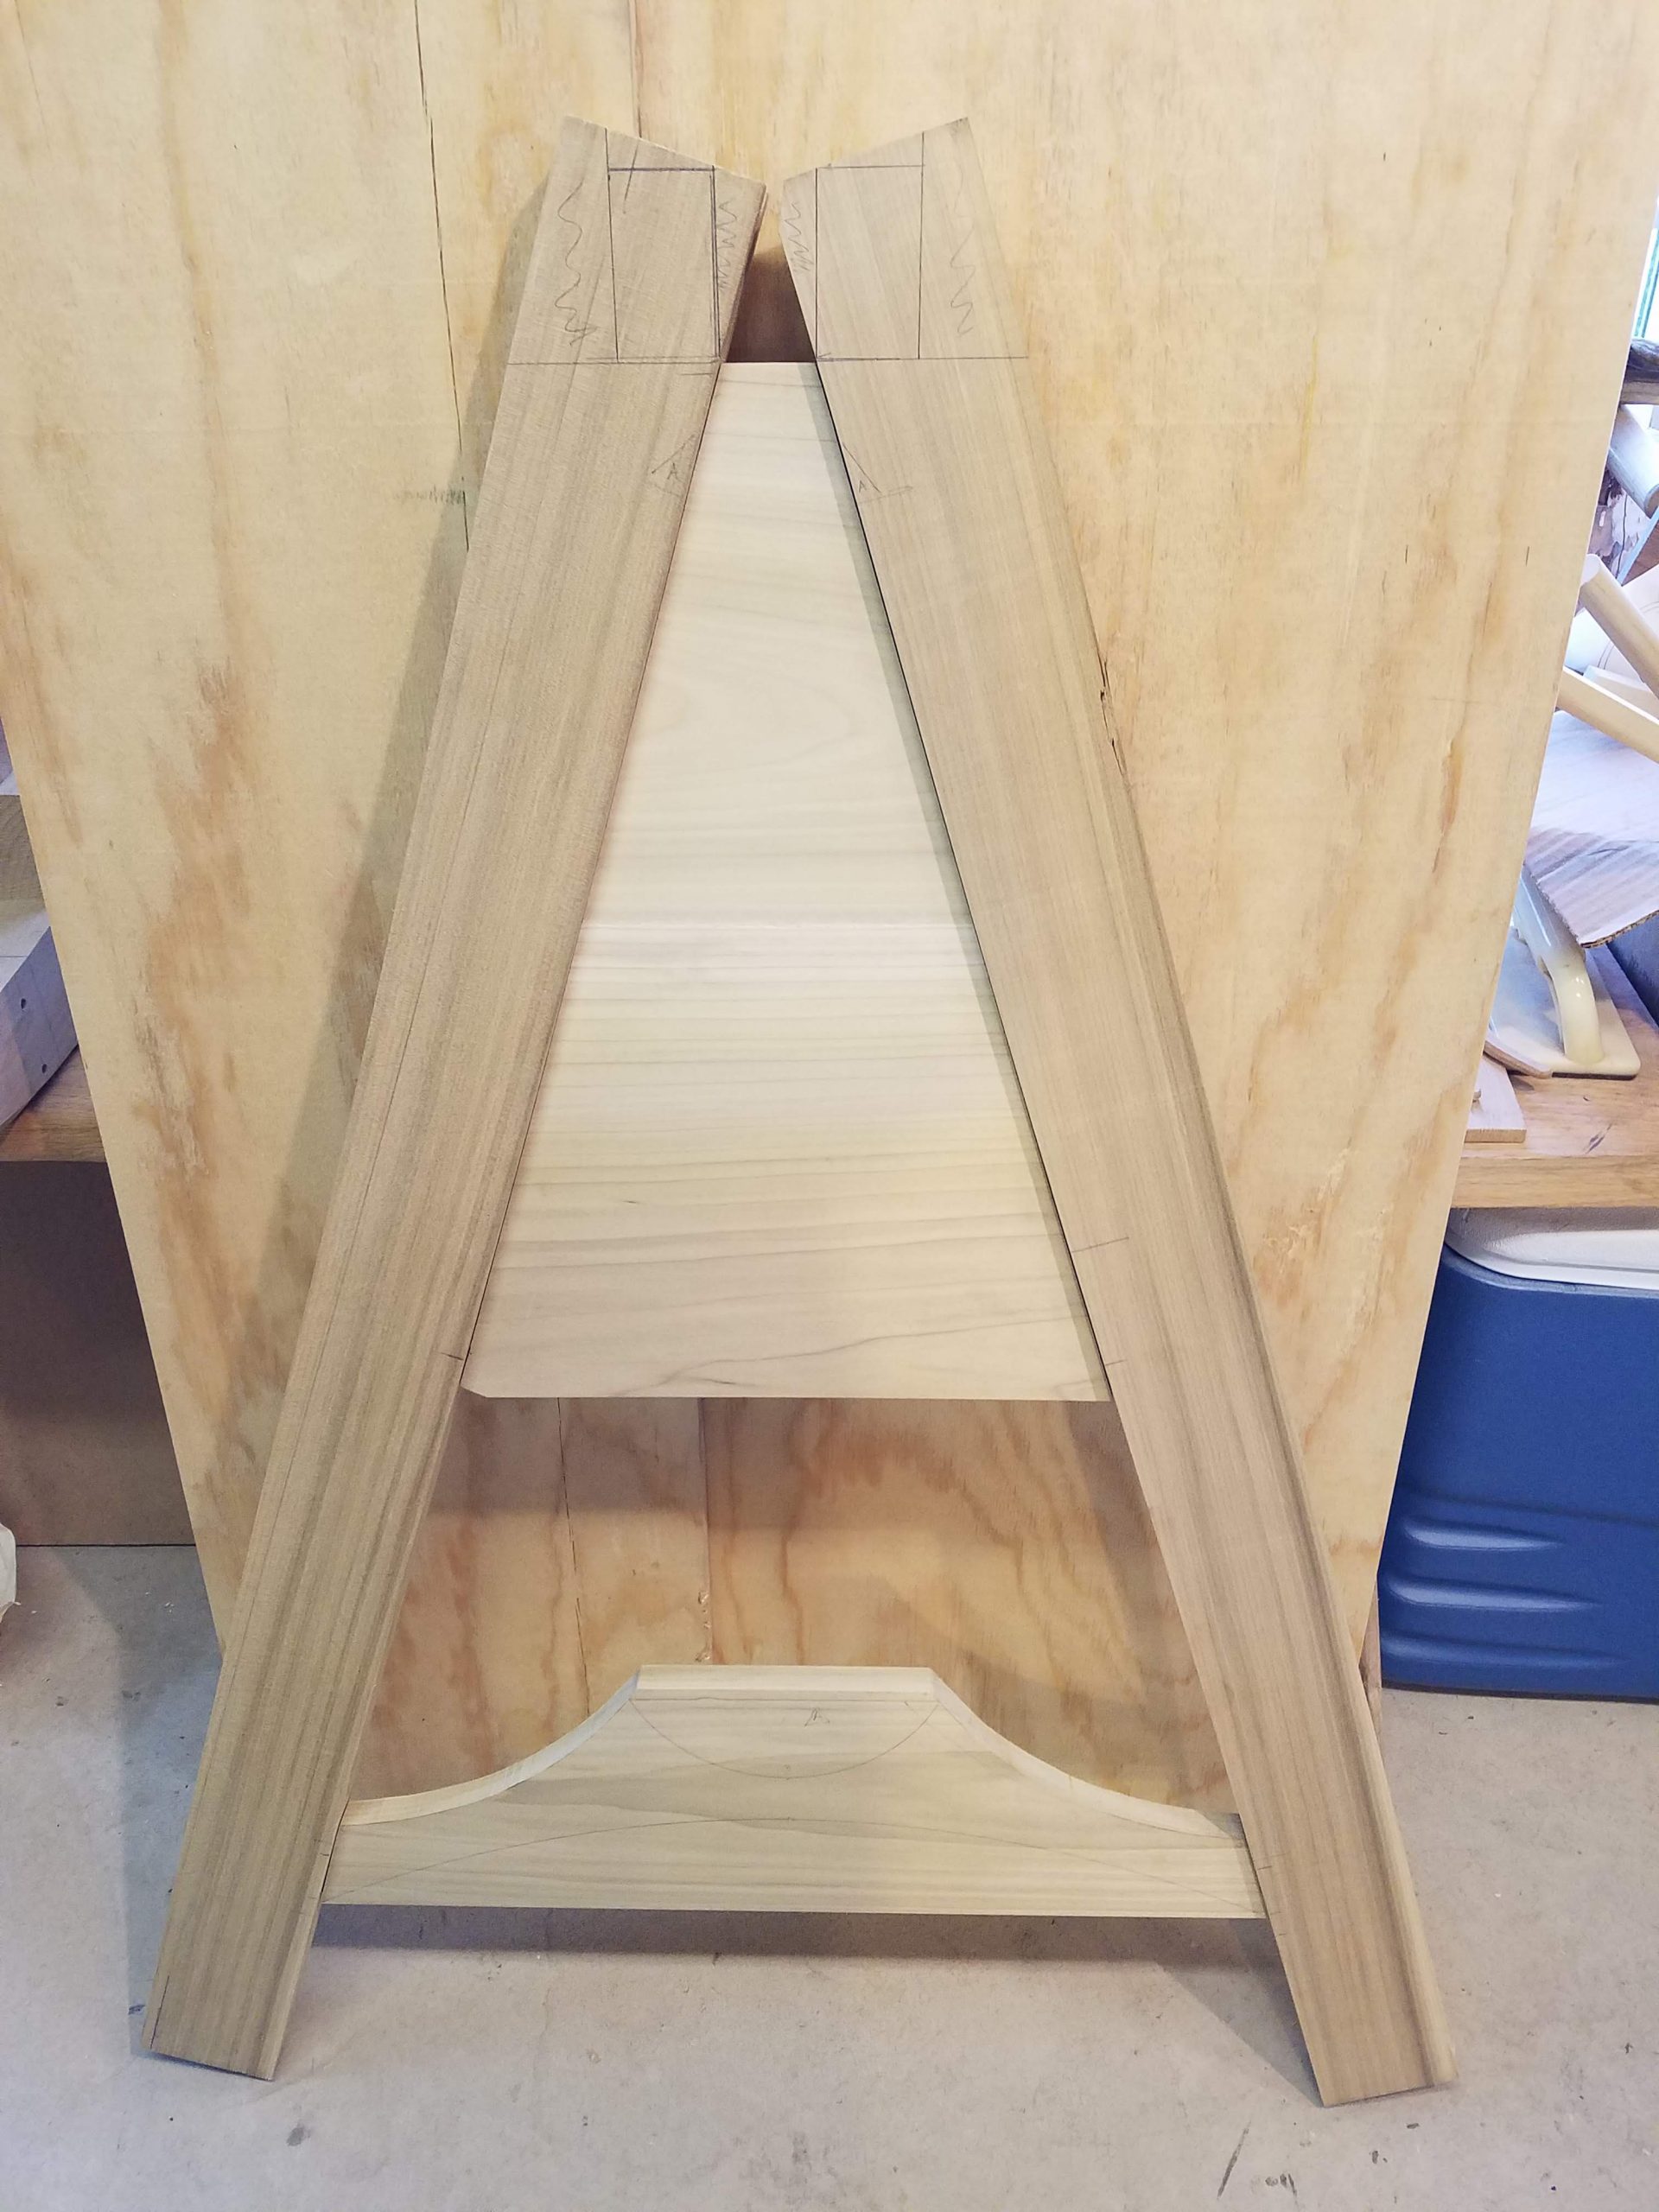
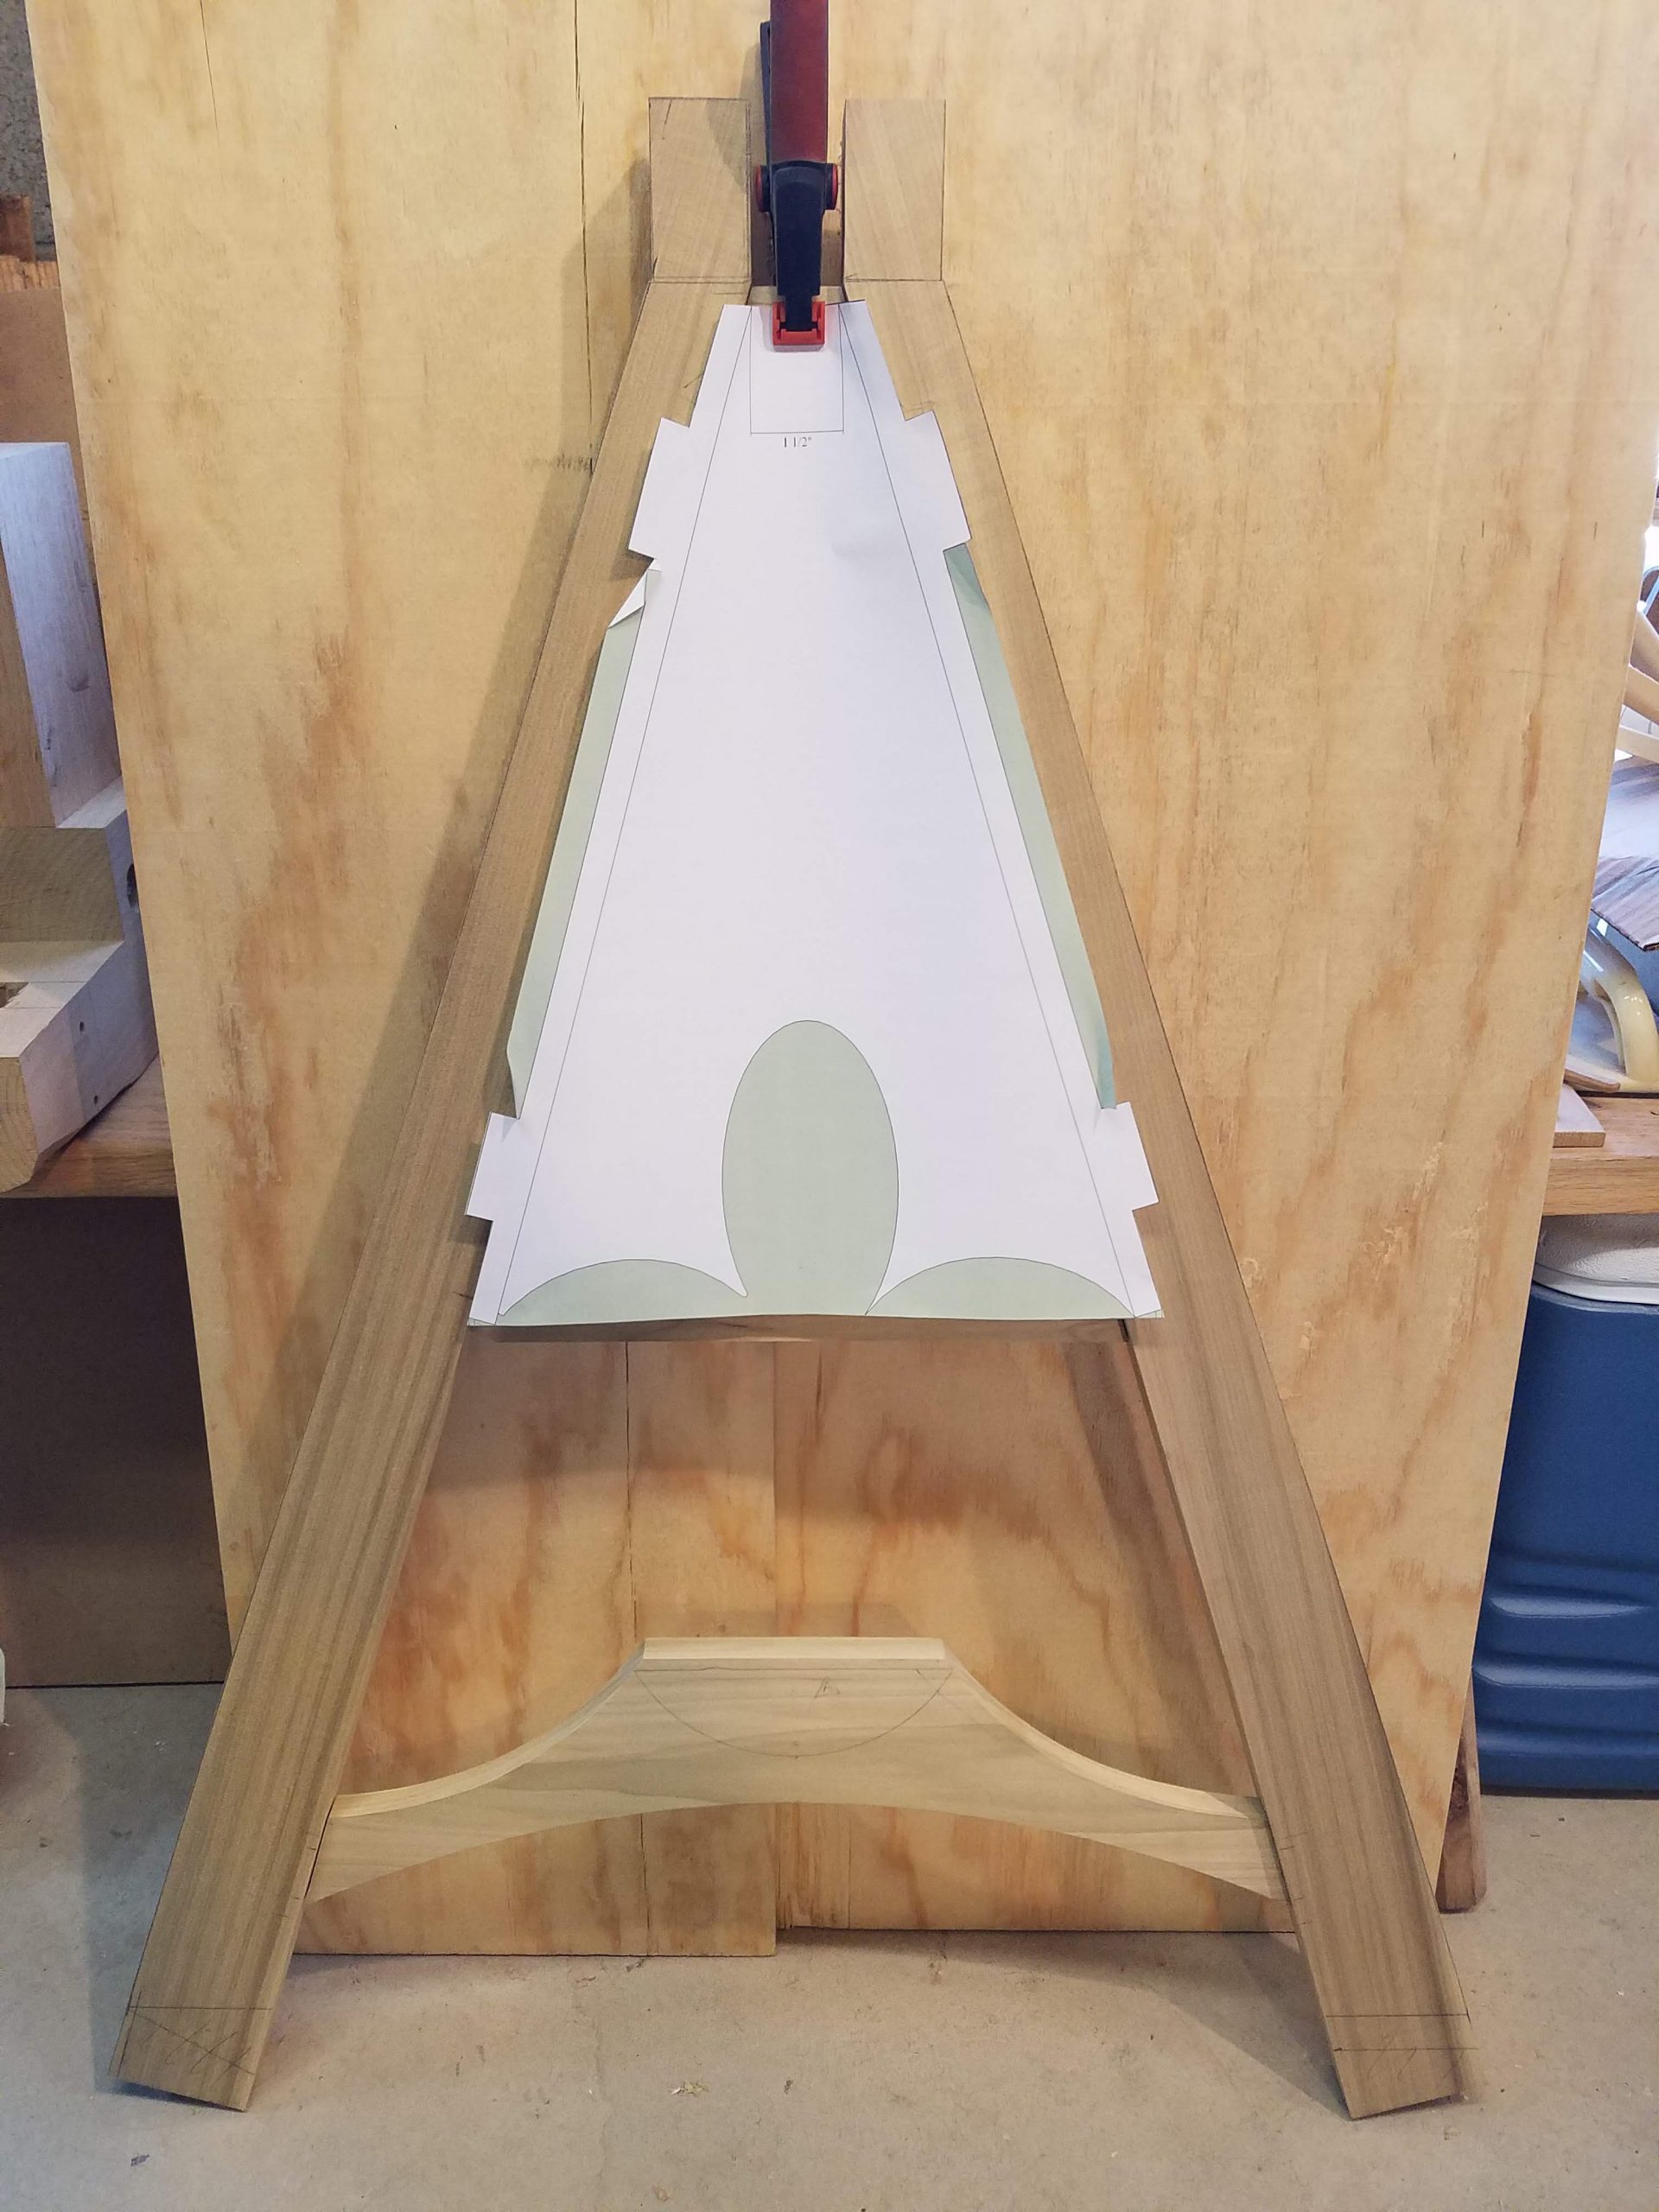
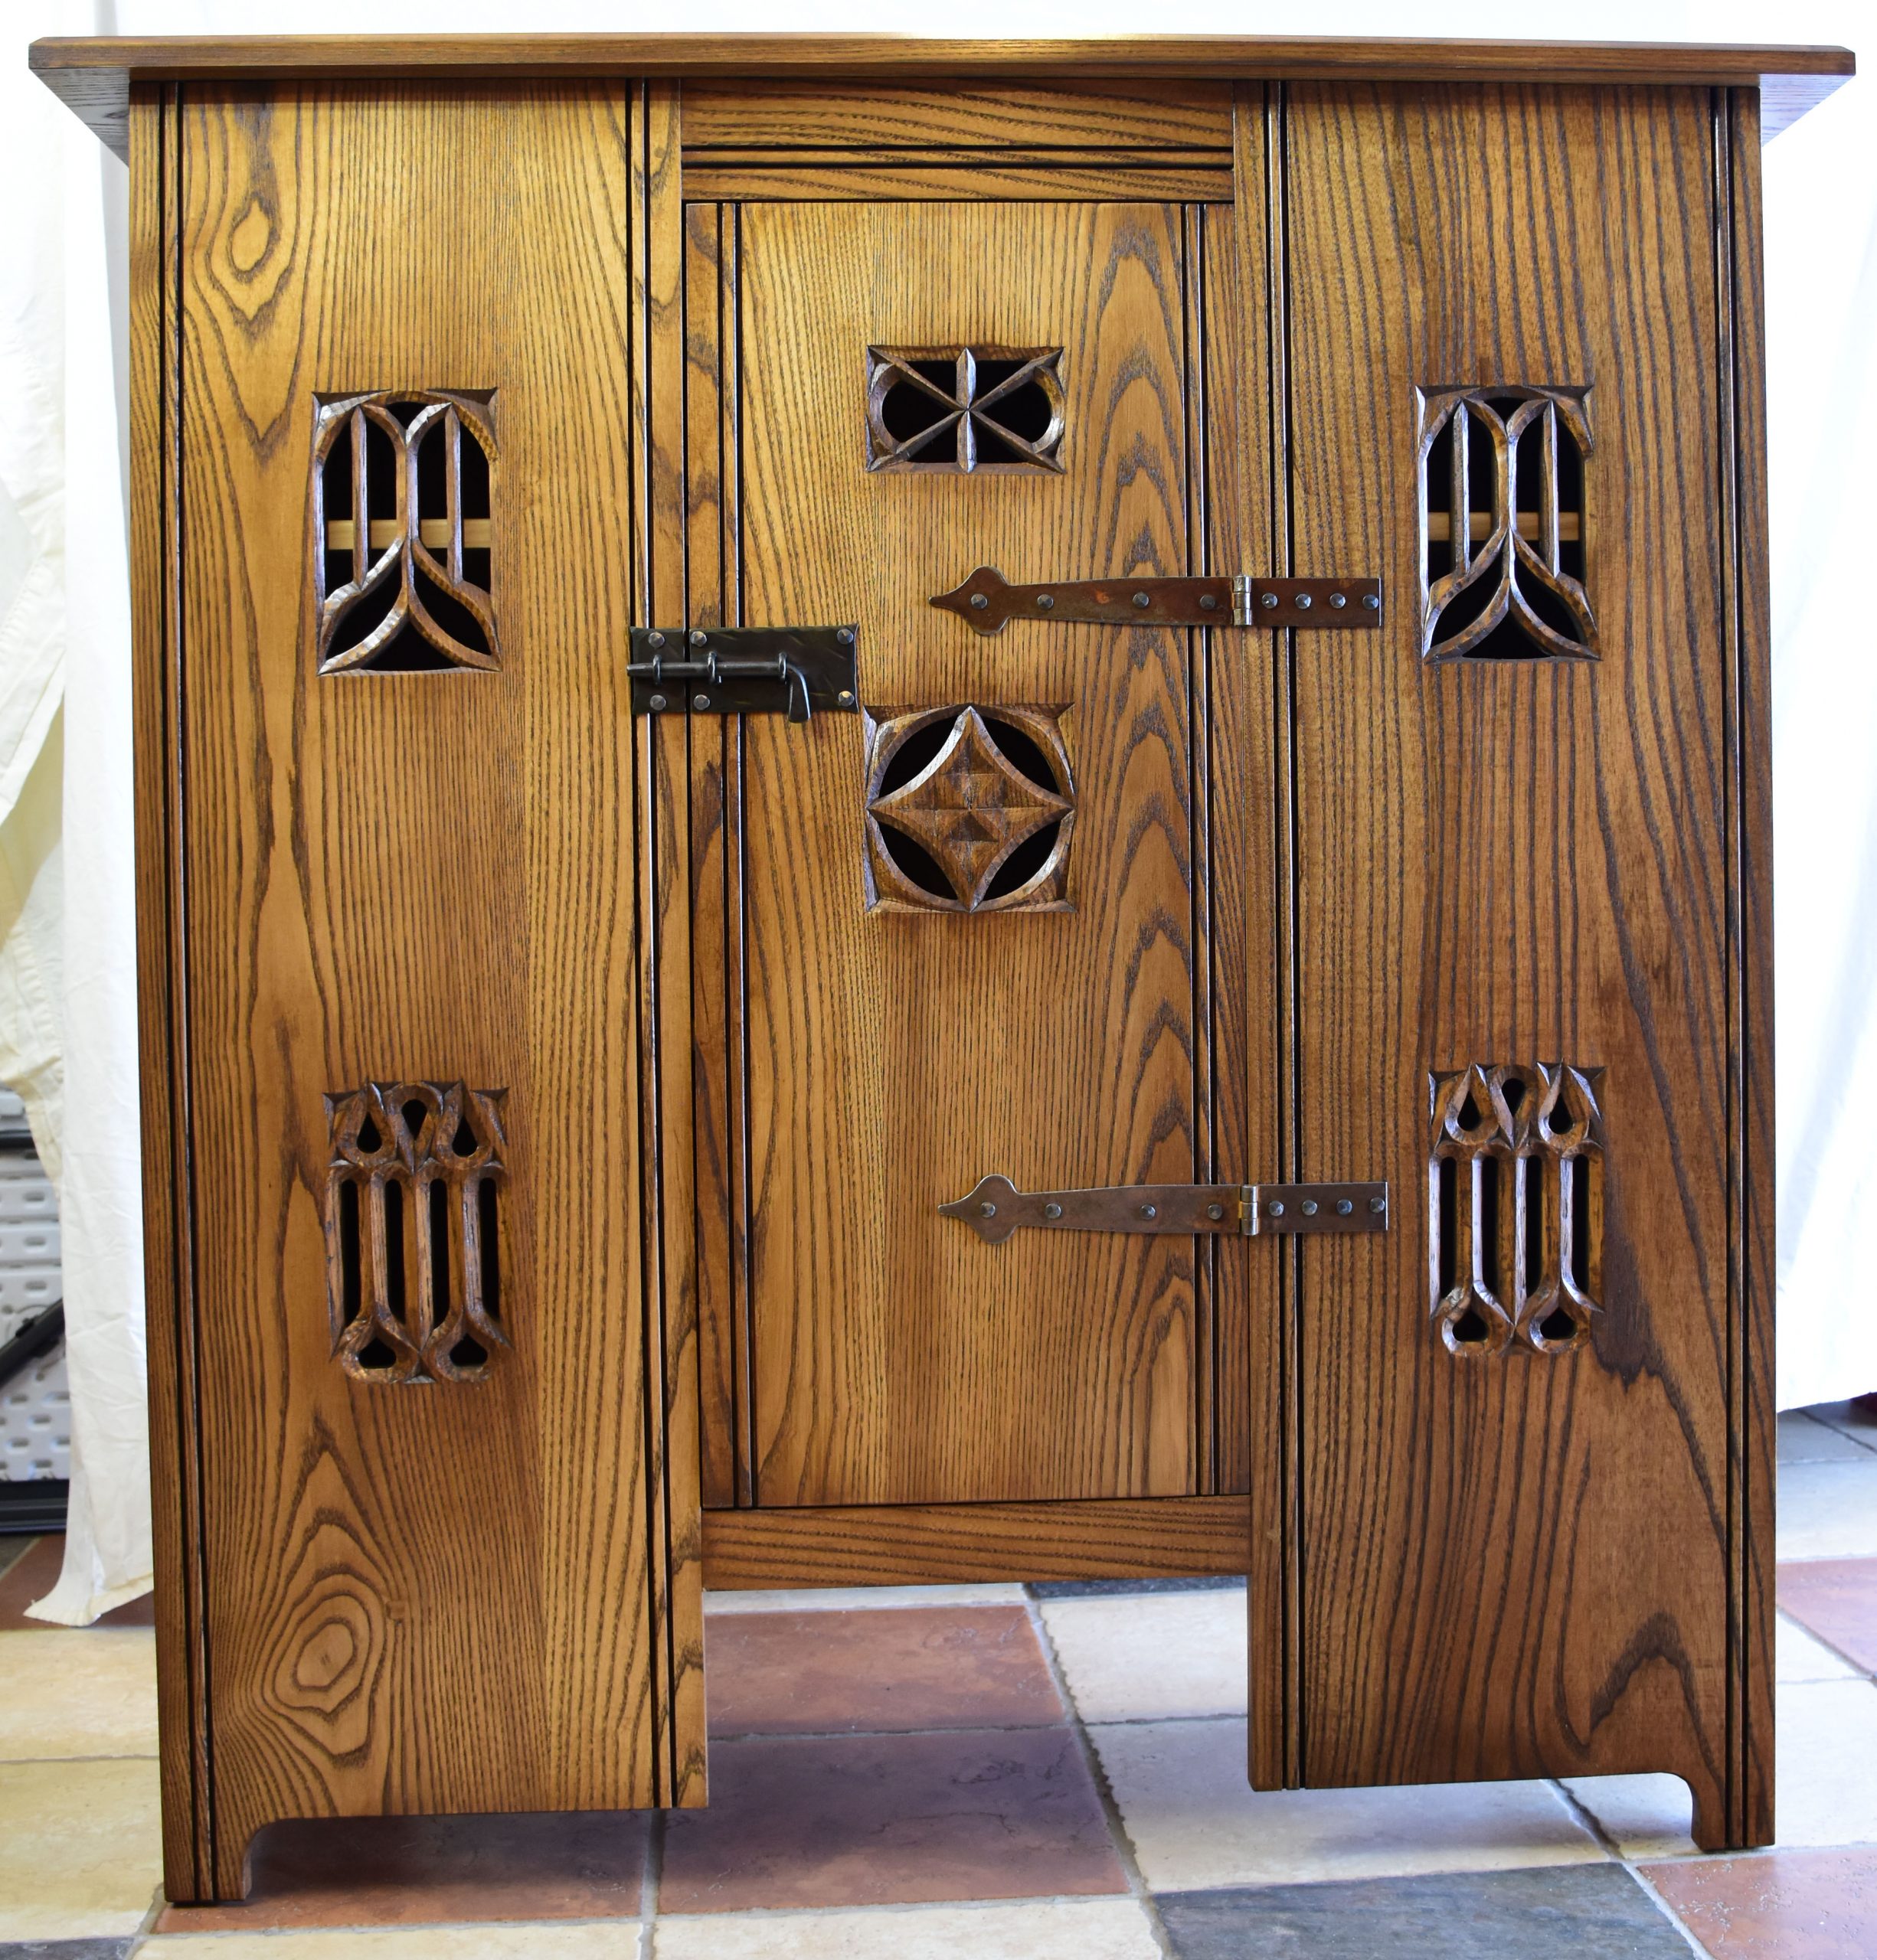
This was the most ambitious piece of the three I built – I don’t know that anyone has tried to make a knock-down aumbry cabinet in this style before; I certainly could not find a description of one. The basis for the cabinet is a combined back/sides and shelf unit that folds up. I’ll refer to this assembly as the carcass of the cabinet, since it can be separated from the face frame or front. The design is based on the ubiquitous folding bookshelf, except with a solid back and sides.

Fold-up bookshelf action of the cupboard carcass. After all 3 shelves are up, the side panels fold in. The semi-circular cutouts are clearance for the bent tabs that support the front of the shelves.

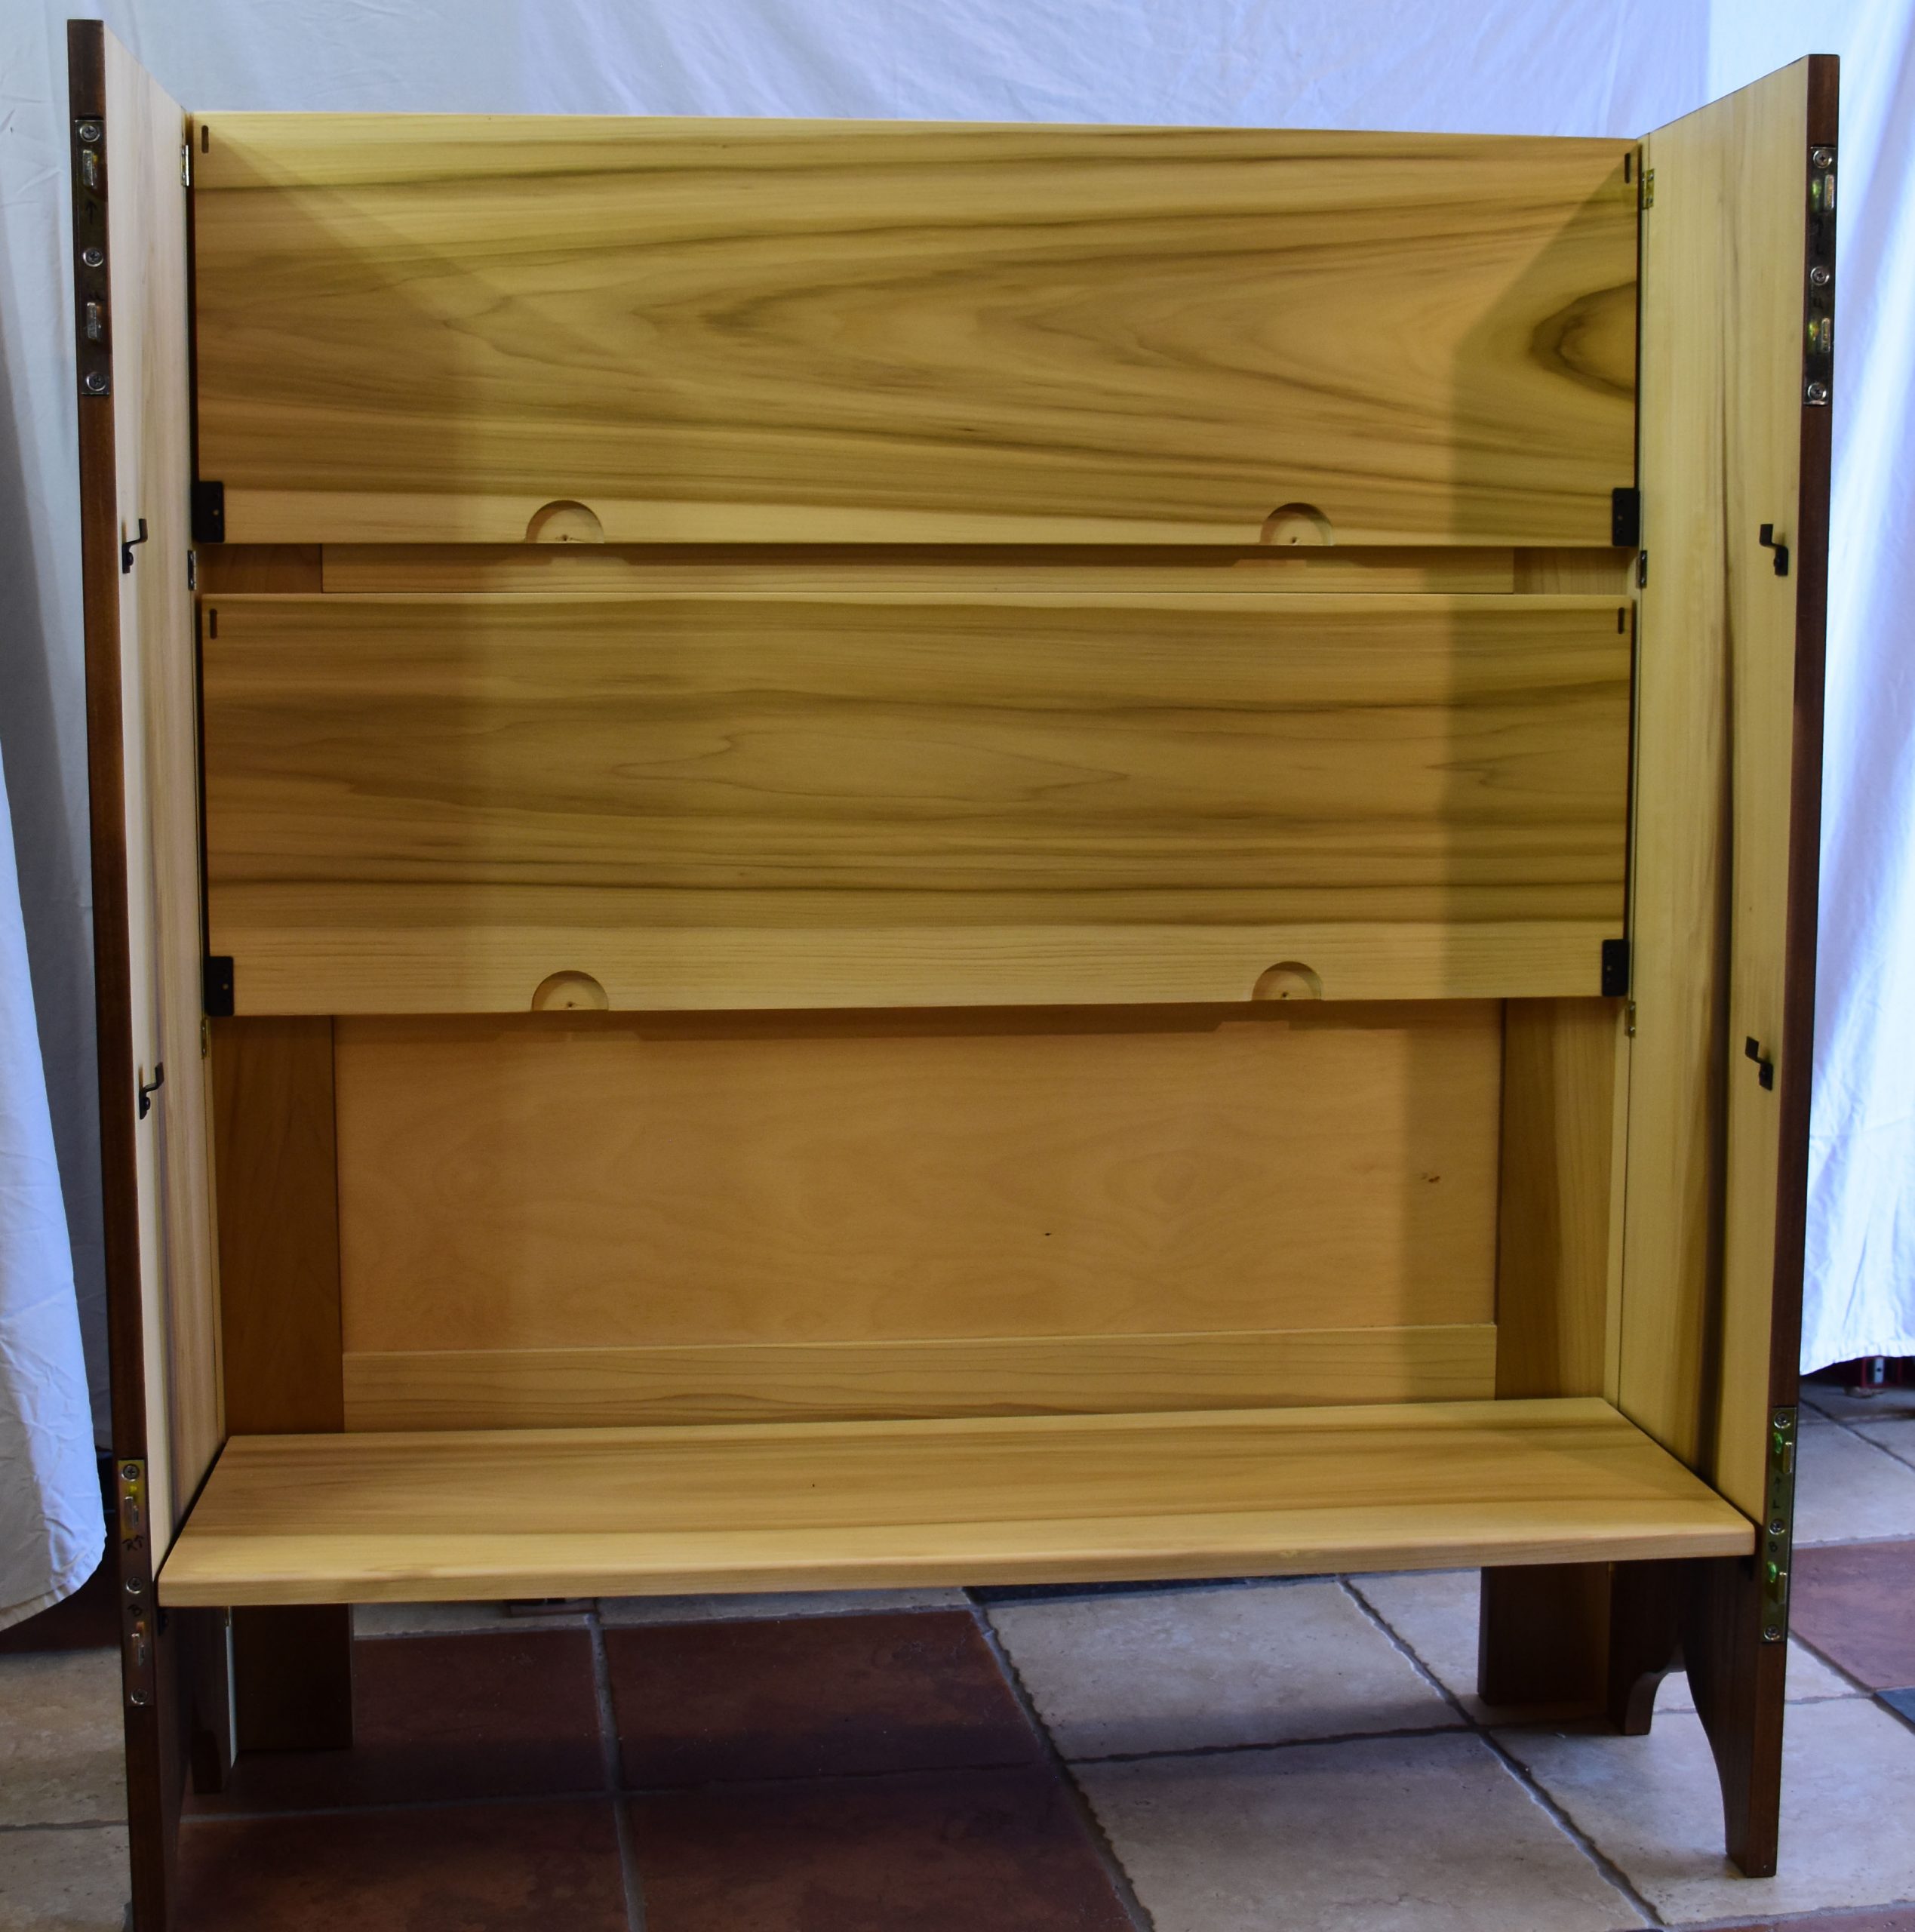
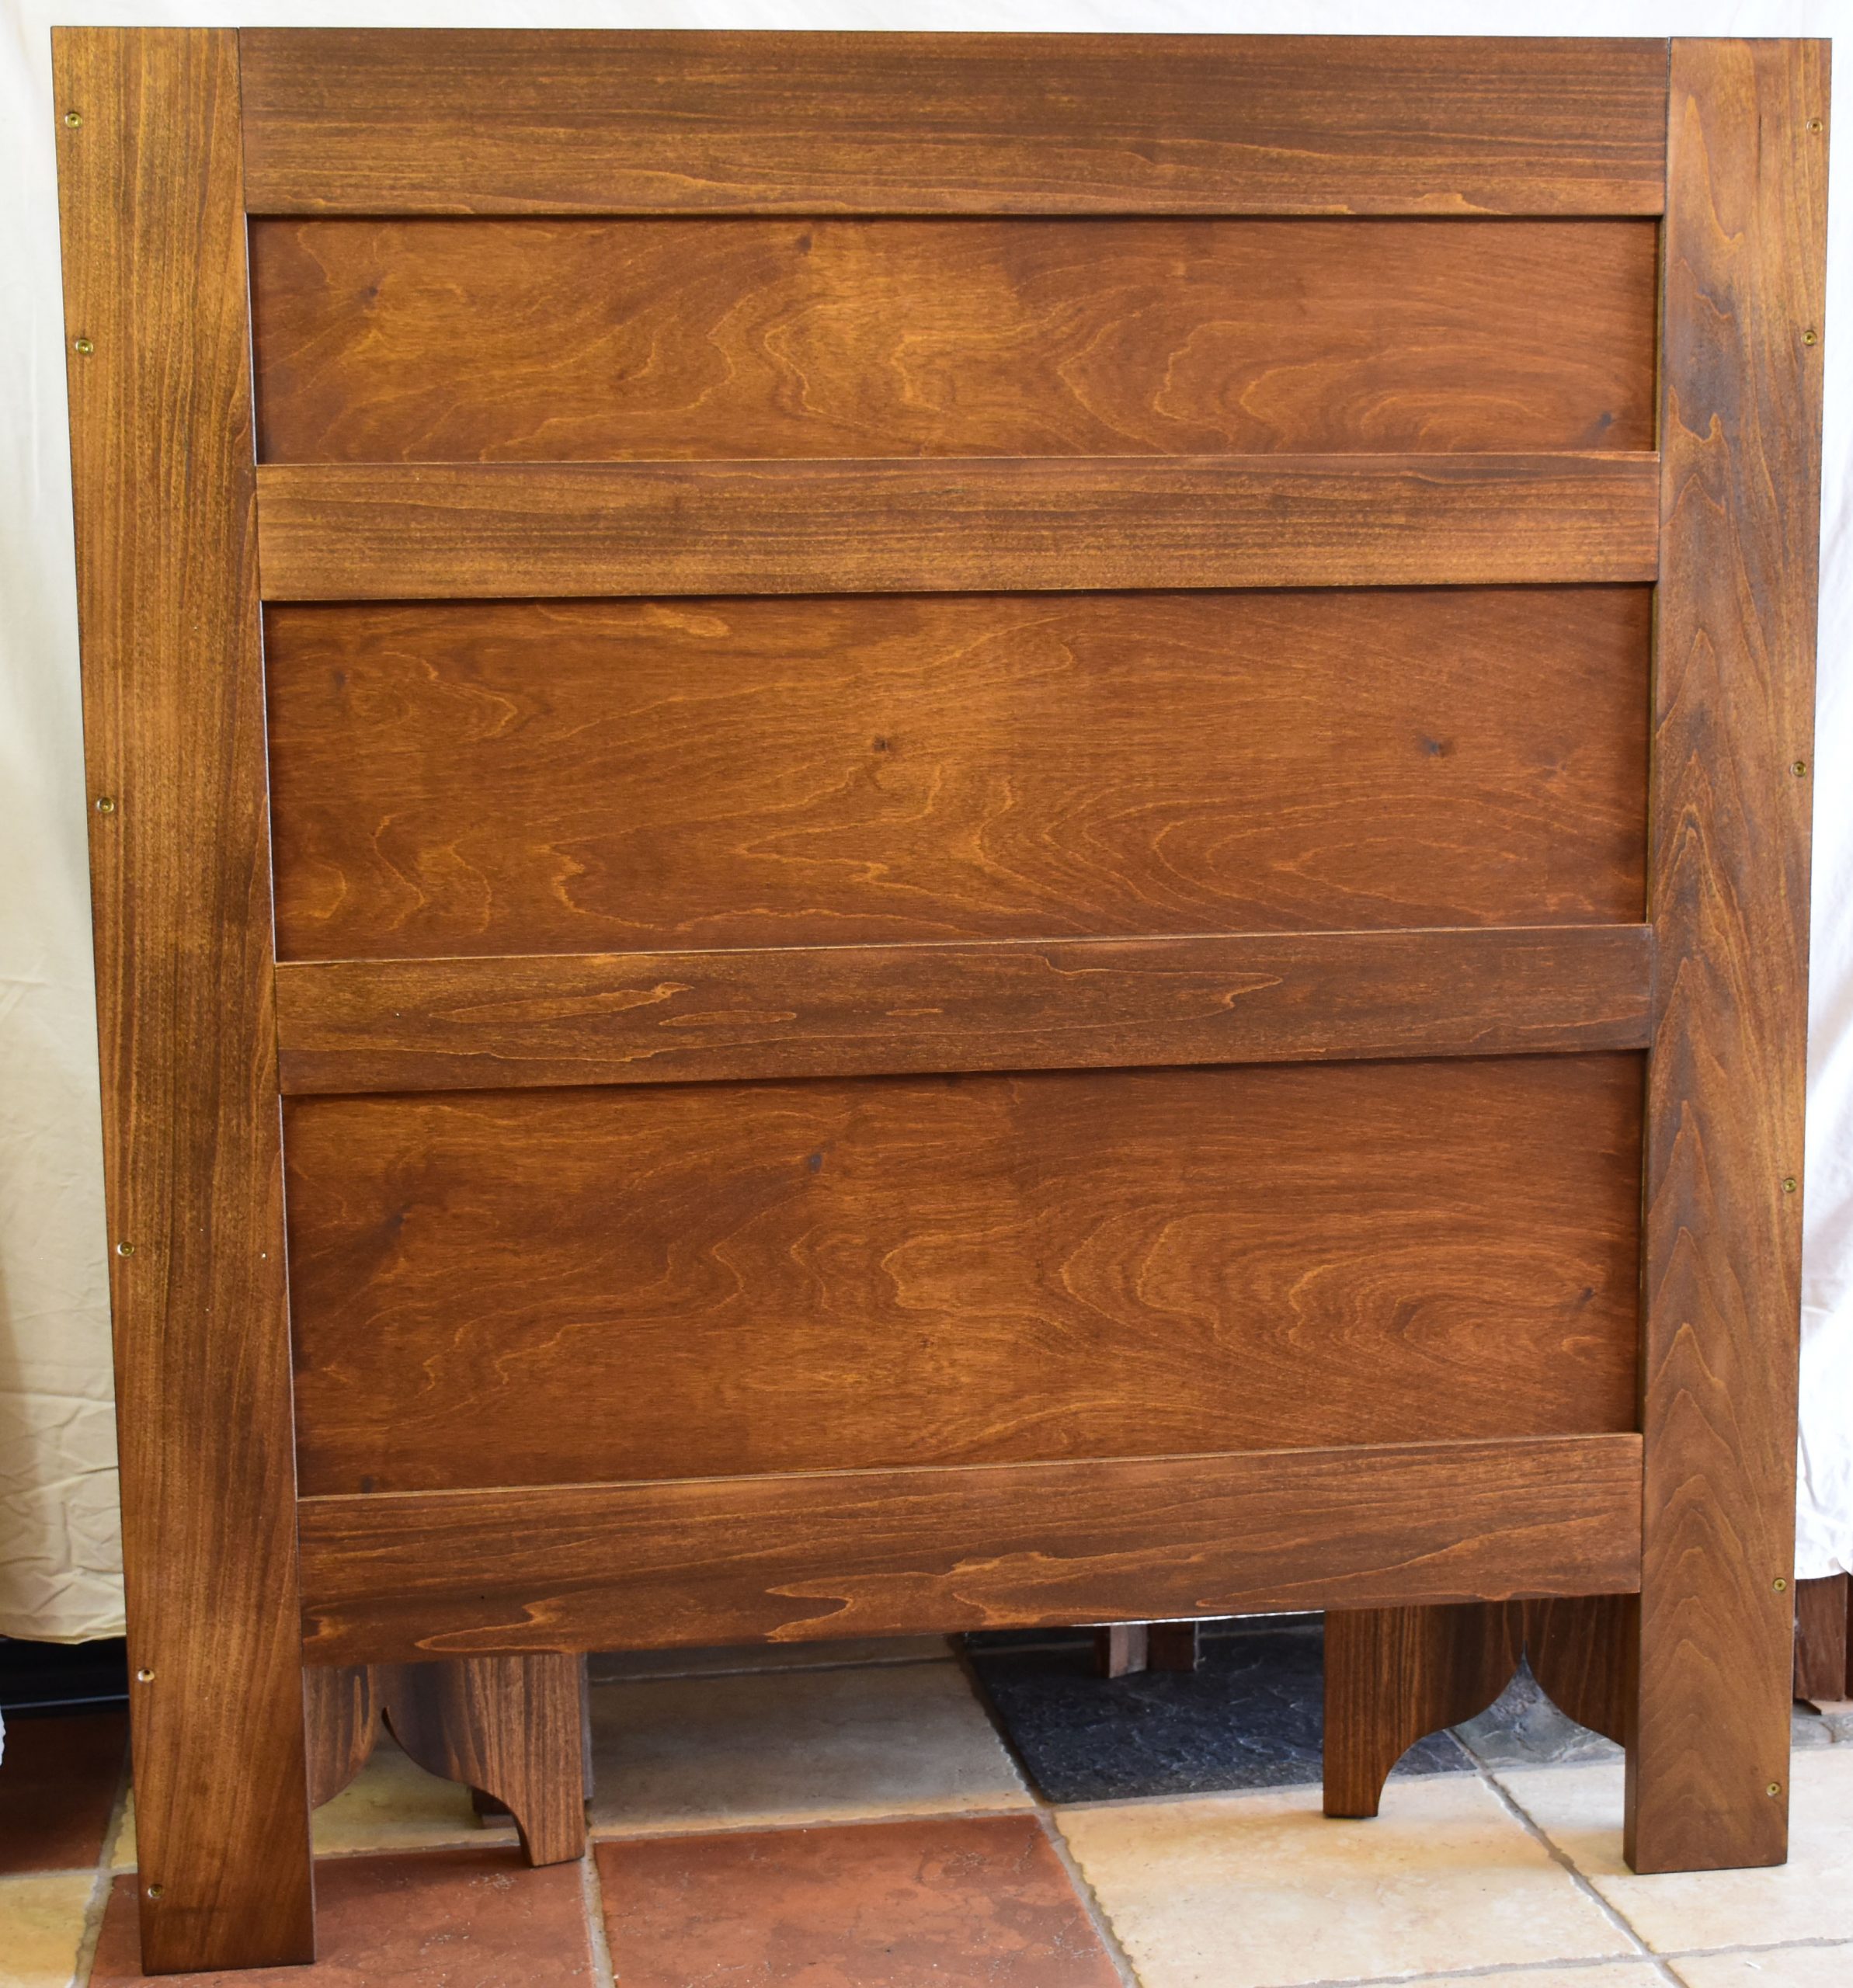
To reduce weight (which was only partially successful) the back is frame and panel construction, with the panels only 1/4 inch thick, and the frame pieces 7/8 inch thick. All of the carcass construction is poplar, with the outside stained to match the front and top and the interior kept natural. (The color match is better in real life. I think the flash made the back shown in the photo below much lighter and more red-toned than it is in person.)

Back frame and panel.

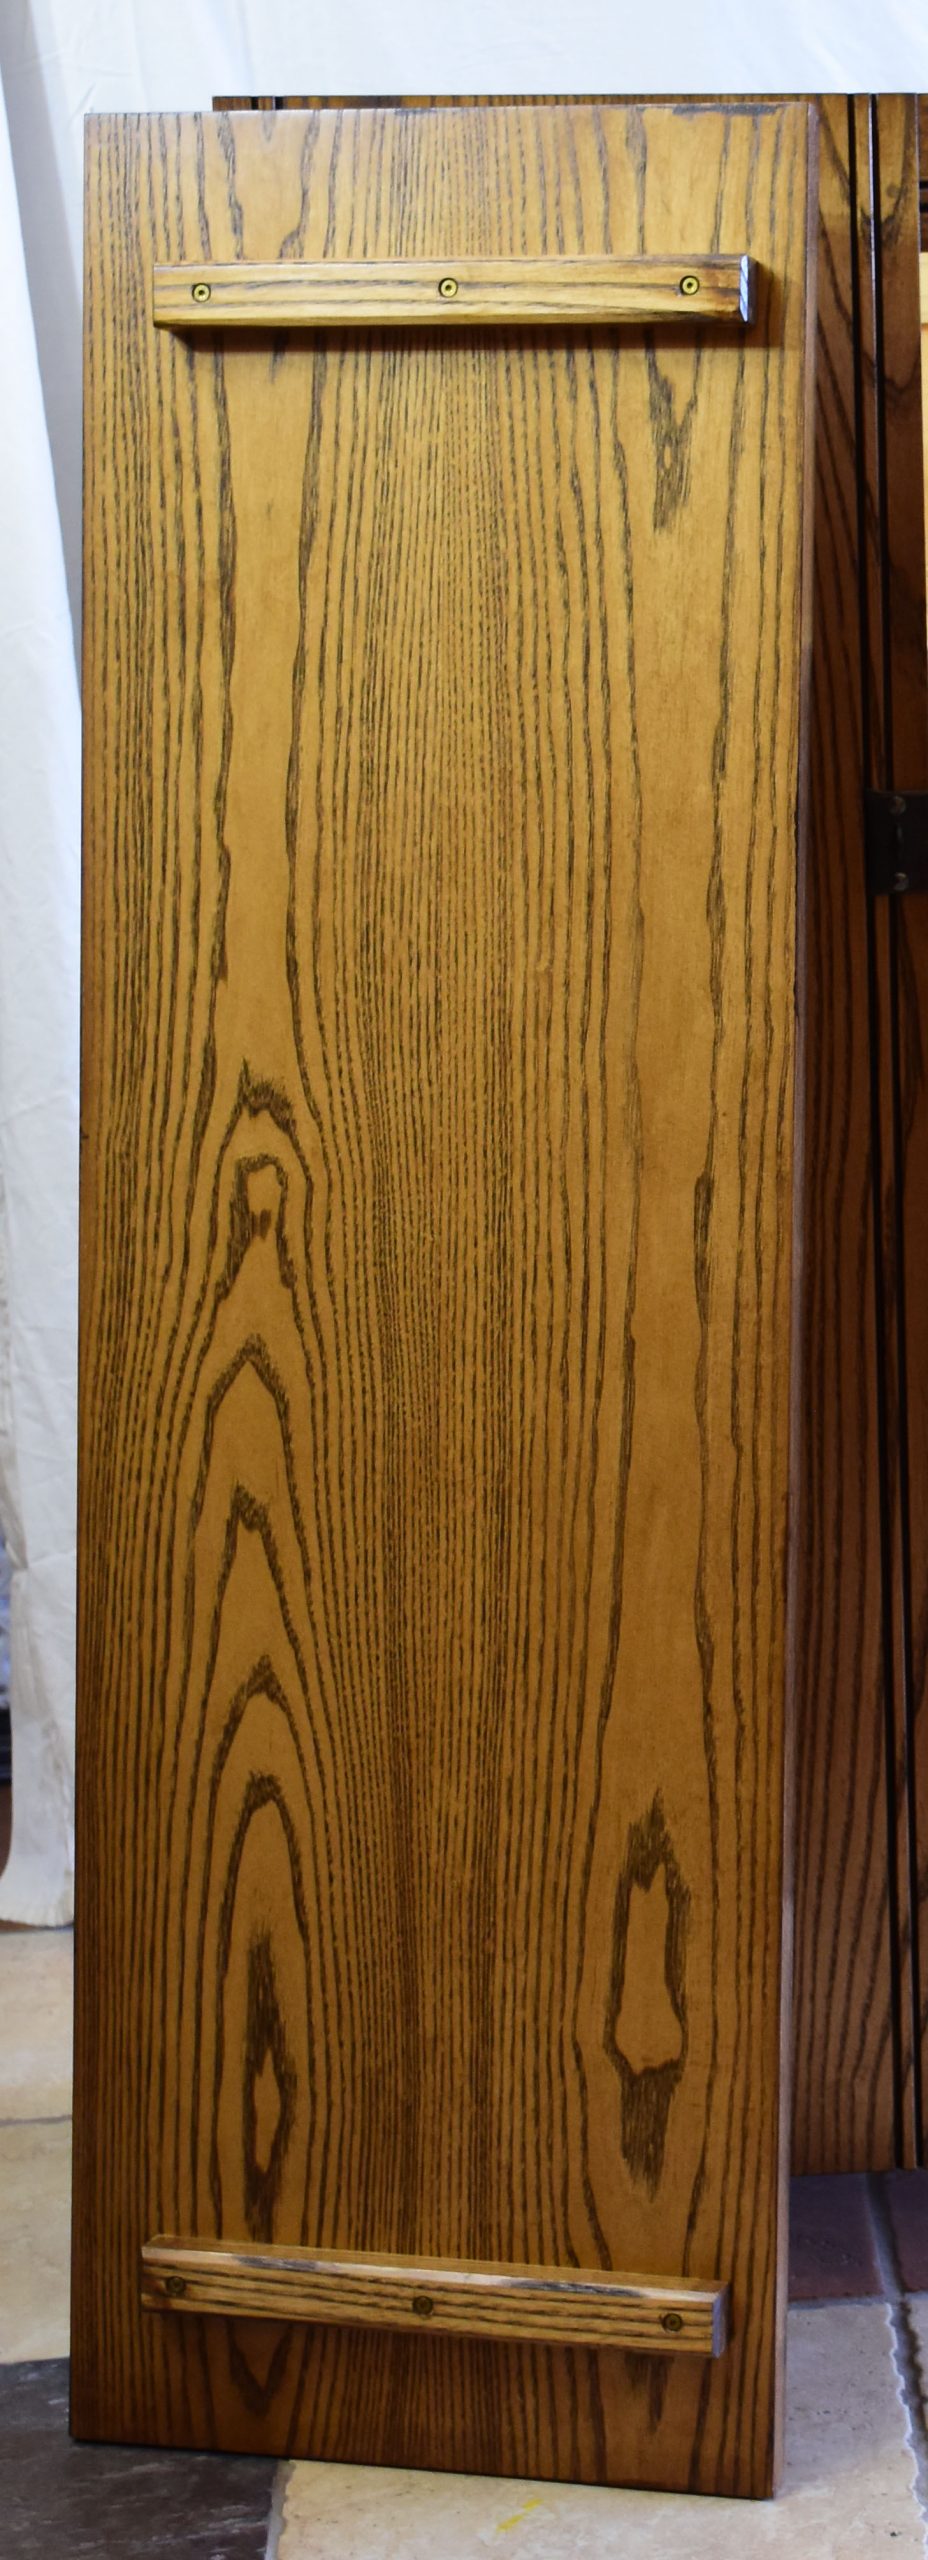
The top is removable; it is just held in place by two cleats that fit snugly into the top of the cabinet. The weight of the top also helps keep it in place. The top is 7/8 inch thick ash with a dark stain. I chamfered the top edge heavily to increase the visible weight. Extant examples are not chamfered, but the darker English aumbry shown above had complex molding to produce a similar affect.

Top of the cabinet removed showing the alignment/stiffening cleats on the underside.

The front is two wide boards (stiles) connected by 2 narrower rails tenoned into the edges of the left and right panel. As Chris Schwarz describes it, the cupbuard front is really a giant face frame. The front and door are 3/4 inch thick ash with a dark stain on the exterior surfaces. Carving was completed before finishing and assembly, as was the scratch-stock molding. The gothic tracery carving was done with the technique presented in this video. Iron strap hinges (purchased years before from Lee Valley) and a blacksmith made latch were nailed on the front frame (with Rivierre nails), with the nails clenched into place.

Front detached from the carcass
Back of the front, showing the clenched nails. Only the door was stained on both sides in an effort to keep the interior as light in color as possible. You can clearly see the pegs that help hold the rails in place and the hardware to attach the front to the carcass.

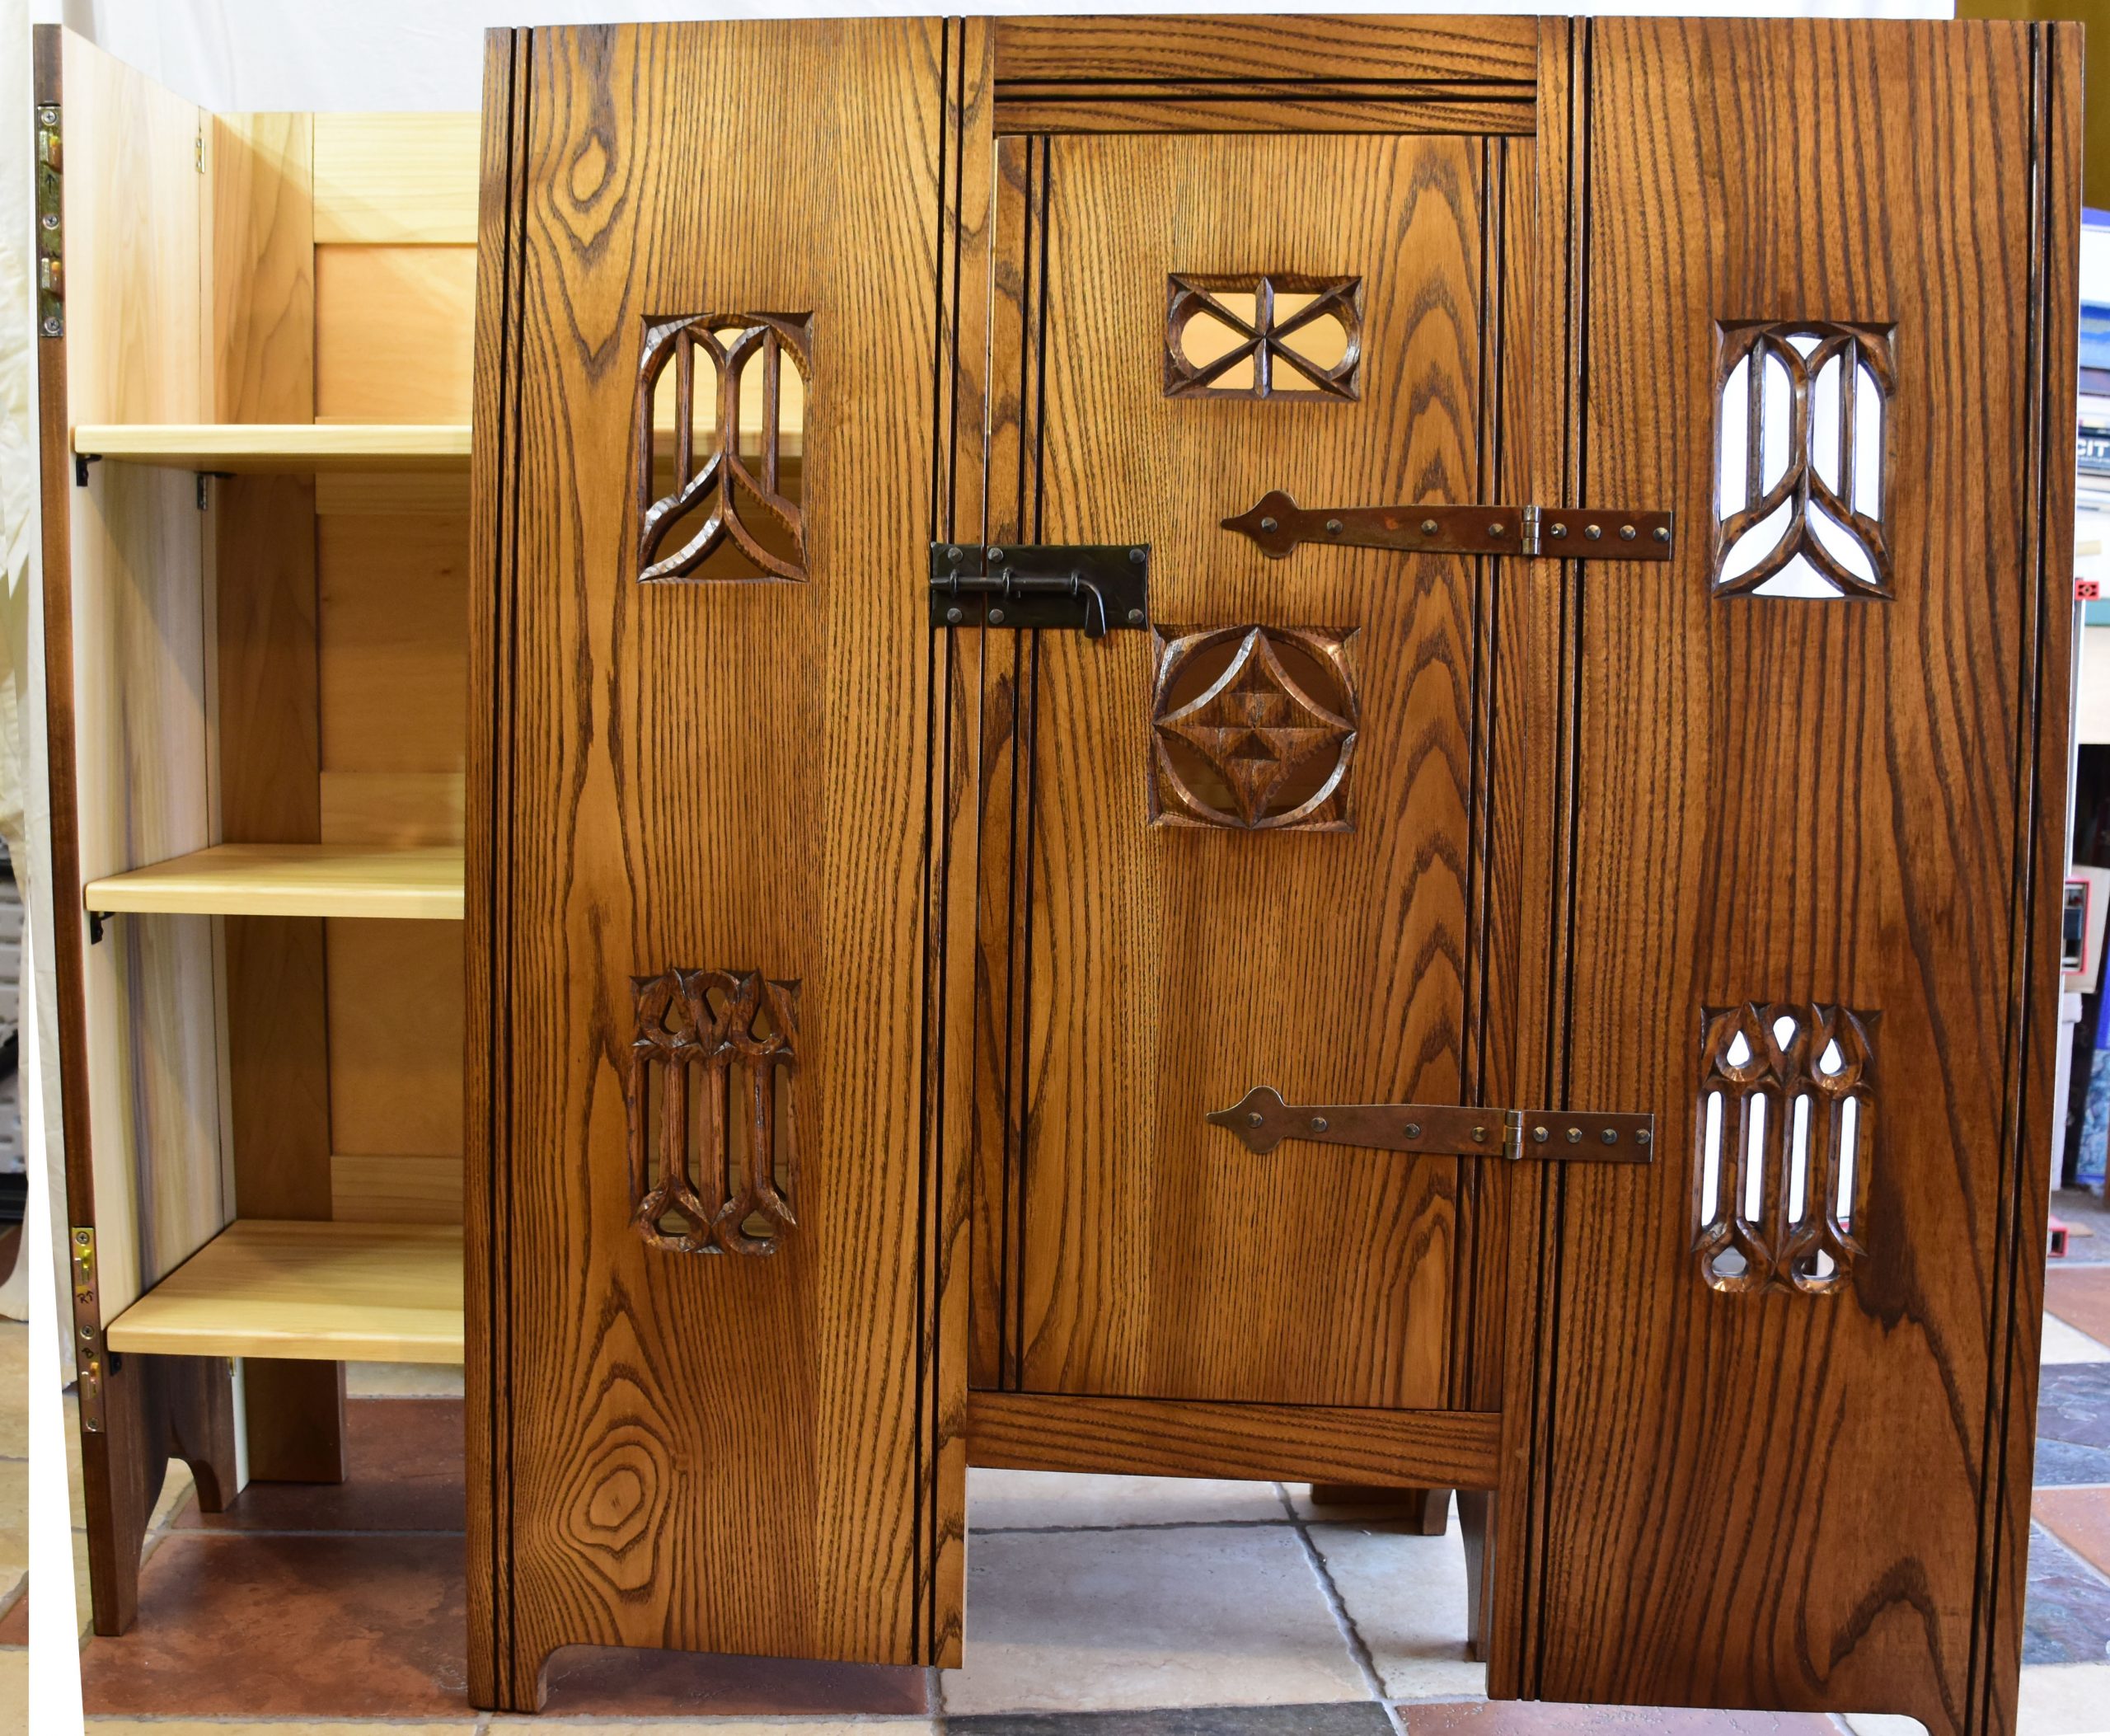
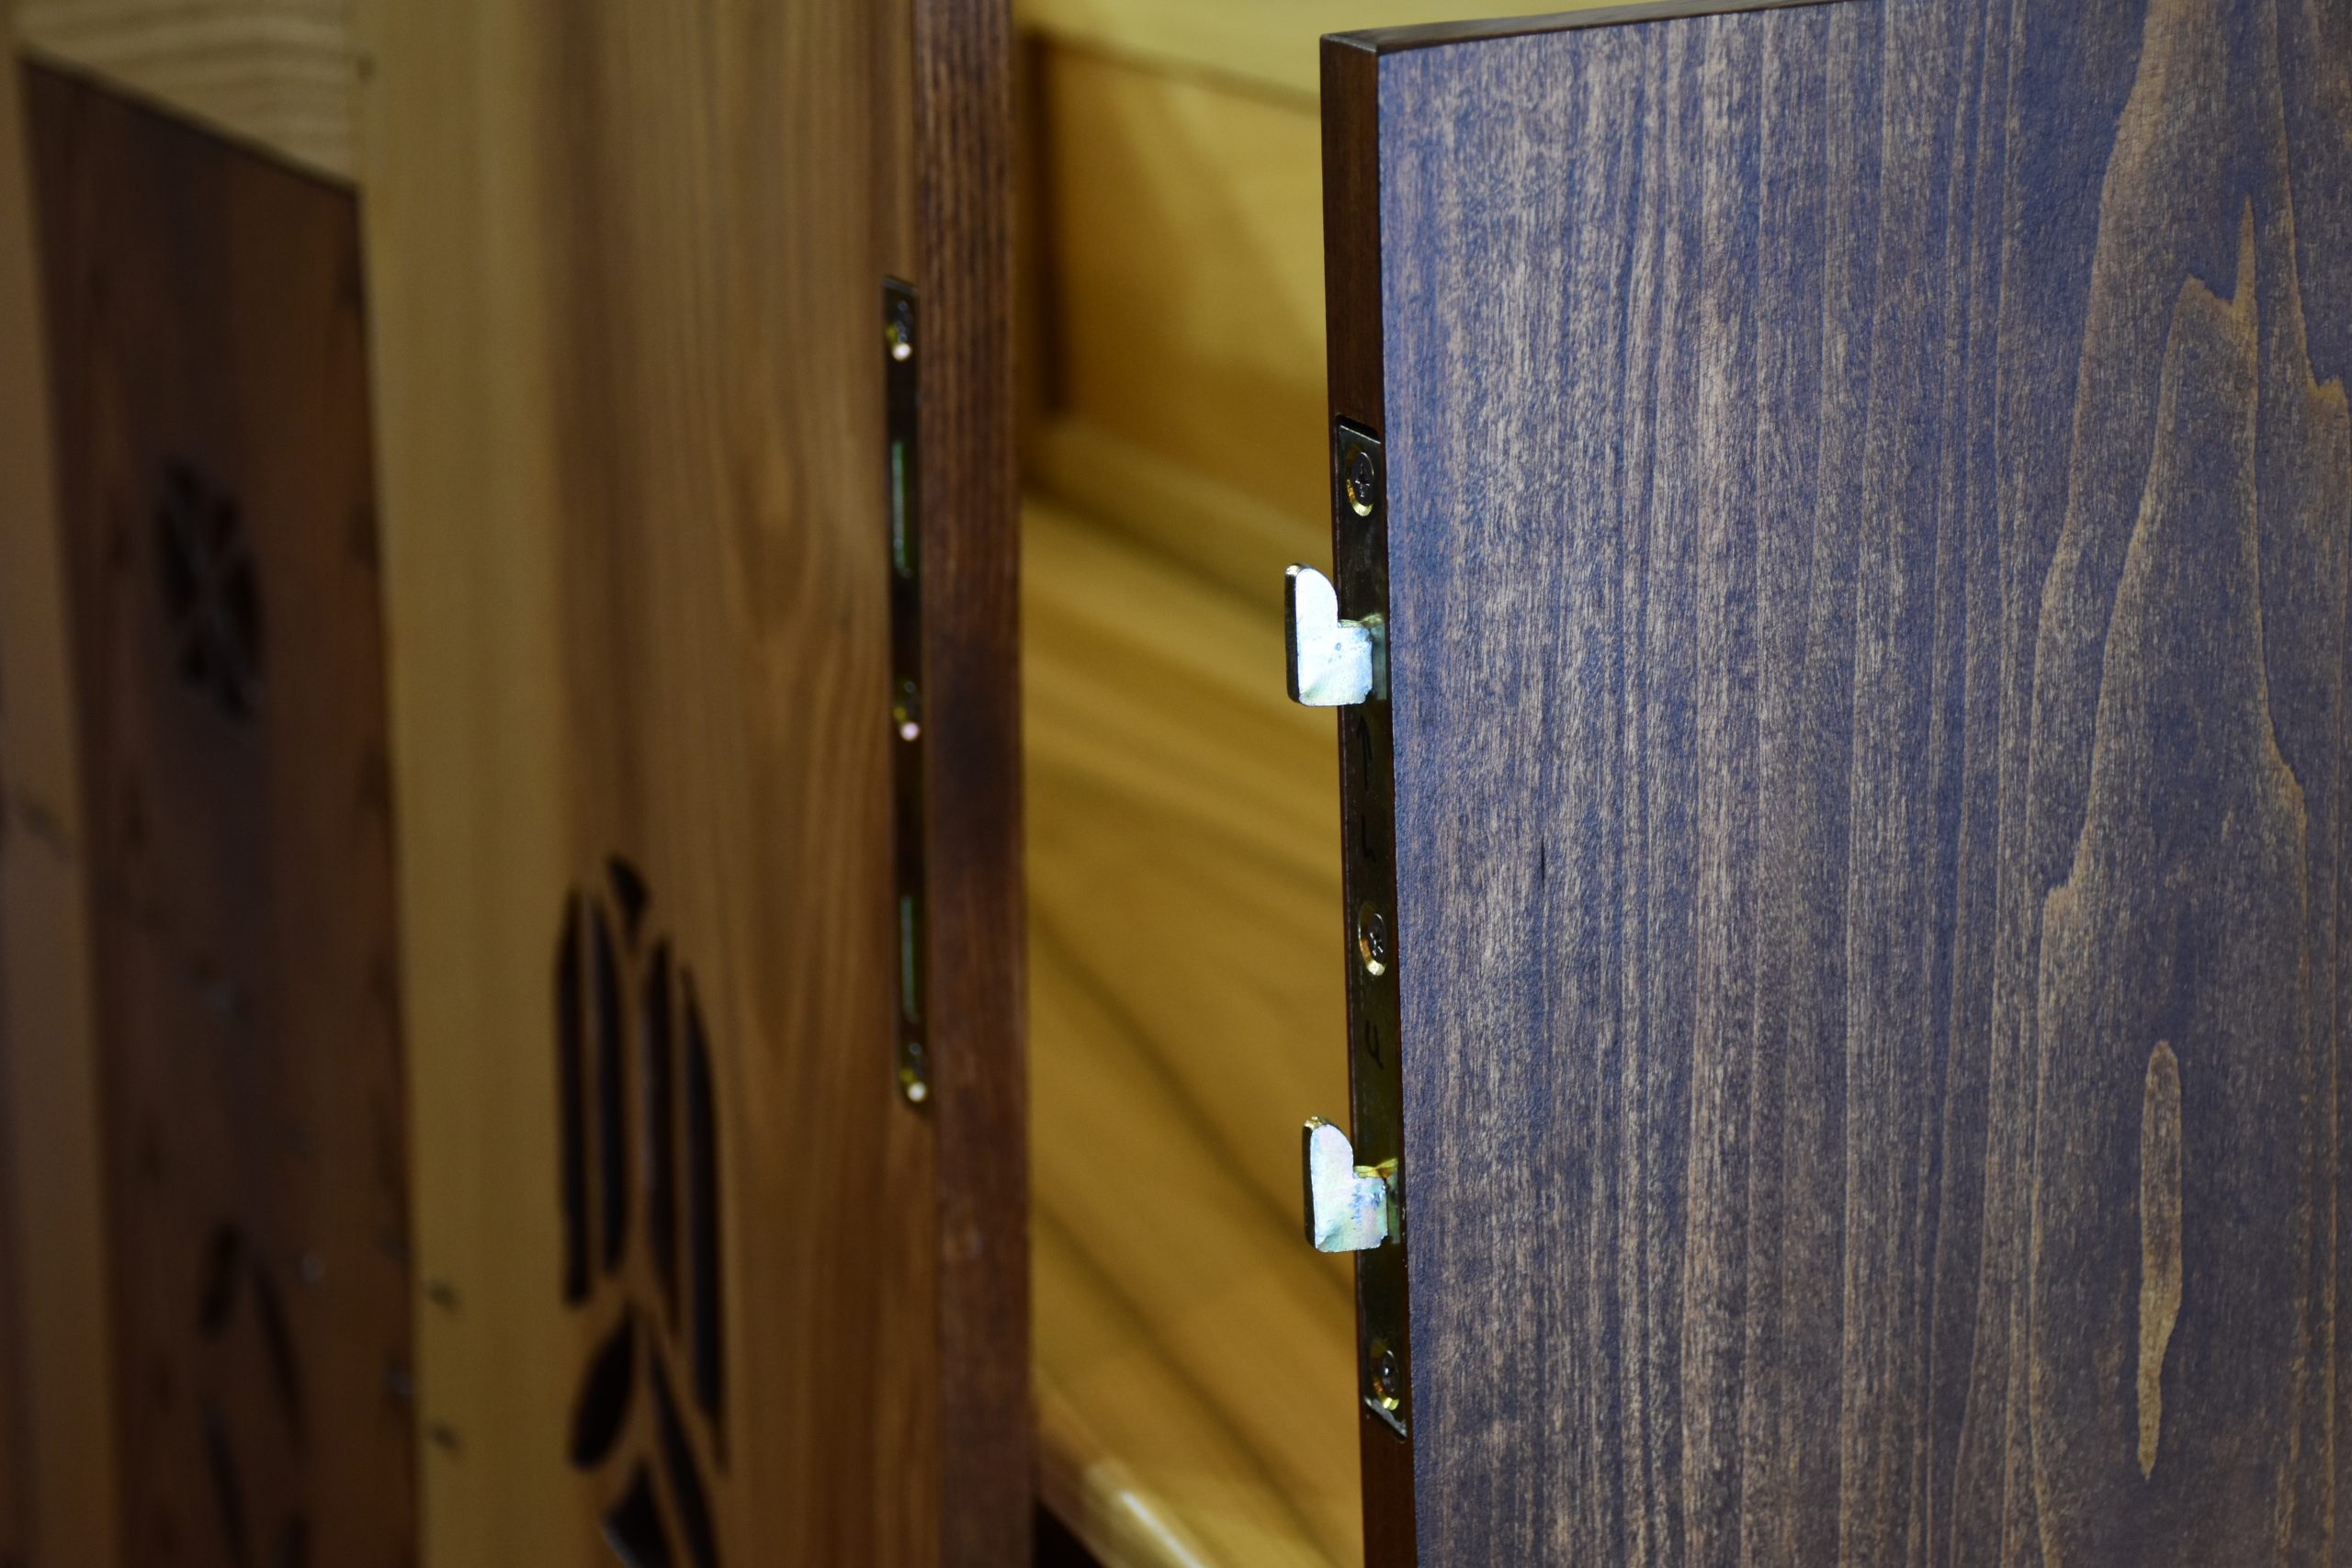
The hardware that allows the front to be removed is knock-down bed rail hardware. I had the idea for using it for the knock-down cooler chest, but I found there were better options for the chest. Other than trying the hardware on a small mock-up I didn’t know that any of this would work until all the assembly was done and the hardware installed. It turned out fine – it goes together very easily, and requires just a little persuasion to come back apart. The carcass folds up and is not too heavy to carry. The face frame is stiff enough to move easily, and with the latch in place the door doesn’t flop around when being transported. All-in-all a successful project. Now I just need an event to happen so I can try it out.

The key to disassembly – bed rail hardware. The hooks are on the carcass sides, which fold in for storage and transport. The plates are embedded into the front stiles, and are flush with the back surface. The weight of the front keeps the fasteners firmly connected.

Three furniture projects for an outdoor kitchen: trestle work table

Trestle work table.

I have built several sets of trestle legs in the past, none of which were based on any particular period example. for this project, I thought I’d work up a design based on a period example. In manuscript illustrations trestles are mainly depicted for dining tables and the details of the attachment of the trestle to the table top are obscured by the table cloth. I combined two designs from two 14th century manuscript illuminations (shown below) and built the top of the trestles and the attachment to the table top from an extant example. For practicality the trestles knock down for transport. The table top is connected to the trestles with dowels to better fit its role as a work table.

Sources were found at http://www.larsdatter.com/tables.htm – an excellent source of manuscript images of everyday objects. The first illumination I used for the design can be seen here (British Museum). Here’s the portion of the image with the table and trestles:

Table from Add MS 42130, f.208 r 1325-1340

Note the “A” frames in the front are attached to a rectangular board at the top, and are braced with a single triangular stretcher at the top. The legs appear to taper from the bottom to the top. It’s unclear what the coloring of the trestle pieces is depicting, but it could be chamfers or bevels along the edges.

The second source is from a manuscript at the Bibliothèque nationale de France and can be found online here. Here’s the table detail from that illumination:

Guiron le Courtois (BNF NAL 5243, fol. 75r), c. 1370-1380

Here we see another set of trestles, this time connected by a single stretcher lower on the legs. There is no detail of the connection to the top, and once again no depiction of the back legs. It clearer that the legs are rectangular in cross section, and to my eye appear to gradually taper from the bottom to the top.

Here is an article at the St. Thomas Guild website with photos of a 15th century trestle table. Construction details of how the legs were mortised into the top and how the stretchers were attached to the front legs are shown in some close-up photos. These trestles have both an upper an lower stretcher, and a third connecting the front and back legs. For my design, I combined the shapes in the two 14th century photos, but omitted the front-to-back stretcher to make knock-down easier. Here is a photo of the trestles broken down for storage/transport:

Components of a single trestle.

The material for all the components is poplar. The legs and top were cut from 8/4 rough material. The stretchers are 3/4″ thick with 3/8″ tenons. The top stretcher is glued in at the top, and pinned in place with 4 oak dowels. The lower stretcher is glued and also pinned in place. The back leg is 1 1/2″ square.

Assembled trestle. I the top is upside-down – the chamfers should be facing the floor. This is to prevent hitting a sharp corner if you reach under the table top.

The table top was constructed by gluing up poplar boards, and is 7/8″ thick. The ends are oak breadboards to resist warping (the darker wood in the top photo). There are two 1 3/4″ thick battons attached to the underside of the table. When in use, wooden dowels are run through the battons into the top of the trestles to keep the table top from shifting.

Breadboard end on the table top. Oak was used for the breadboard to better resist warping.

Here are some photos to illustrate how the front legs were constructed.

After the stretchers were mortised into the legs, before parts were cut to the final shapes. You can see how the top tenons were laid out on the rectangular legs.
A similar photo, after the legs were tapered, showing the layout of the tenons on the upper stretcher. Note the stretcher tenons are perpendicular to the inner face of the legs which is not tapered.

Before final assembly, the stretcher pieces and legs were finished with an outdoor-safe finish. The stretcher tenons were pinned in place with oak dowels with a slight amount of draw-boring. After the legs were glued up, the top board was marked for the square tenons. These tenons were drilled and then evacuated for tight fit to reduce racking. After both trestles were completed, they were positioned on the table top such that the outermost legs were lined up with the edge of the table. The battons were installed on the underside of the top, and the dowel holes lined up with the top board of the trestles, which were drilled and fit for the connecting dowels.

© 2024 Wade’s Hobby Blog

Theme by Anders NorenUp ↑