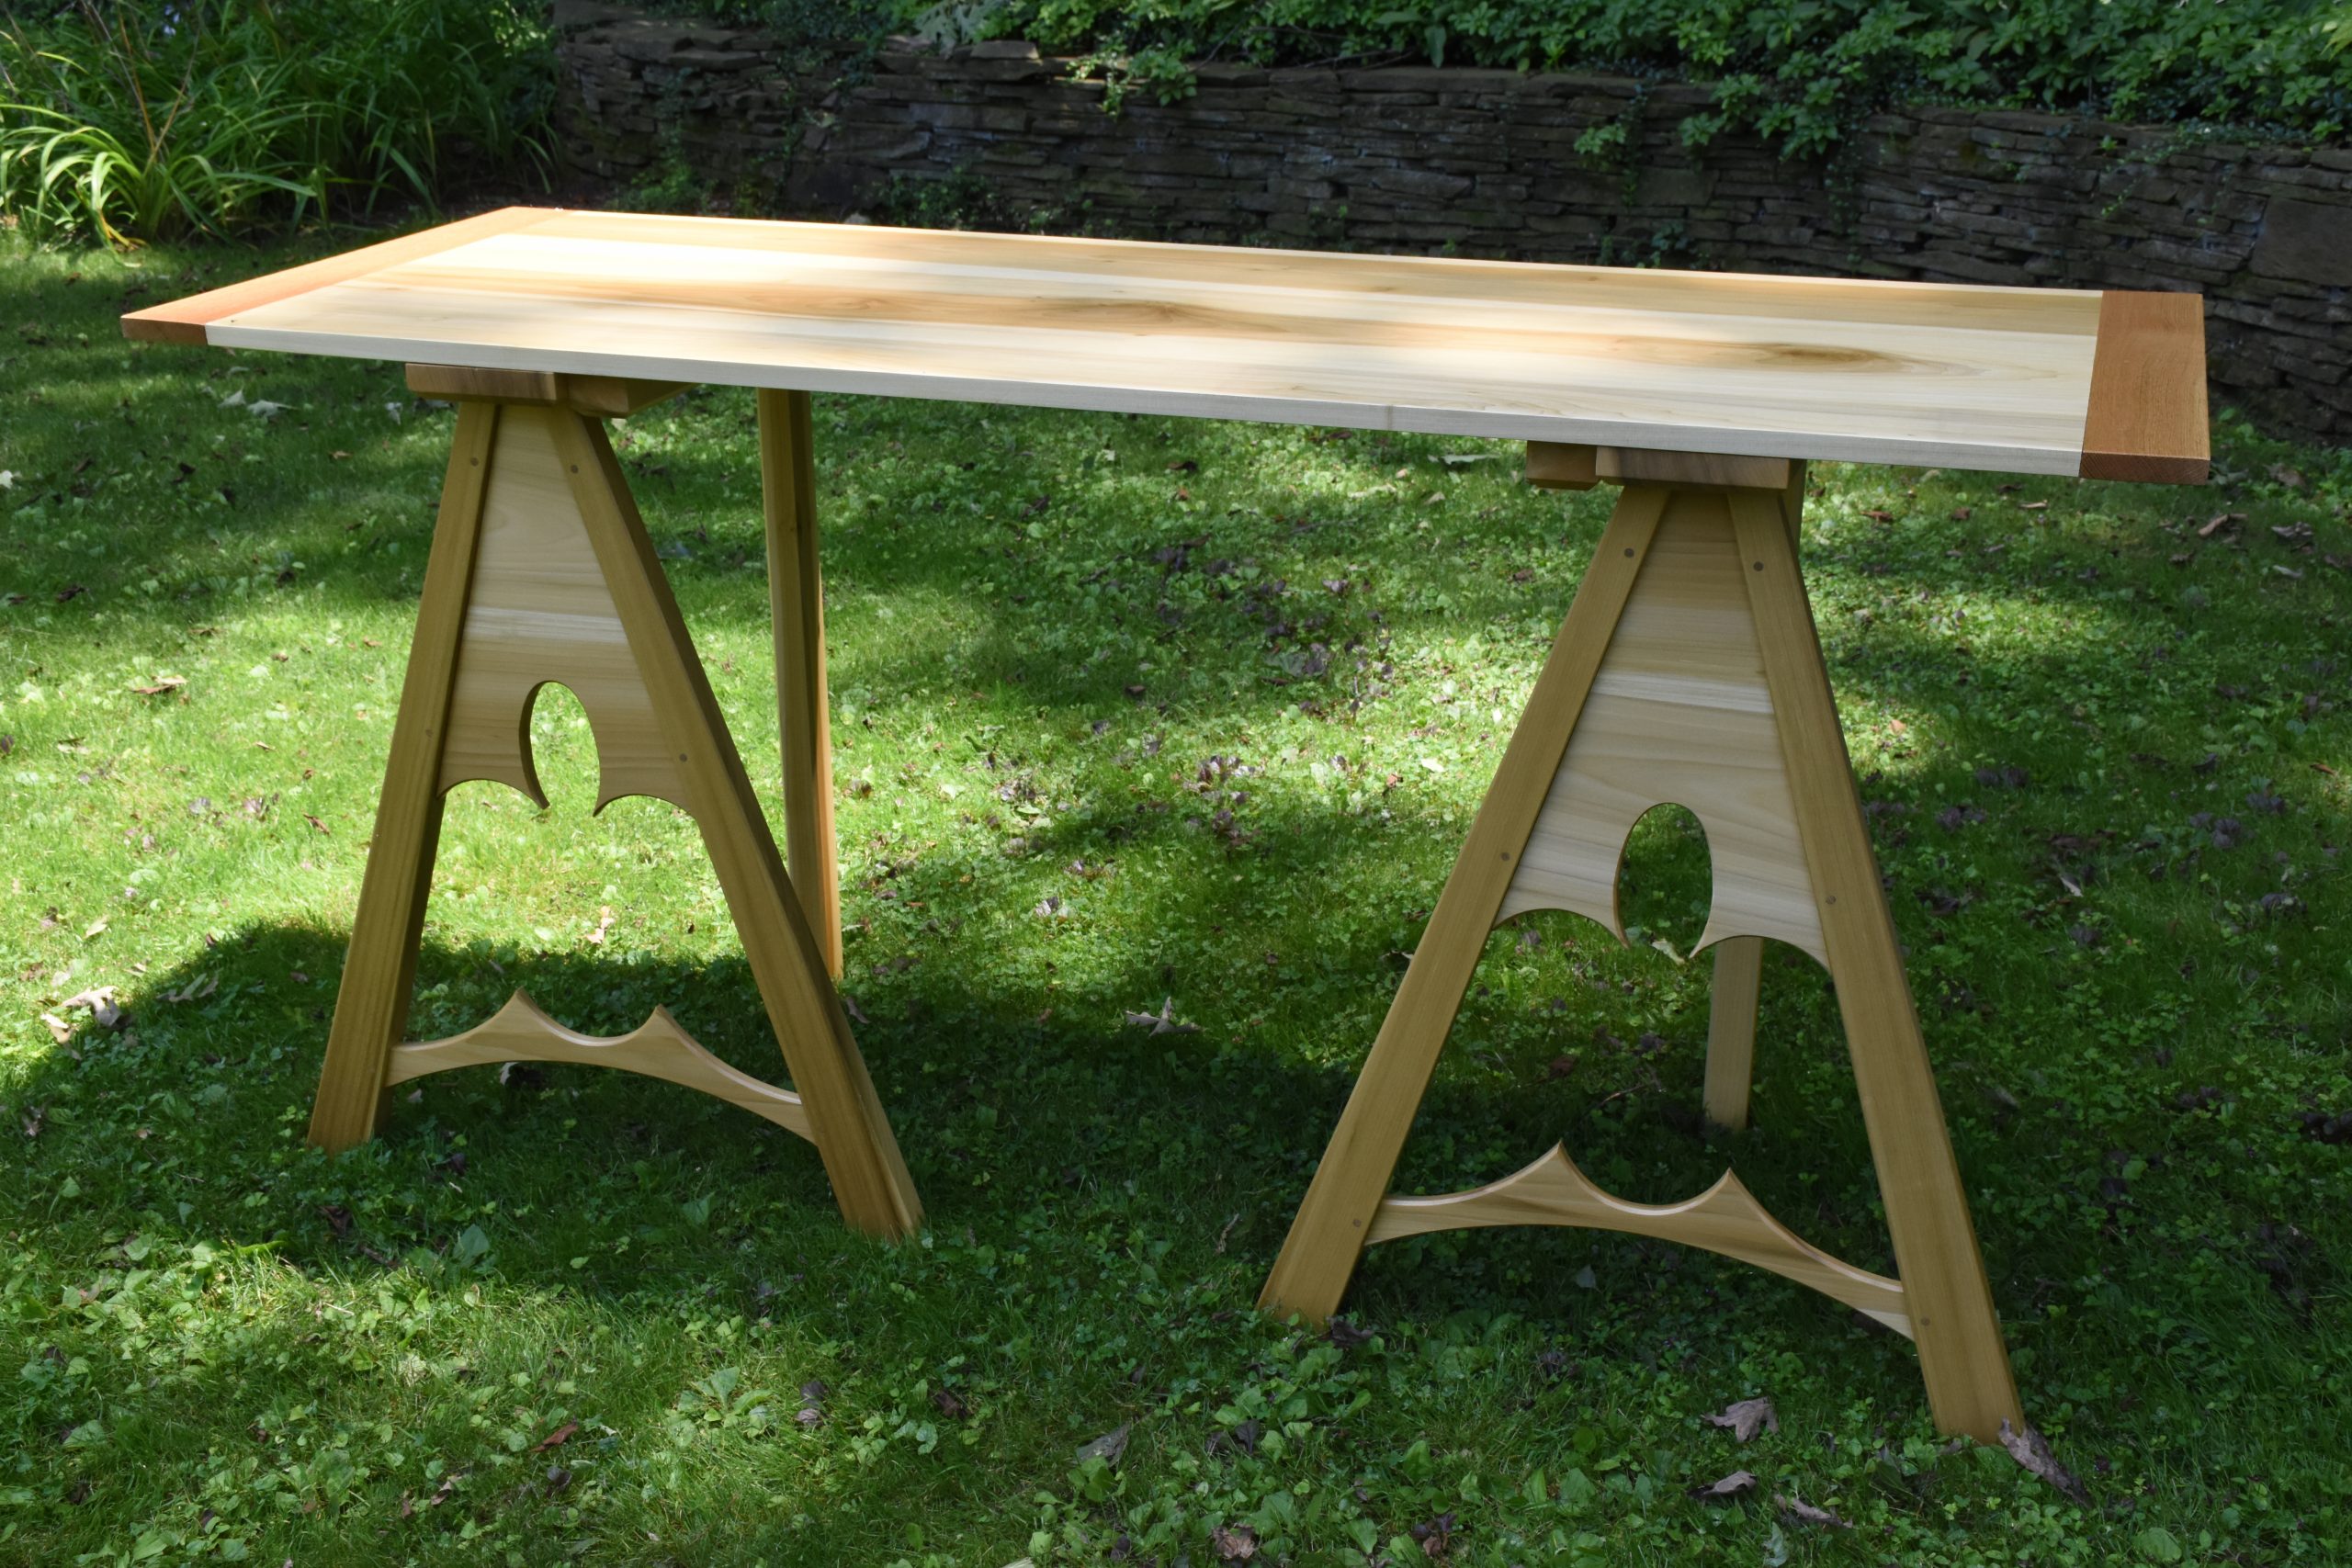
I have built several sets of trestle legs in the past, none of which were based on any particular period example. for this project, I thought I’d work up a design based on a period example. In manuscript illustrations trestles are mainly depicted for dining tables and the details of the attachment of the trestle to the table top are obscured by the table cloth. I combined two designs from two 14th century manuscript illuminations (shown below) and built the top of the trestles and the attachment to the table top from an extant example. For practicality the trestles knock down for transport. The table top is connected to the trestles with dowels to better fit its role as a work table.
Sources were found at http://www.larsdatter.com/tables.htm – an excellent source of manuscript images of everyday objects. The first illumination I used for the design can be seen here (British Museum). Here’s the portion of the image with the table and trestles:
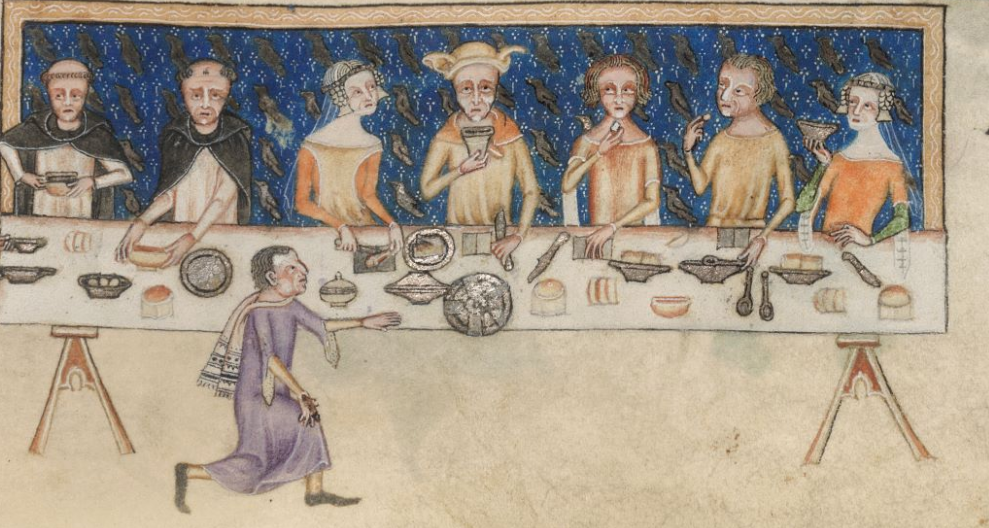
Note the “A” frames in the front are attached to a rectangular board at the top, and are braced with a single triangular stretcher at the top. The legs appear to taper from the bottom to the top. It’s unclear what the coloring of the trestle pieces is depicting, but it could be chamfers or bevels along the edges.
The second source is from a manuscript at the Bibliothèque nationale de France and can be found online here. Here’s the table detail from that illumination:
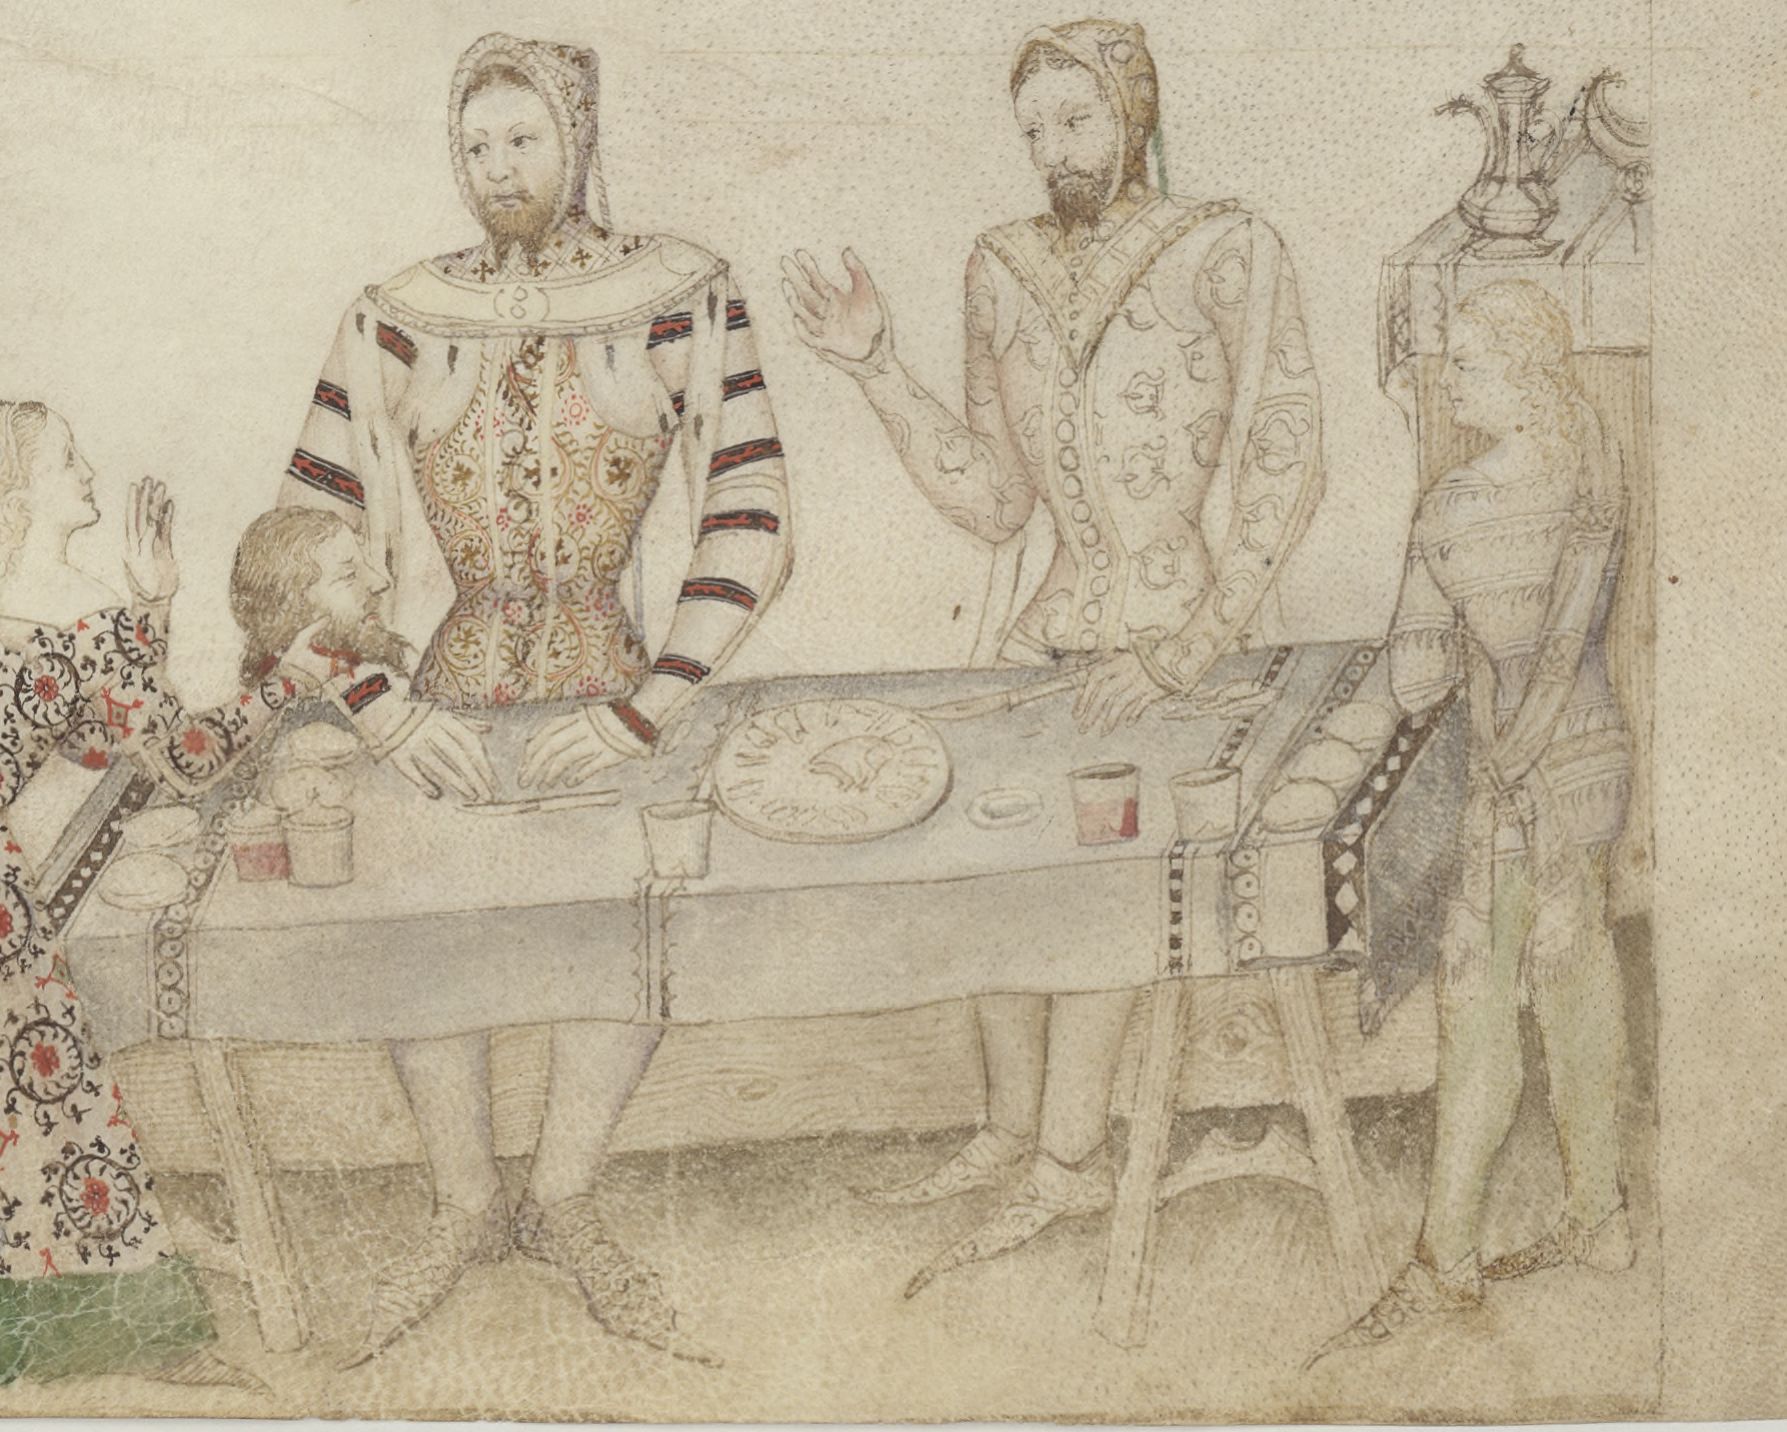
Here we see another set of trestles, this time connected by a single stretcher lower on the legs. There is no detail of the connection to the top, and once again no depiction of the back legs. It clearer that the legs are rectangular in cross section, and to my eye appear to gradually taper from the bottom to the top.
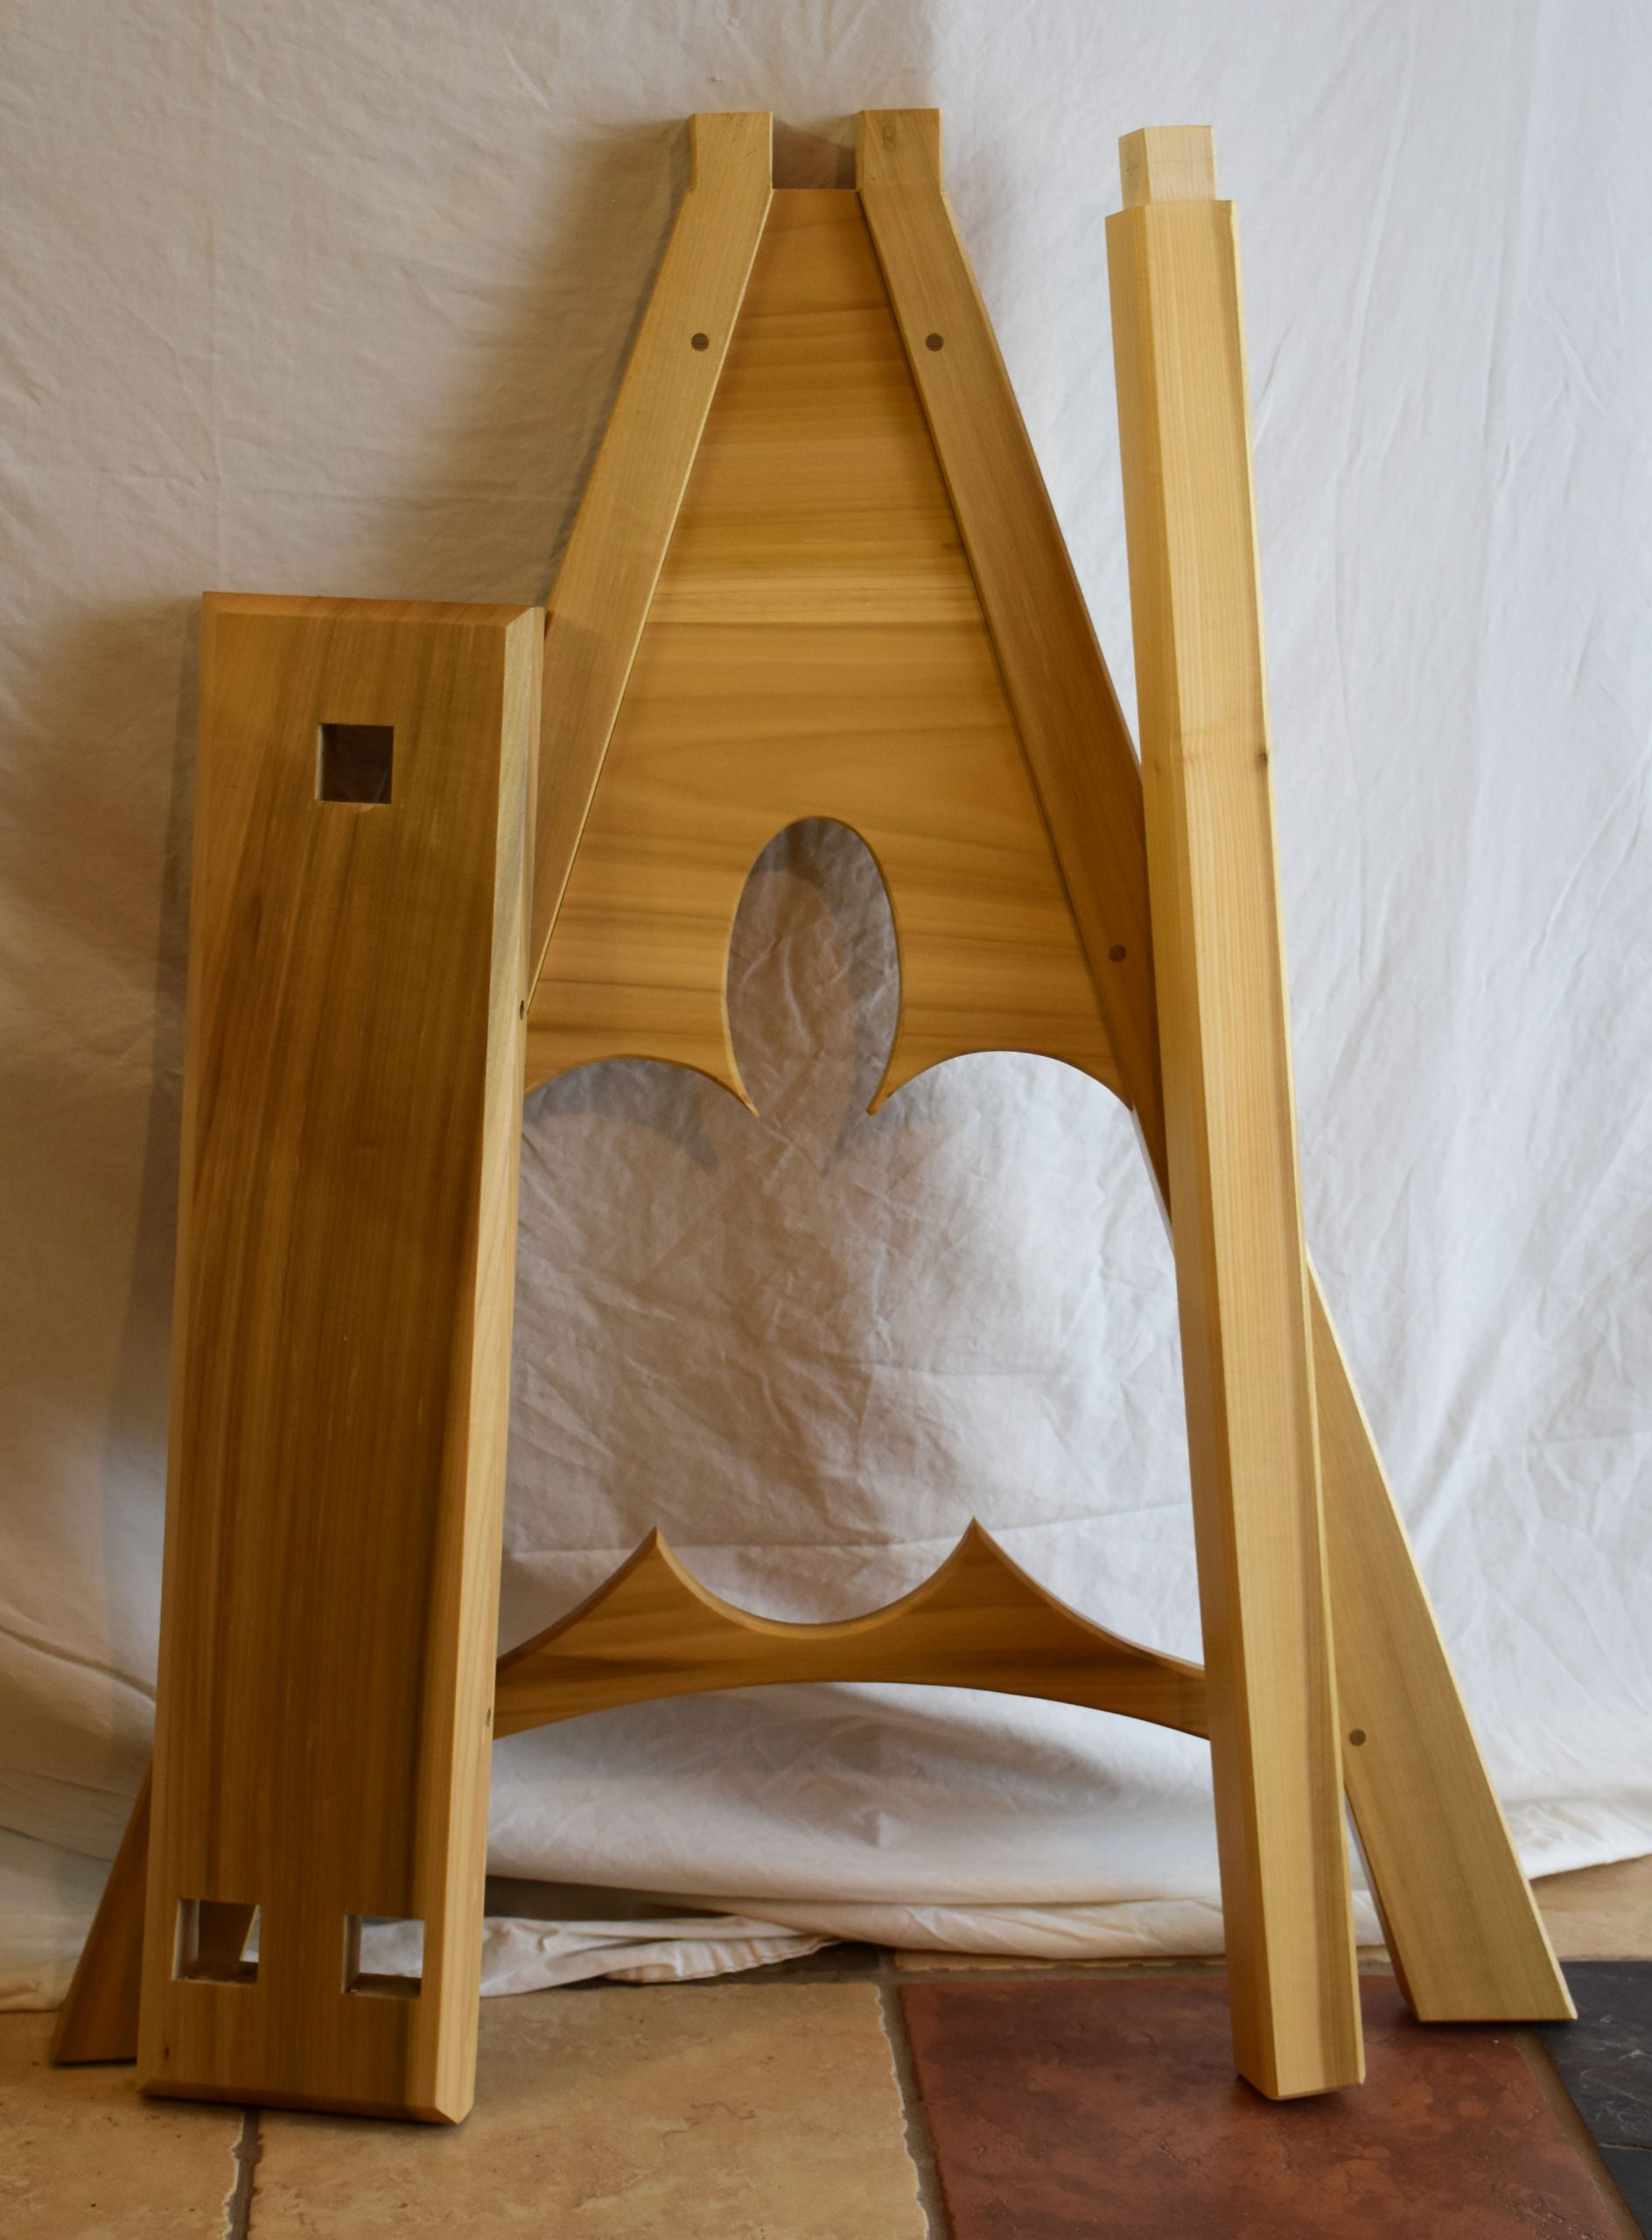
Here is an article at the St. Thomas Guild website with photos of a 15th century trestle table. Construction details of how the legs were mortised into the top and how the stretchers were attached to the front legs are shown in some close-up photos. These trestles have both an upper an lower stretcher, and a third connecting the front and back legs. For my design, I combined the shapes in the two 14th century photos, but omitted the front-to-back stretcher to make knock-down easier. Here is a photo of the trestles broken down for storage/transport:
The material for all the components is poplar. The legs and top were cut from 8/4 rough material. The stretchers are 3/4″ thick with 3/8″ tenons. The top stretcher is glued in at the top, and pinned in place with 4 oak dowels. The lower stretcher is glued and also pinned in place. The back leg is 1 1/2″ square.
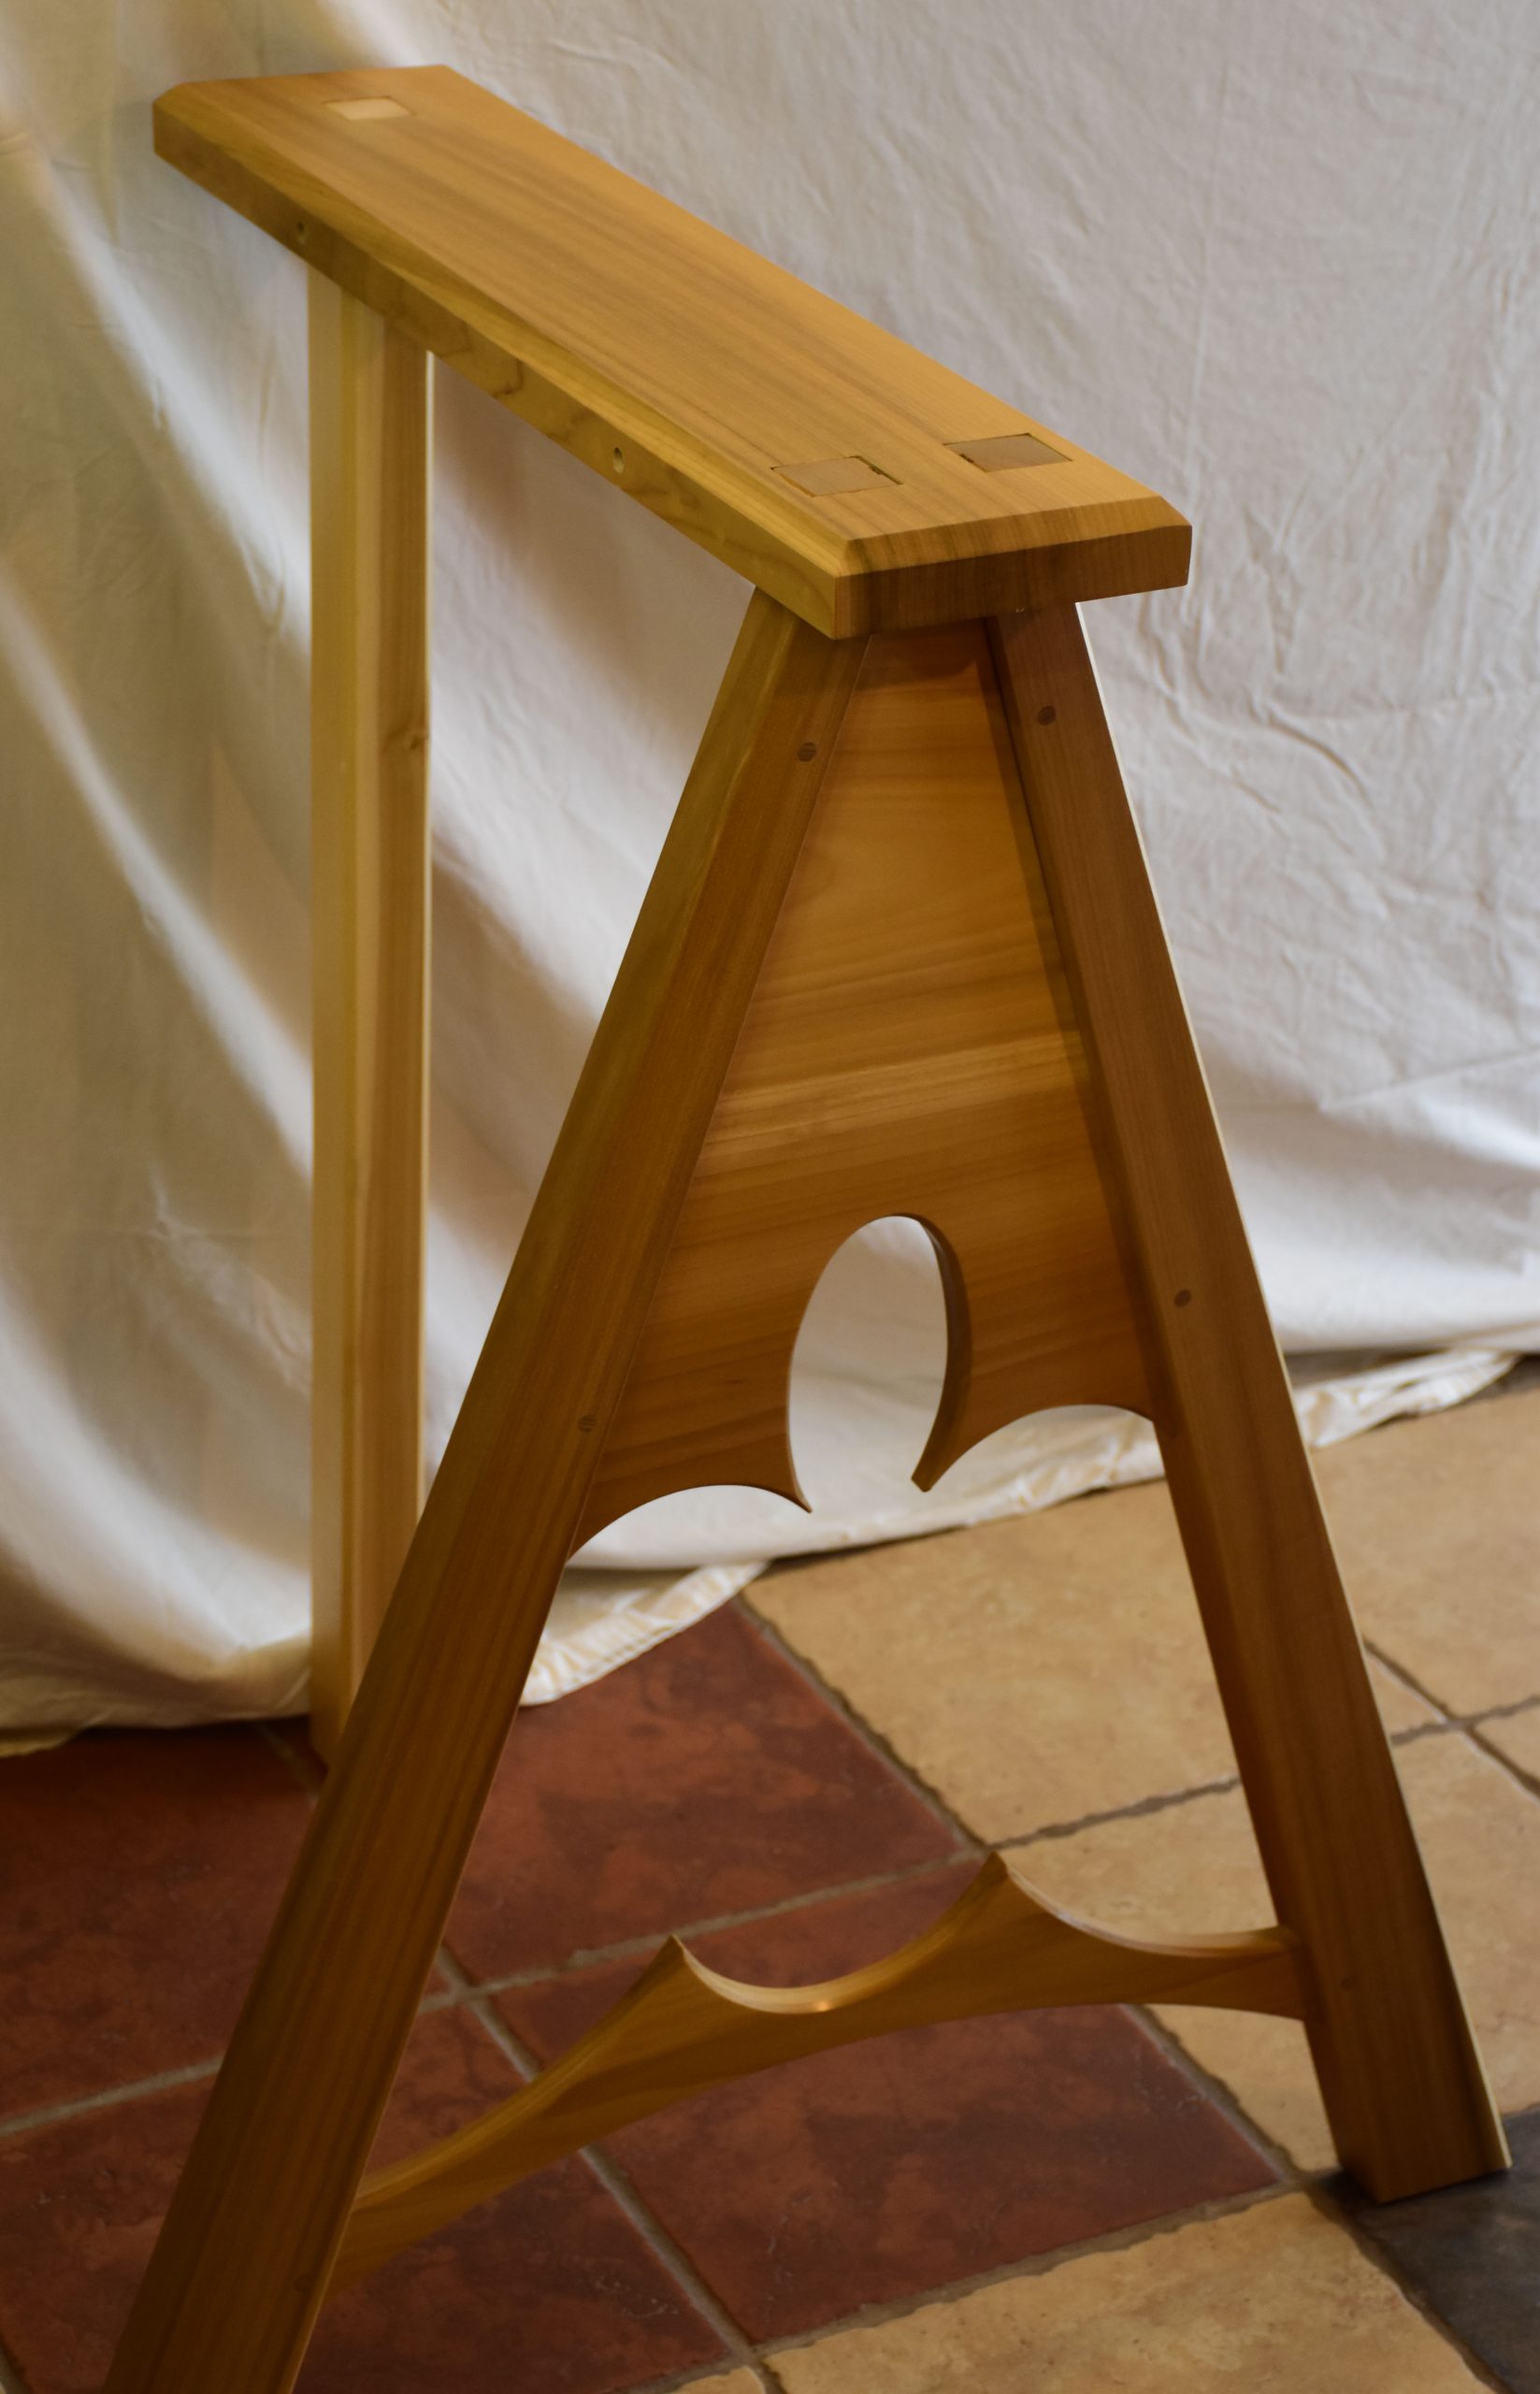
The table top was constructed by gluing up poplar boards, and is 7/8″ thick. The ends are oak breadboards to resist warping (the darker wood in the top photo). There are two 1 3/4″ thick battons attached to the underside of the table. When in use, wooden dowels are run through the battons into the top of the trestles to keep the table top from shifting.

Here are some photos to illustrate how the front legs were constructed.
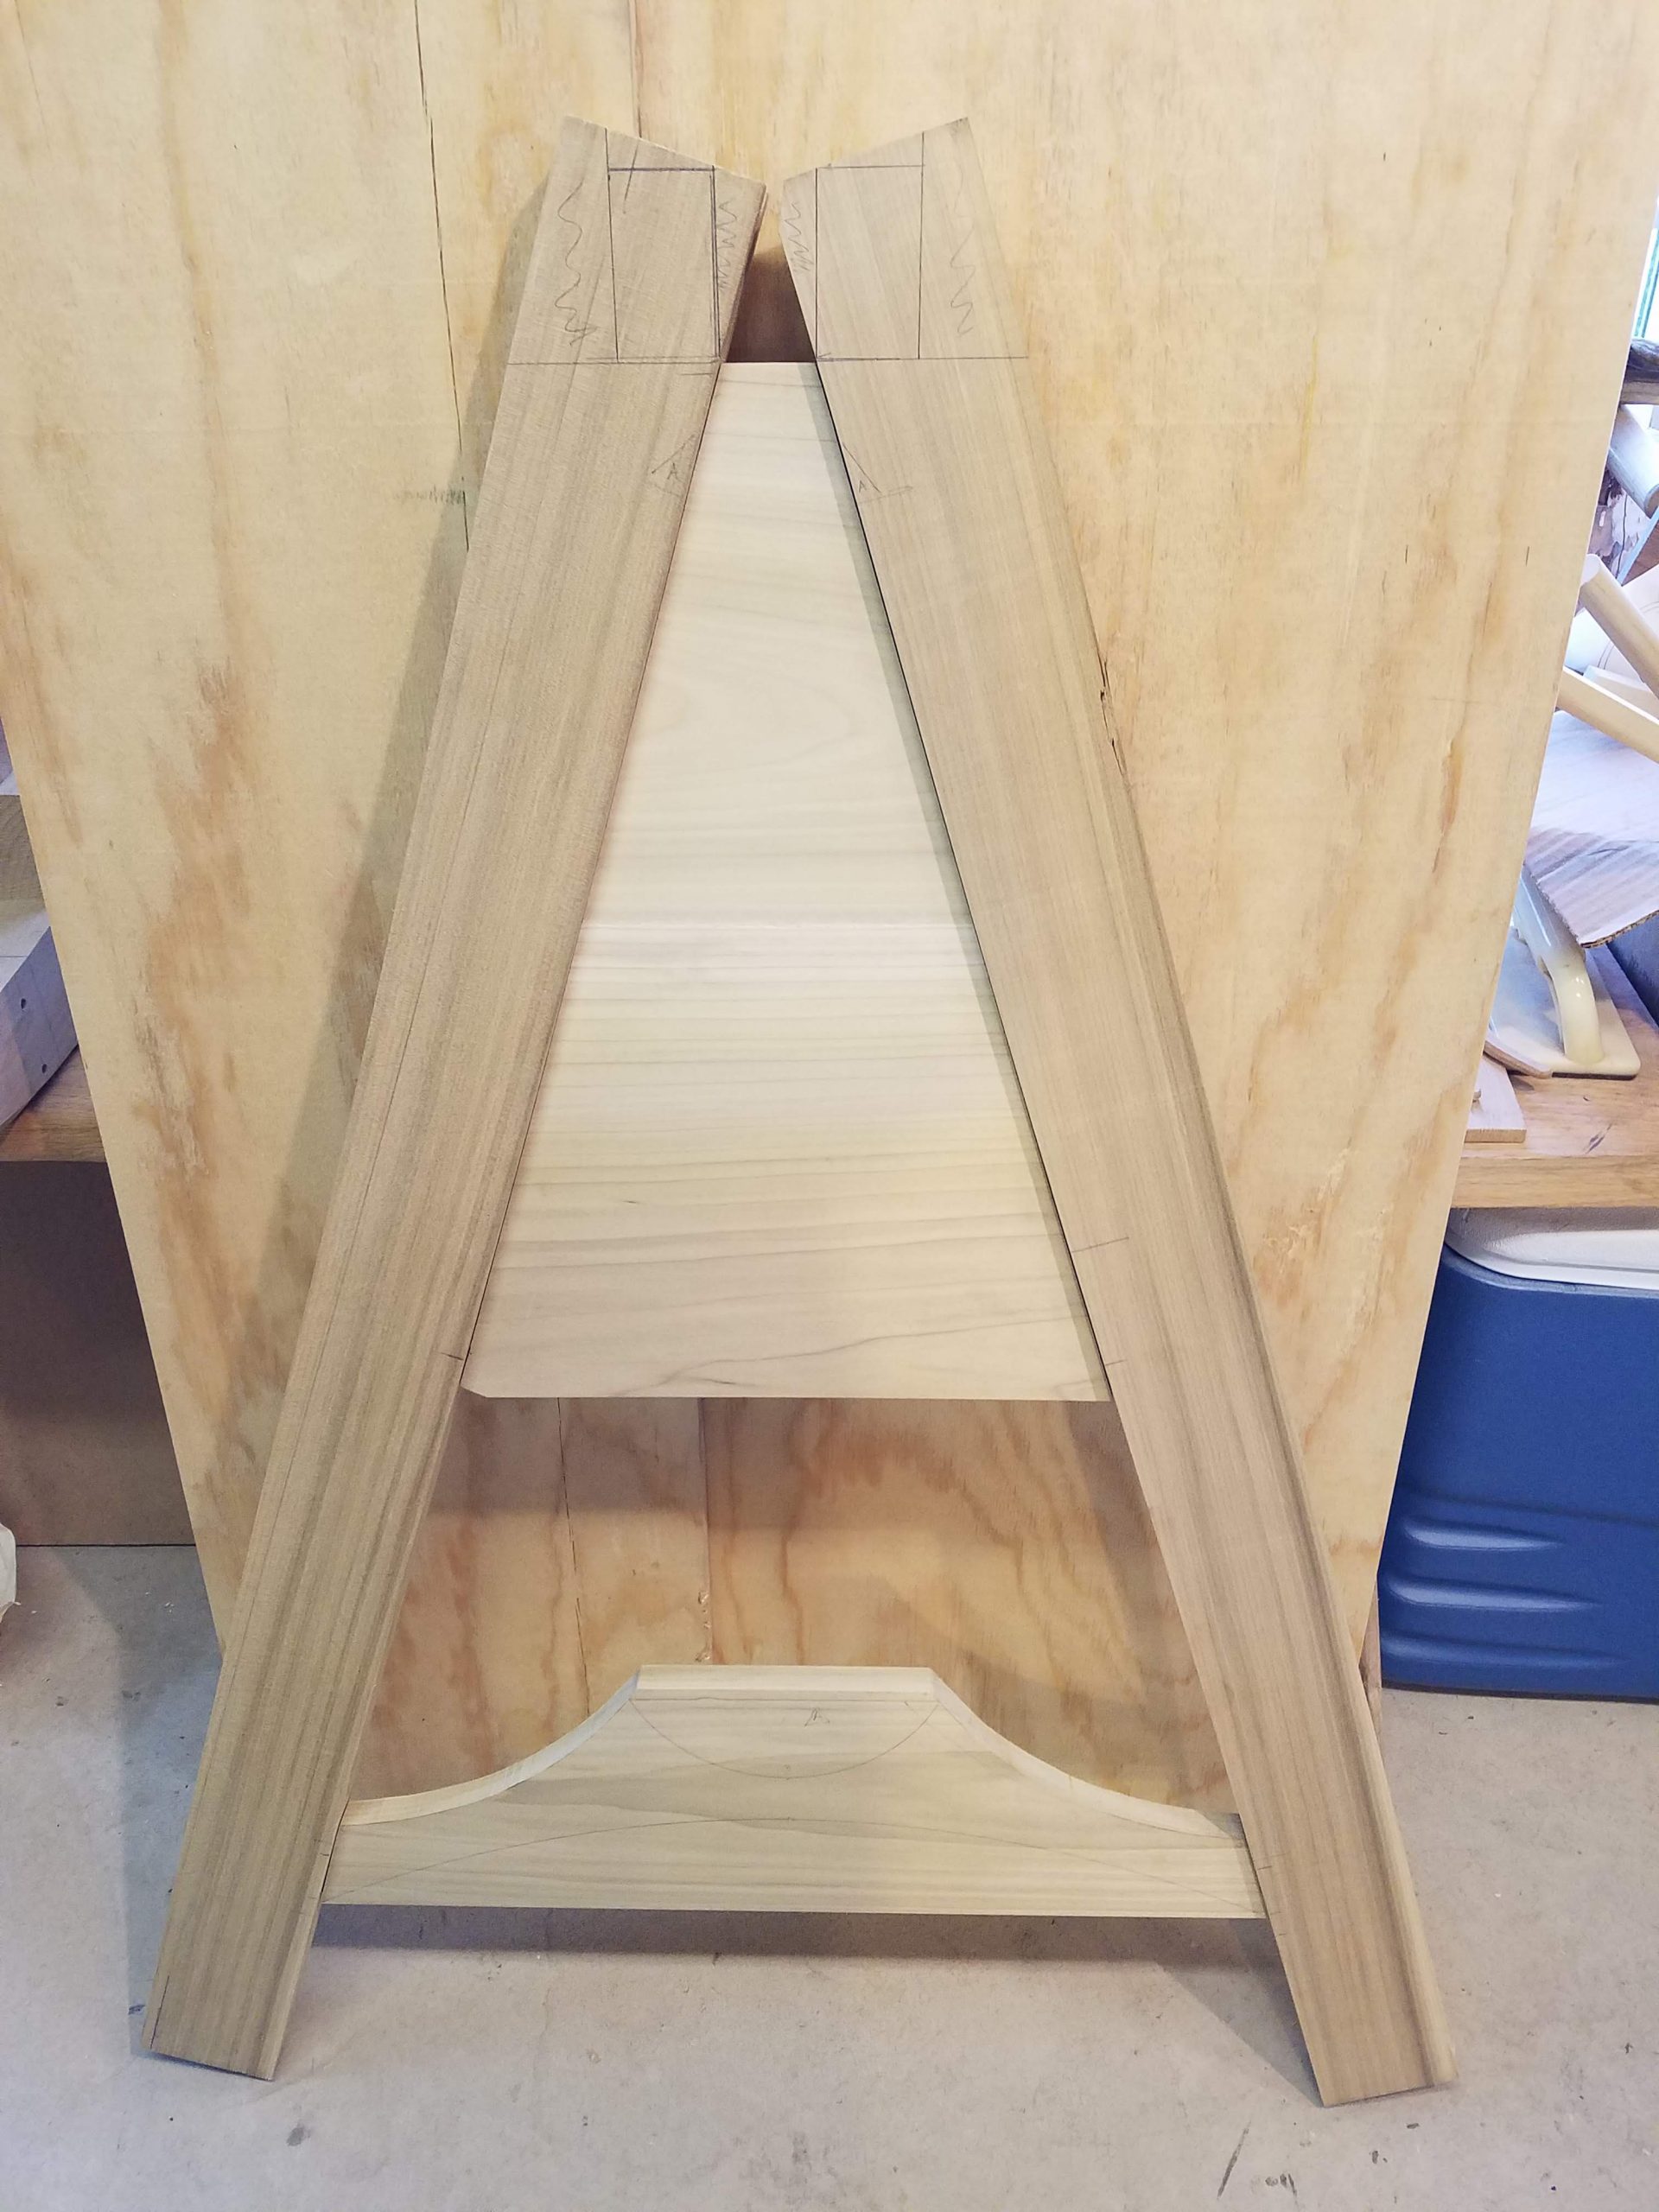
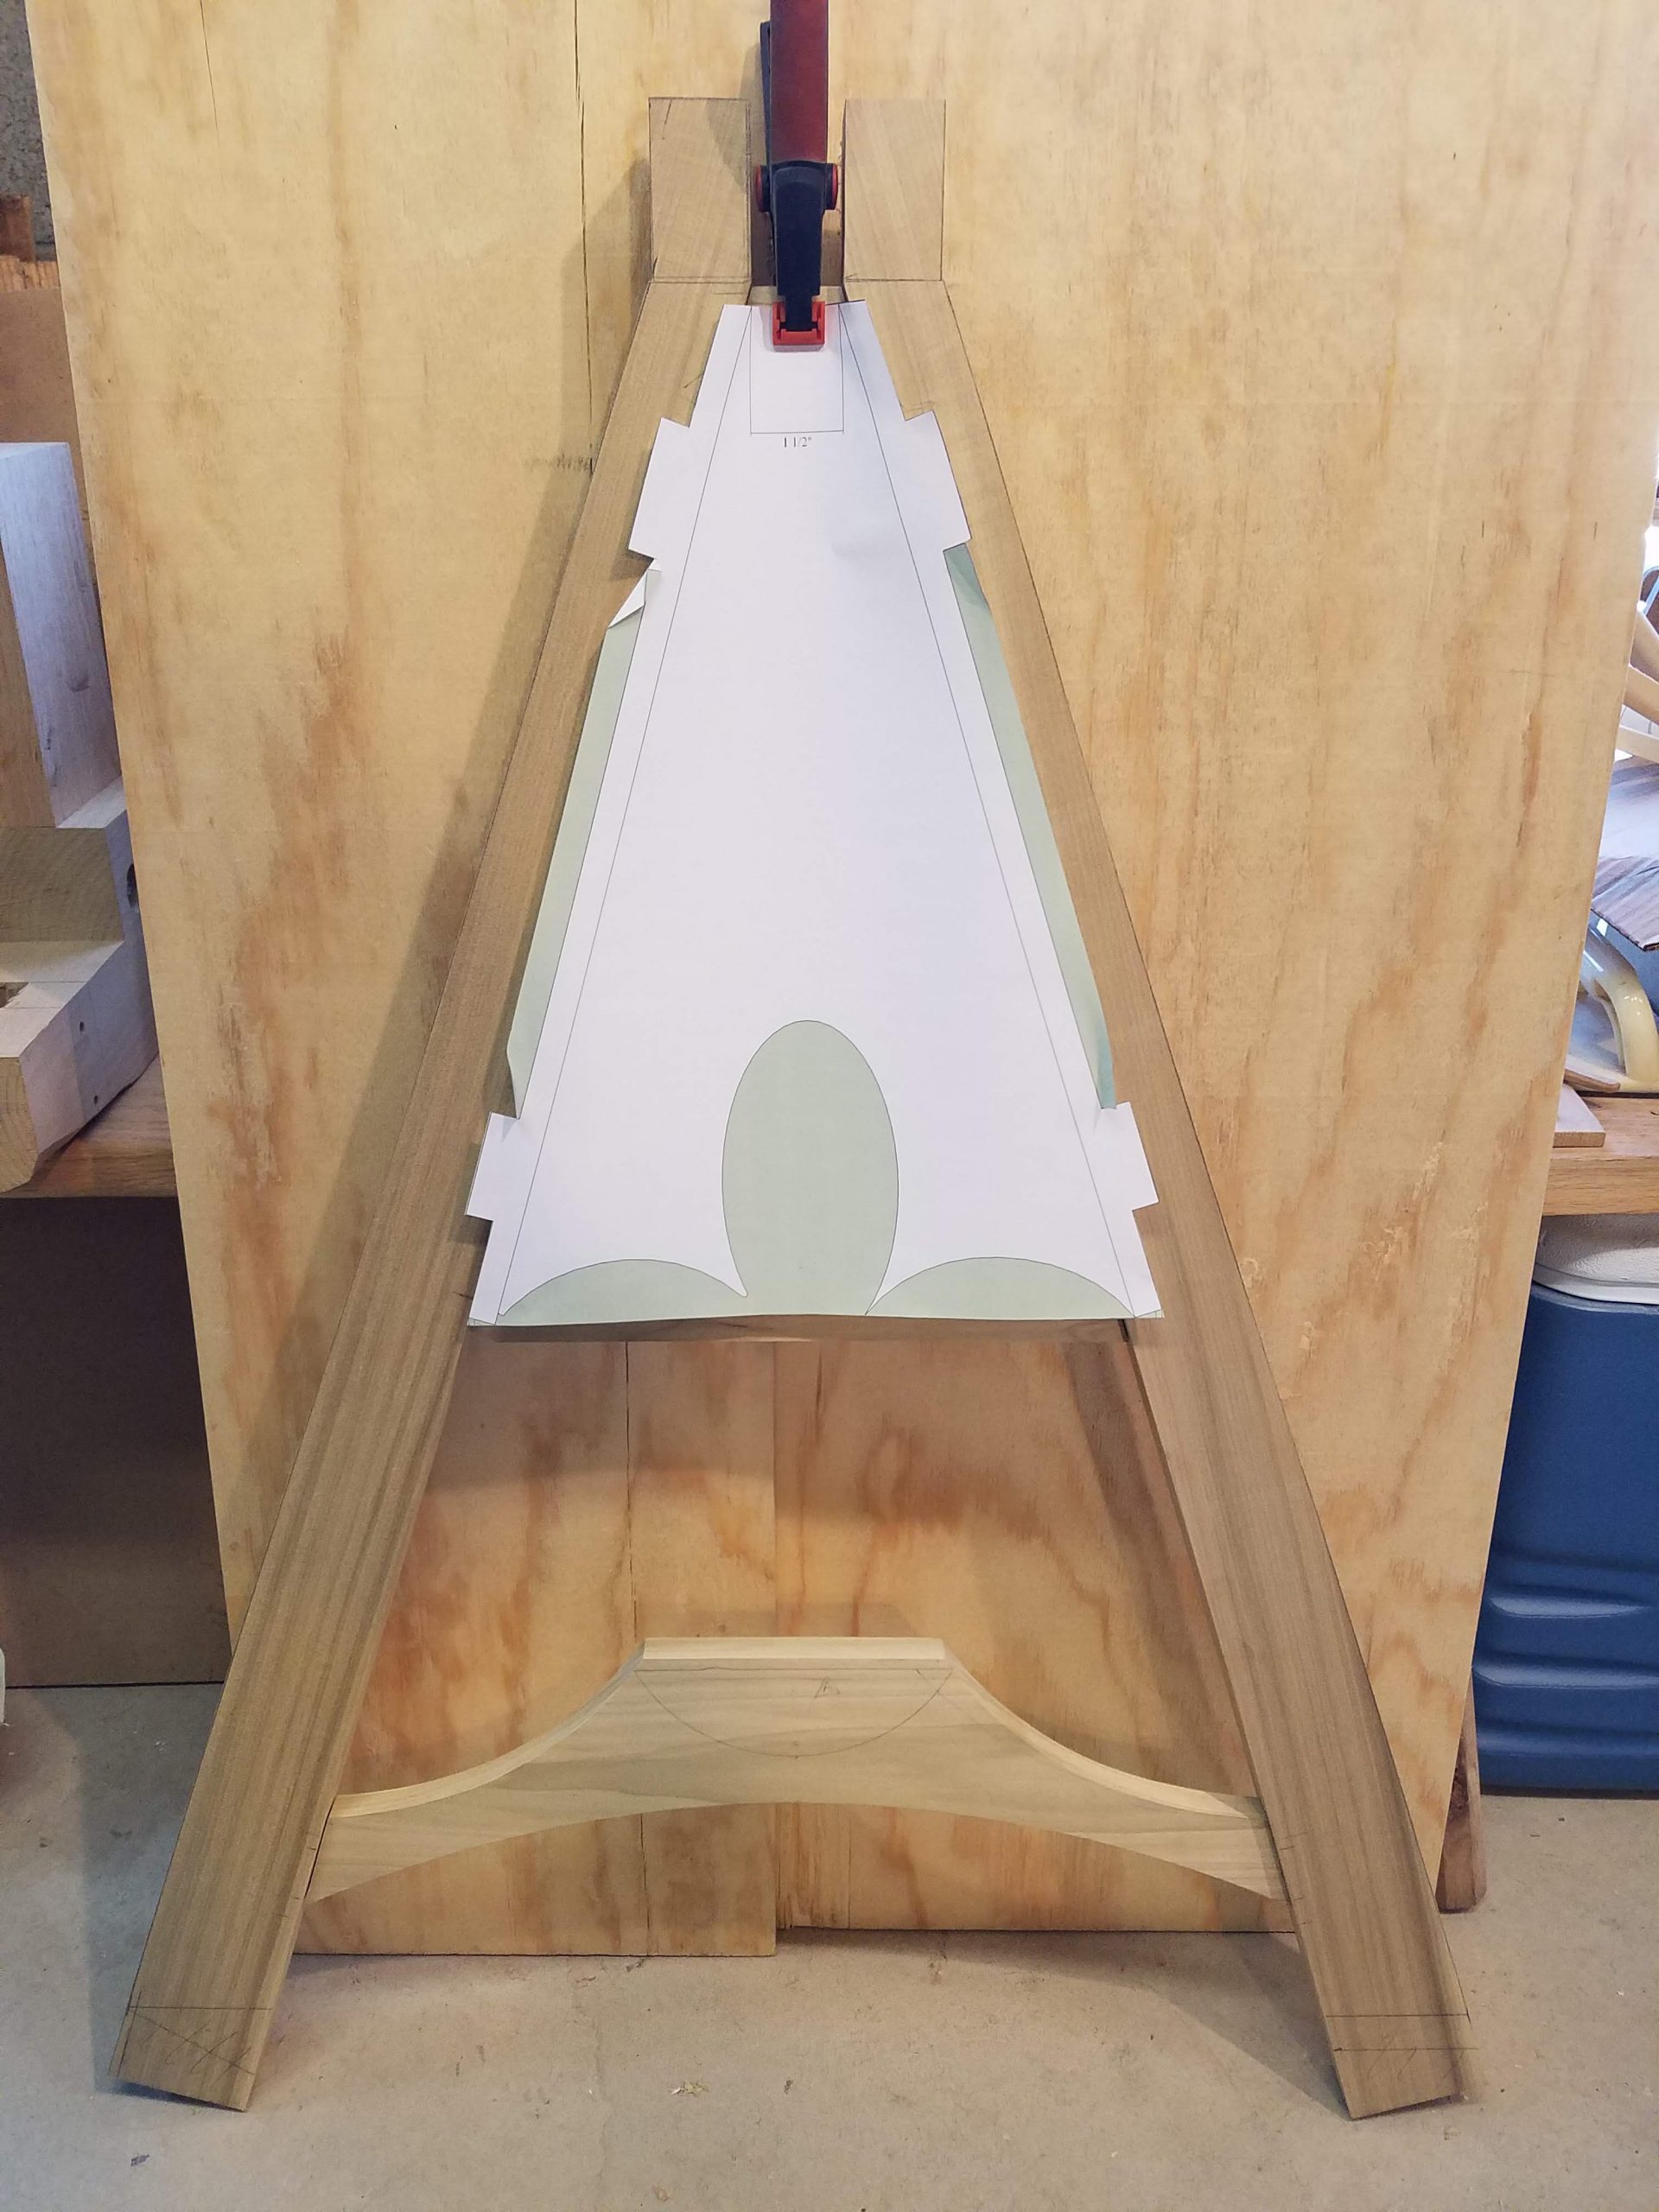
Before final assembly, the stretcher pieces and legs were finished with an outdoor-safe finish. The stretcher tenons were pinned in place with oak dowels with a slight amount of draw-boring. After the legs were glued up, the top board was marked for the square tenons. These tenons were drilled and then evacuated for tight fit to reduce racking. After both trestles were completed, they were positioned on the table top such that the outermost legs were lined up with the edge of the table. The battons were installed on the underside of the top, and the dowel holes lined up with the top board of the trestles, which were drilled and fit for the connecting dowels.
Leave a Reply
You must be logged in to post a comment.